
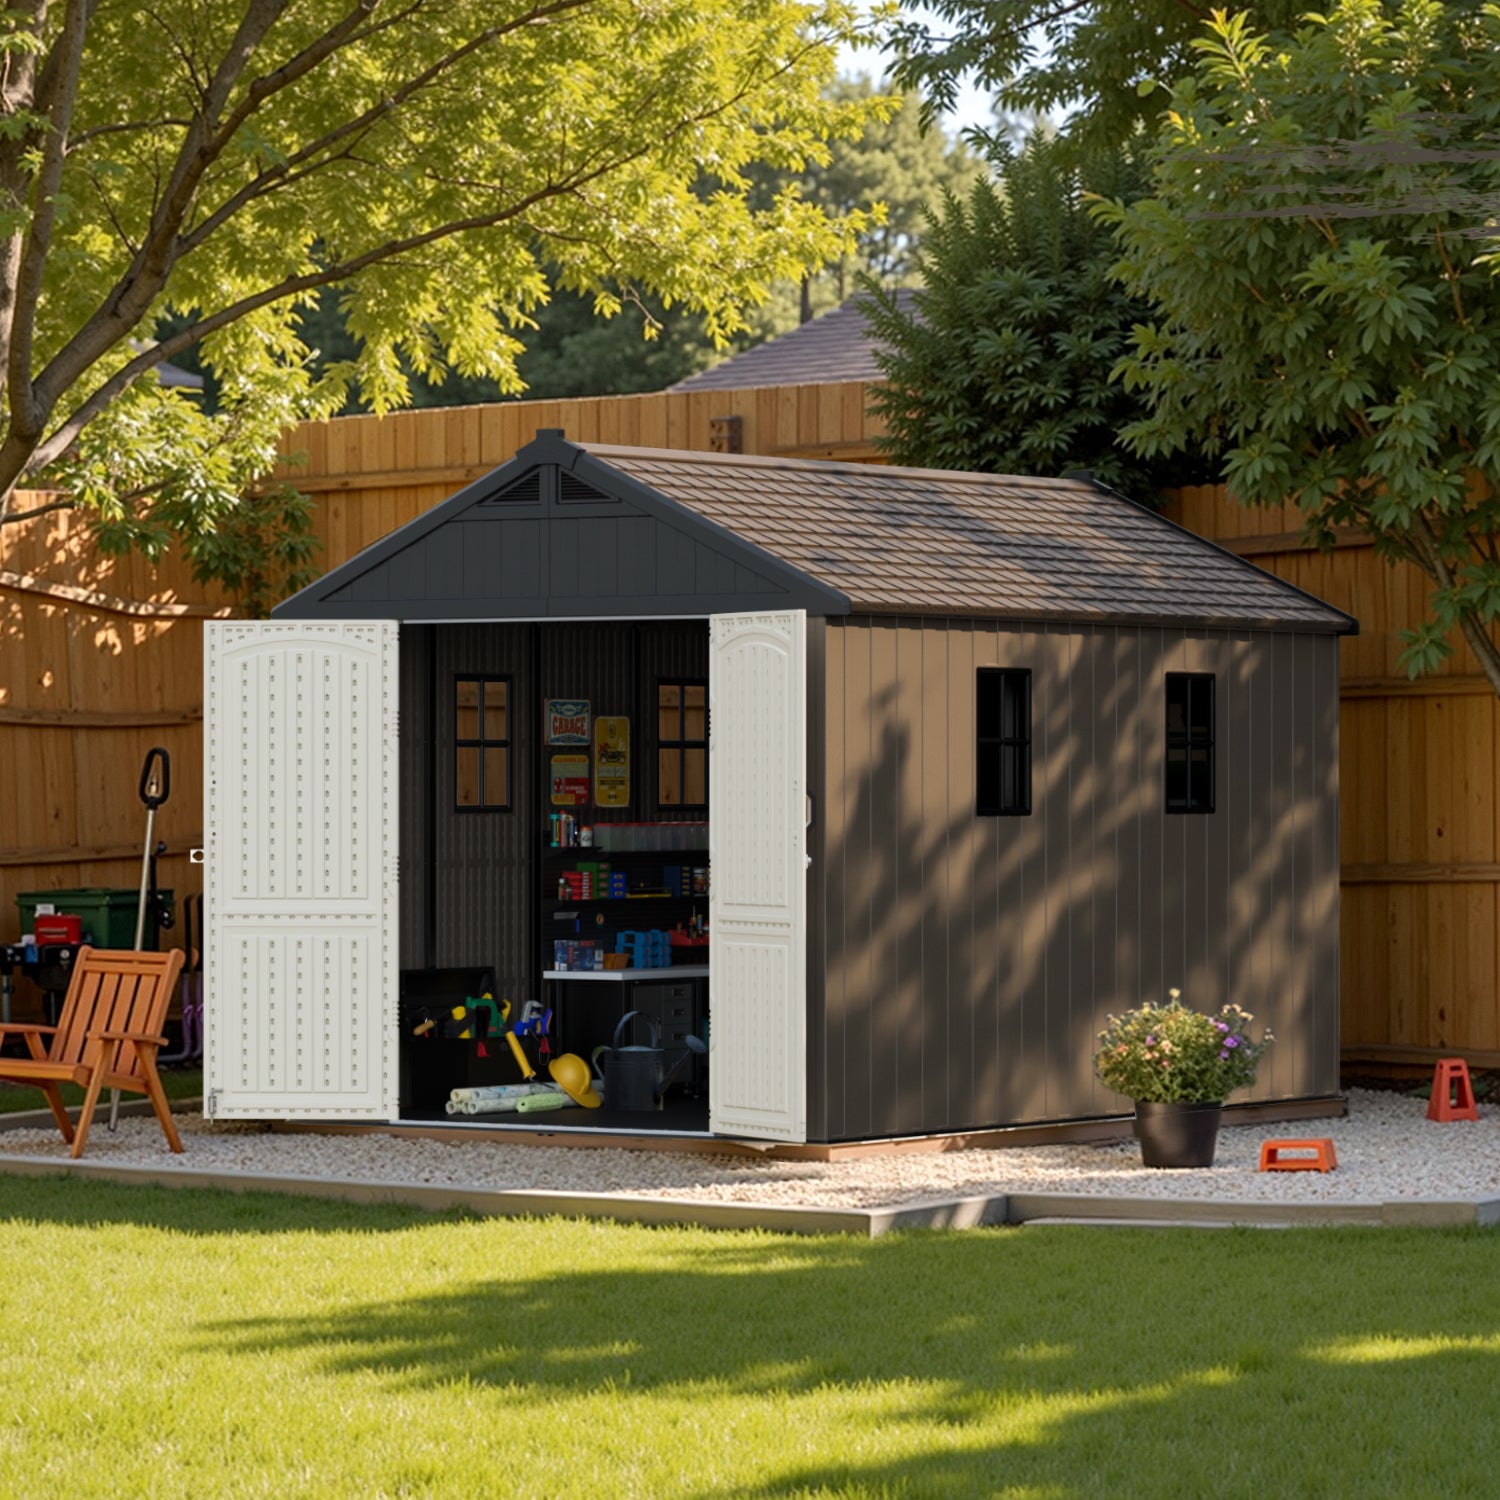
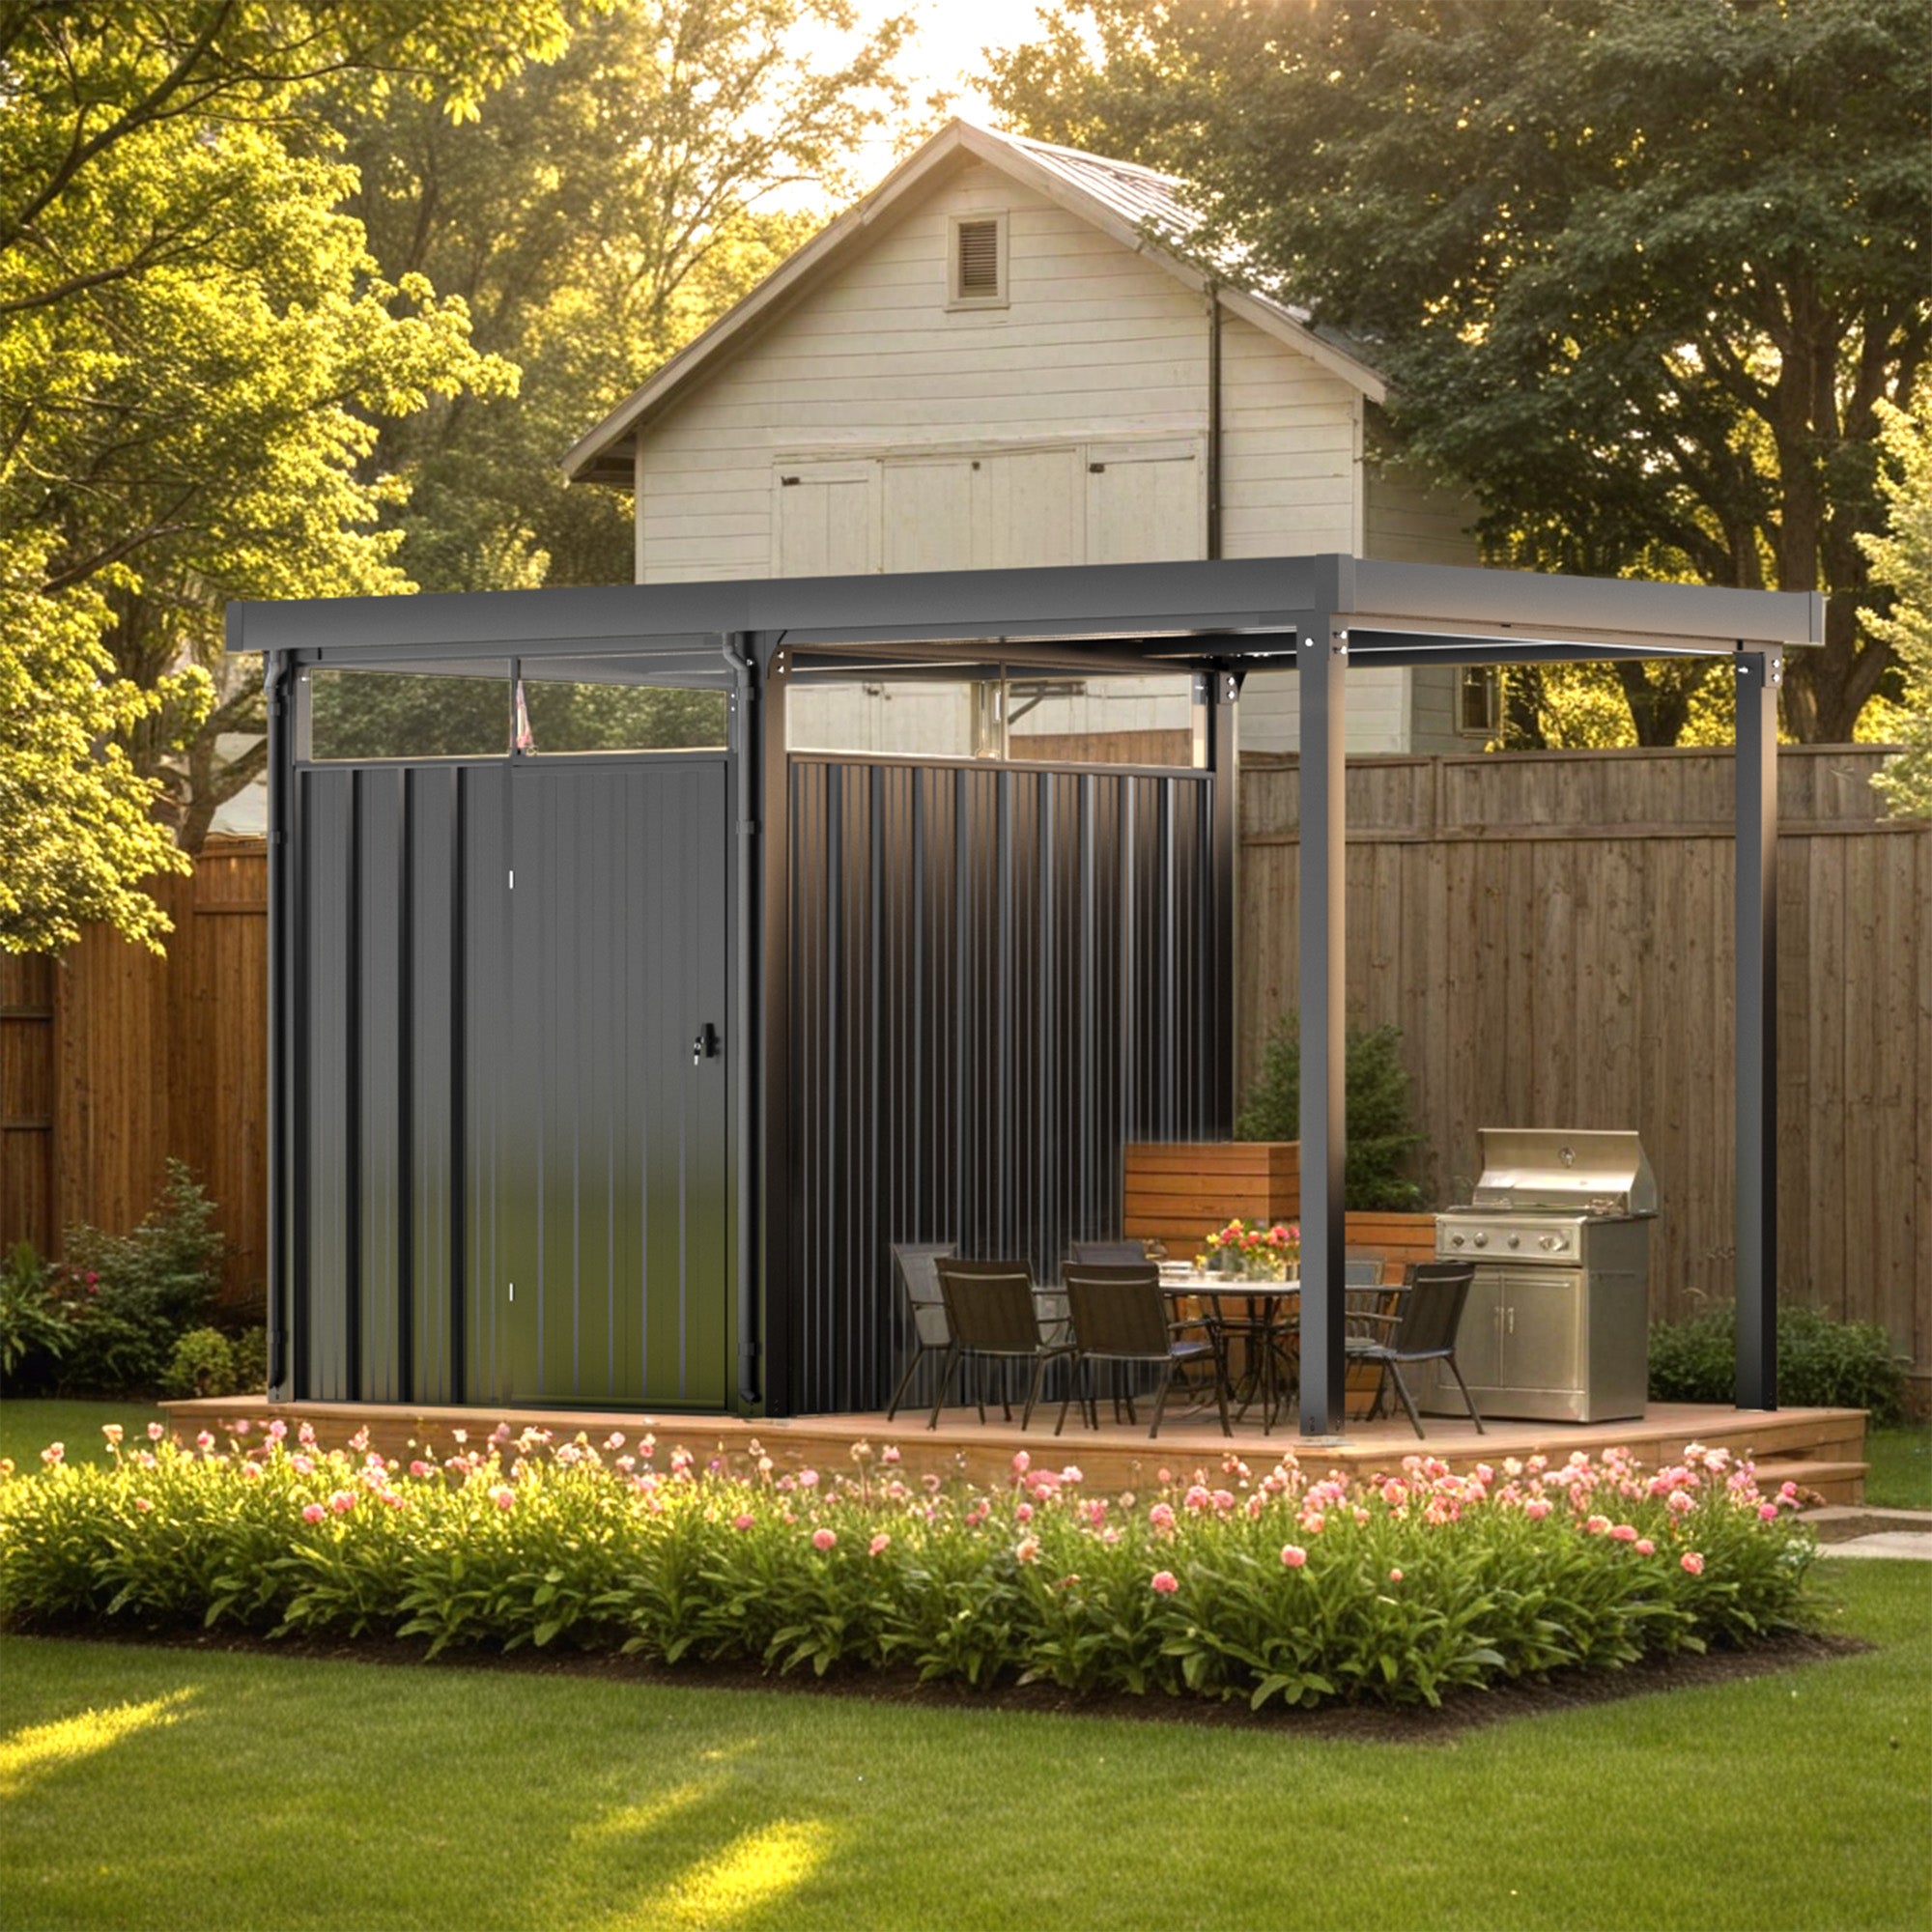
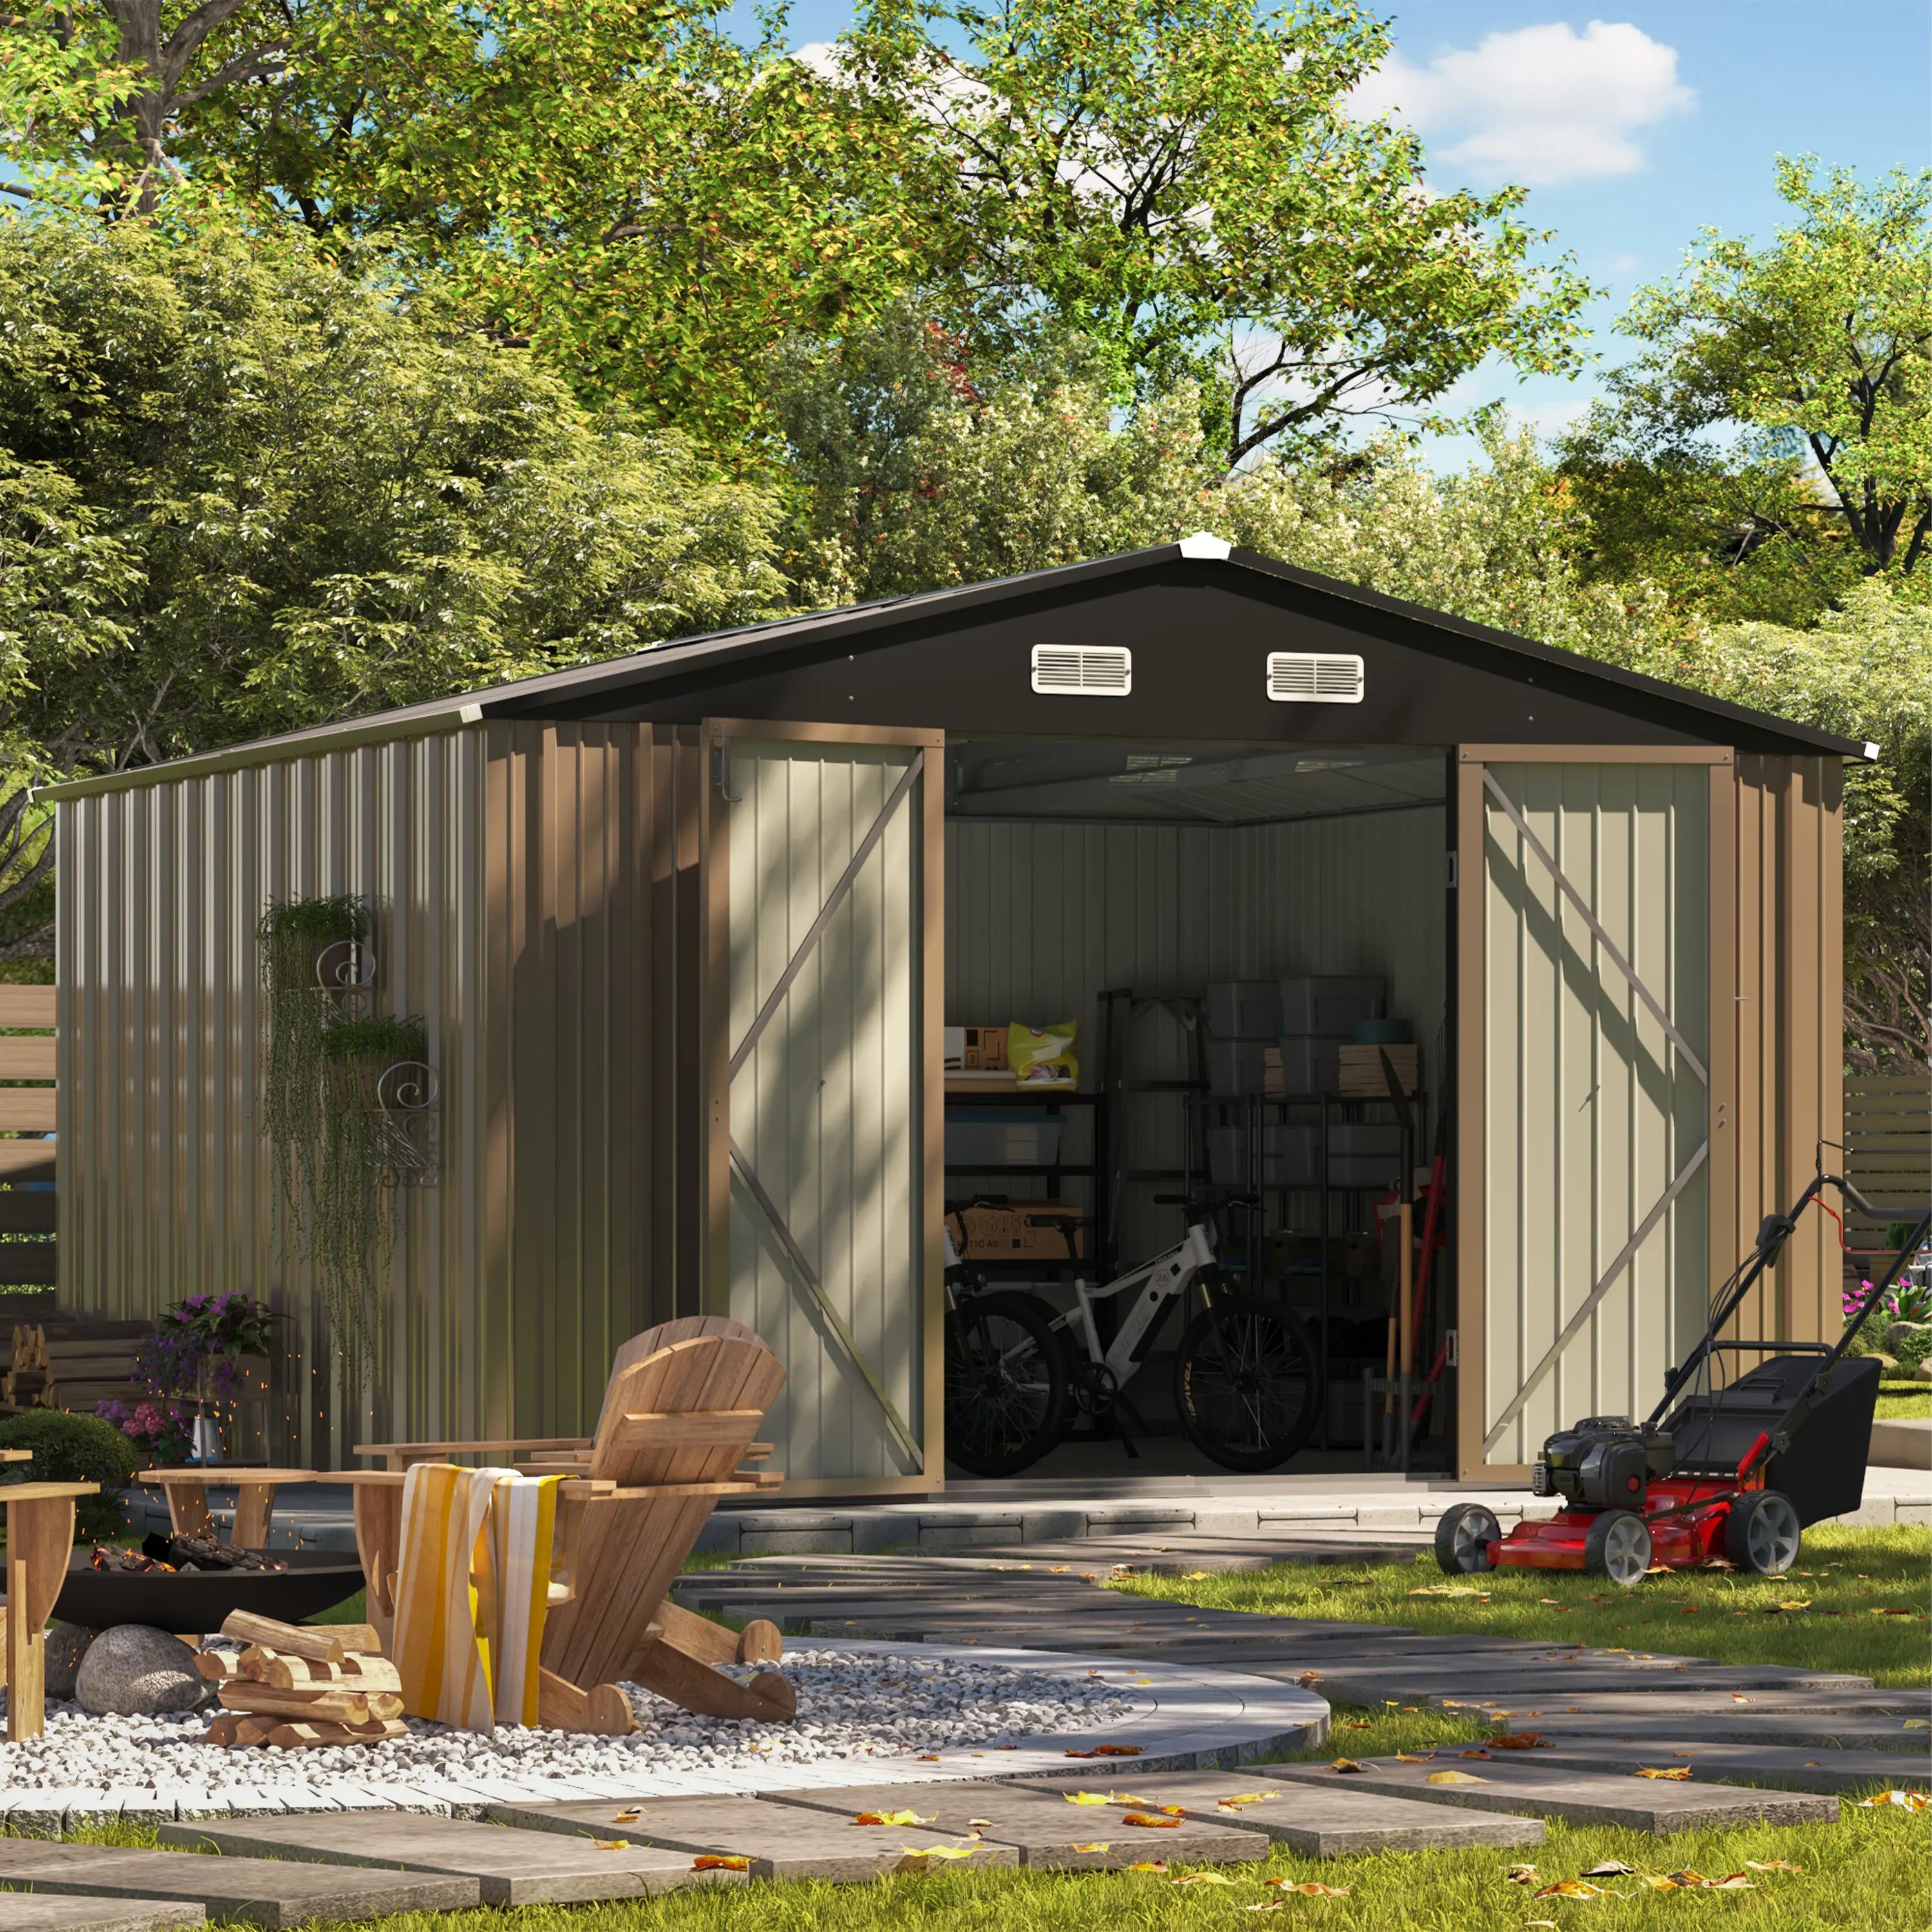

Installing a metal shed is more than just putting together walls and a roof. A successful shed project starts with careful planning, proper site preparation, and a strong foundation.
For many homeowners, the installation process is an important factor when choosing a storage shed. Questions like “Do I need a concrete base?” or “How difficult is the installation?” are common before making a purchase decision.
To show what a real installation looks like, we are sharing a customer’s DIY journey with the Patiowell 10x12 Barn Style Metal Shed with Gambrel Roof. From preparing the site to completing the final structure, this project demonstrates how thoughtful preparation can help create a durable and functional outdoor storage solution.

Table of Contents:[hide]
1. Site Leveling, Formwork & Rebar
Before installing the shed, the customer first prepared the installation area to create a stable foundation.

The first stage included:
- Leveling the ground
- Building the formwork for the concrete slab
- Installing rebar reinforcement for added strength
A properly prepared base is an important part of any metal shed installation. A level and reinforced foundation helps provide better support for the structure and creates a smoother surface for assembling the shed.
Taking time to prepare the site before installation can also help improve door alignment, overall stability, and long-term performance.
2. Concrete Slab Poured and Cured
After completing the foundation preparation, the customer poured the concrete slab and allowed it to cure before beginning shed assembly.

A concrete foundation provides several advantages for a metal shed:
- Creates a flat and stable installation surface
- Helps distribute the weight of the shed evenly
- Reduces issues caused by uneven ground
- Provides a durable base for long-term use
For outdoor structures, having a properly prepared foundation can make the installation process easier and help ensure the finished shed performs as expected.
3. Frame Being Assembled
With the foundation completed, the customer began assembling the frame of the Patiowell 10x12 Barn Style Metal Shed with Gambrel Roof.

The frame is the foundation of the shed’s overall structure. Careful assembly at this stage helps ensure the walls, roof, and doors fit together properly.
During this step, the customer worked through:
- Frame assembly
- Wall panel installation
- Structural component connections
The installation process shows how a well-prepared foundation and organized assembly can transform individual metal components into a complete outdoor storage space.
4. Patiowell 10x12 Barn Style Metal Shed Completed
After completing the installation, the customer’s Patiowell 10x12 Barn Style Metal Shed with Gambrel Roof was fully assembled.

The finished shed provides a spacious and practical outdoor storage solution with:
- A classic barn-style appearance
- A gambrel roof design for additional overhead space
- Durable metal construction
- Room for tools, equipment, seasonal items, and outdoor belongings
The completed project demonstrates how a properly planned installation can create a reliable backyard storage space that combines functionality with an attractive outdoor design.
Customer Experience: A Successful DIY Installation

Every shed installation project has its own preparation process, depending on the homeowner’s location, needs, and local requirements.
One Patiowell customer shared their experience installing the 10x12 Barn Style Metal Shed with Gambrel Roof:
“Took me a while. Had to pull a permit and pour a slab. I also had to add flood vents. I’m very happy with it. It would be nice if the instructions had some written instructions for pointers, tips, and tricks. I got it right, the roof is dry, no leaks.”
The customer’s experience highlights the importance of planning ahead and preparing the installation site properly. By completing the required preparation work, including the concrete slab and additional site adjustments, the customer created a solid foundation for the shed.
The feedback also shows that after installation, the shed delivered what homeowners look for most: a dry, reliable, and functional outdoor storage space.
Customer feedback helps us better understand the installation experience and continue improving product guidance for future homeowners.
Conclusion
A successful metal shed installation starts with more than just assembly. Proper site preparation, a strong foundation, and careful construction all play an important role in creating a durable outdoor storage solution.
This customer’s installation journey of the Patiowell 10x12 Barn Style Metal Shed with Gambrel Roof shows how a thoughtful DIY approach can transform a backyard space into a practical and reliable storage area.
Whether you need space for tools, outdoor equipment, hobbies, or seasonal belongings, choosing the right shed and preparing the installation properly can help you enjoy a better long-term experience.
Diana Mason
Hi there! I’m Diana Mason, the chief editor of Patiowell brand. With over 15 years of diving deep into the world of outdoor furniture, I’ve developed a keen eye for what makes outdoor spaces truly special. I love sharing tips and inspiration to help you create your perfect backyard retreat. Our blog is a reflection of my passion and expertise, featuring only the best pieces that I personally vouch for. Thanks for stopping by—I can't wait to help you transform your outdoor living space!

Leave a comment
All comments are moderated before being published.
This site is protected by hCaptcha and the hCaptcha Privacy Policy and Terms of Service apply.