
Newsletter
Subscribe to get our latest promotions and an extra 27% off.

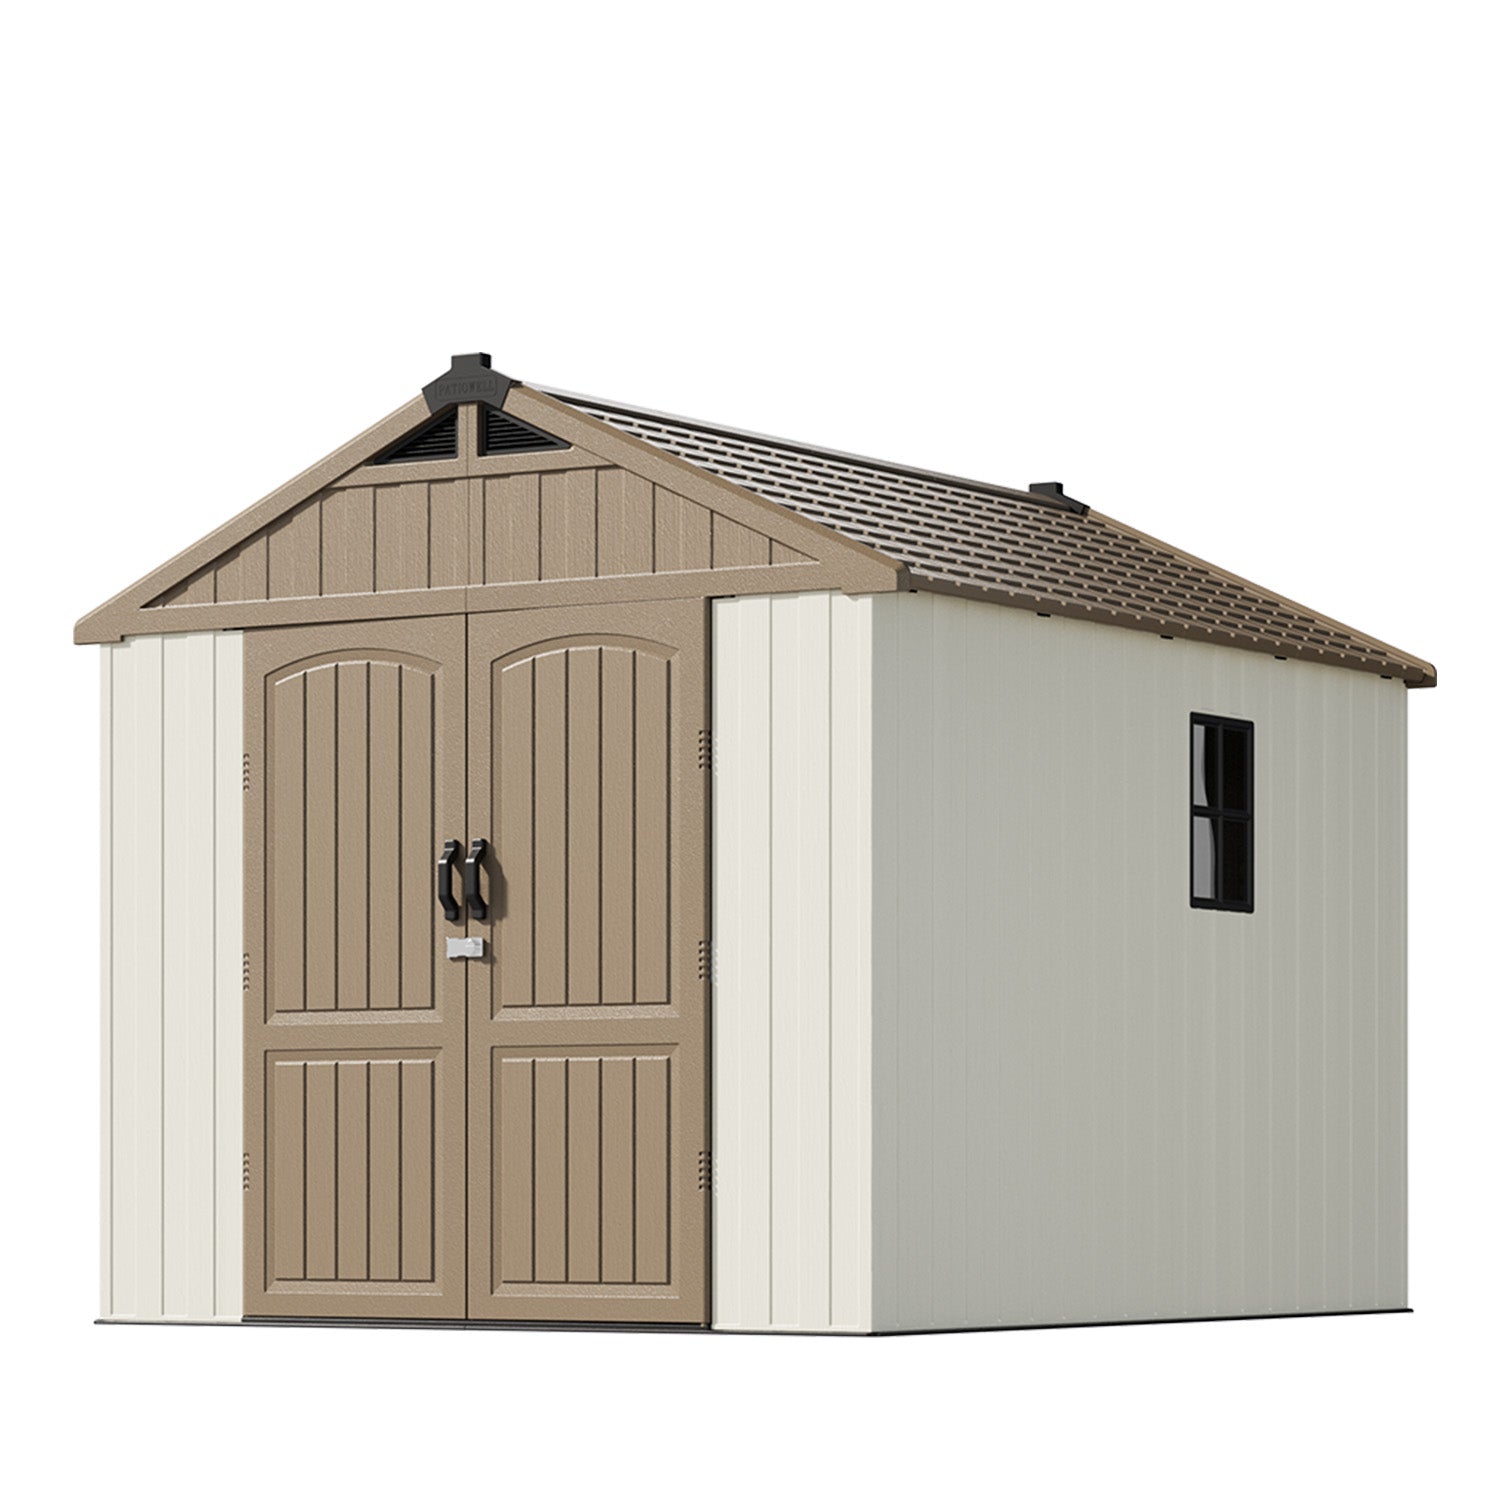
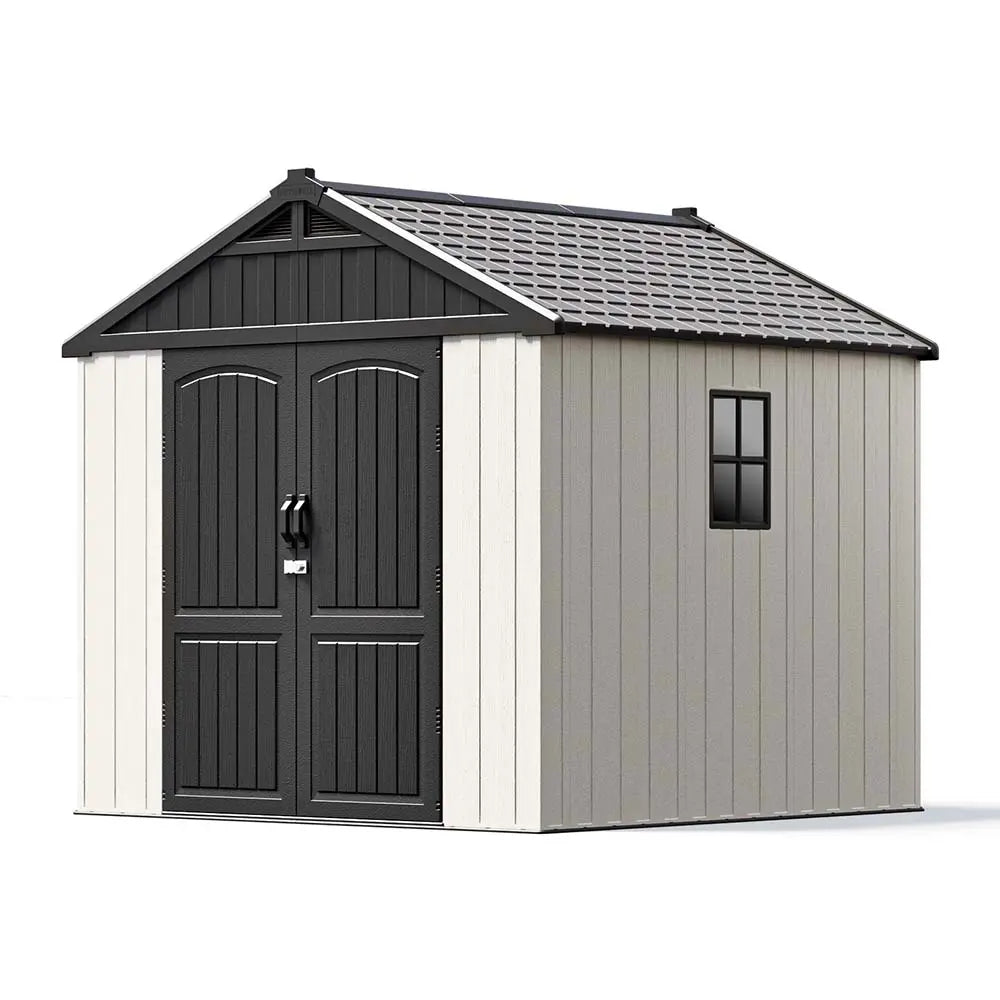
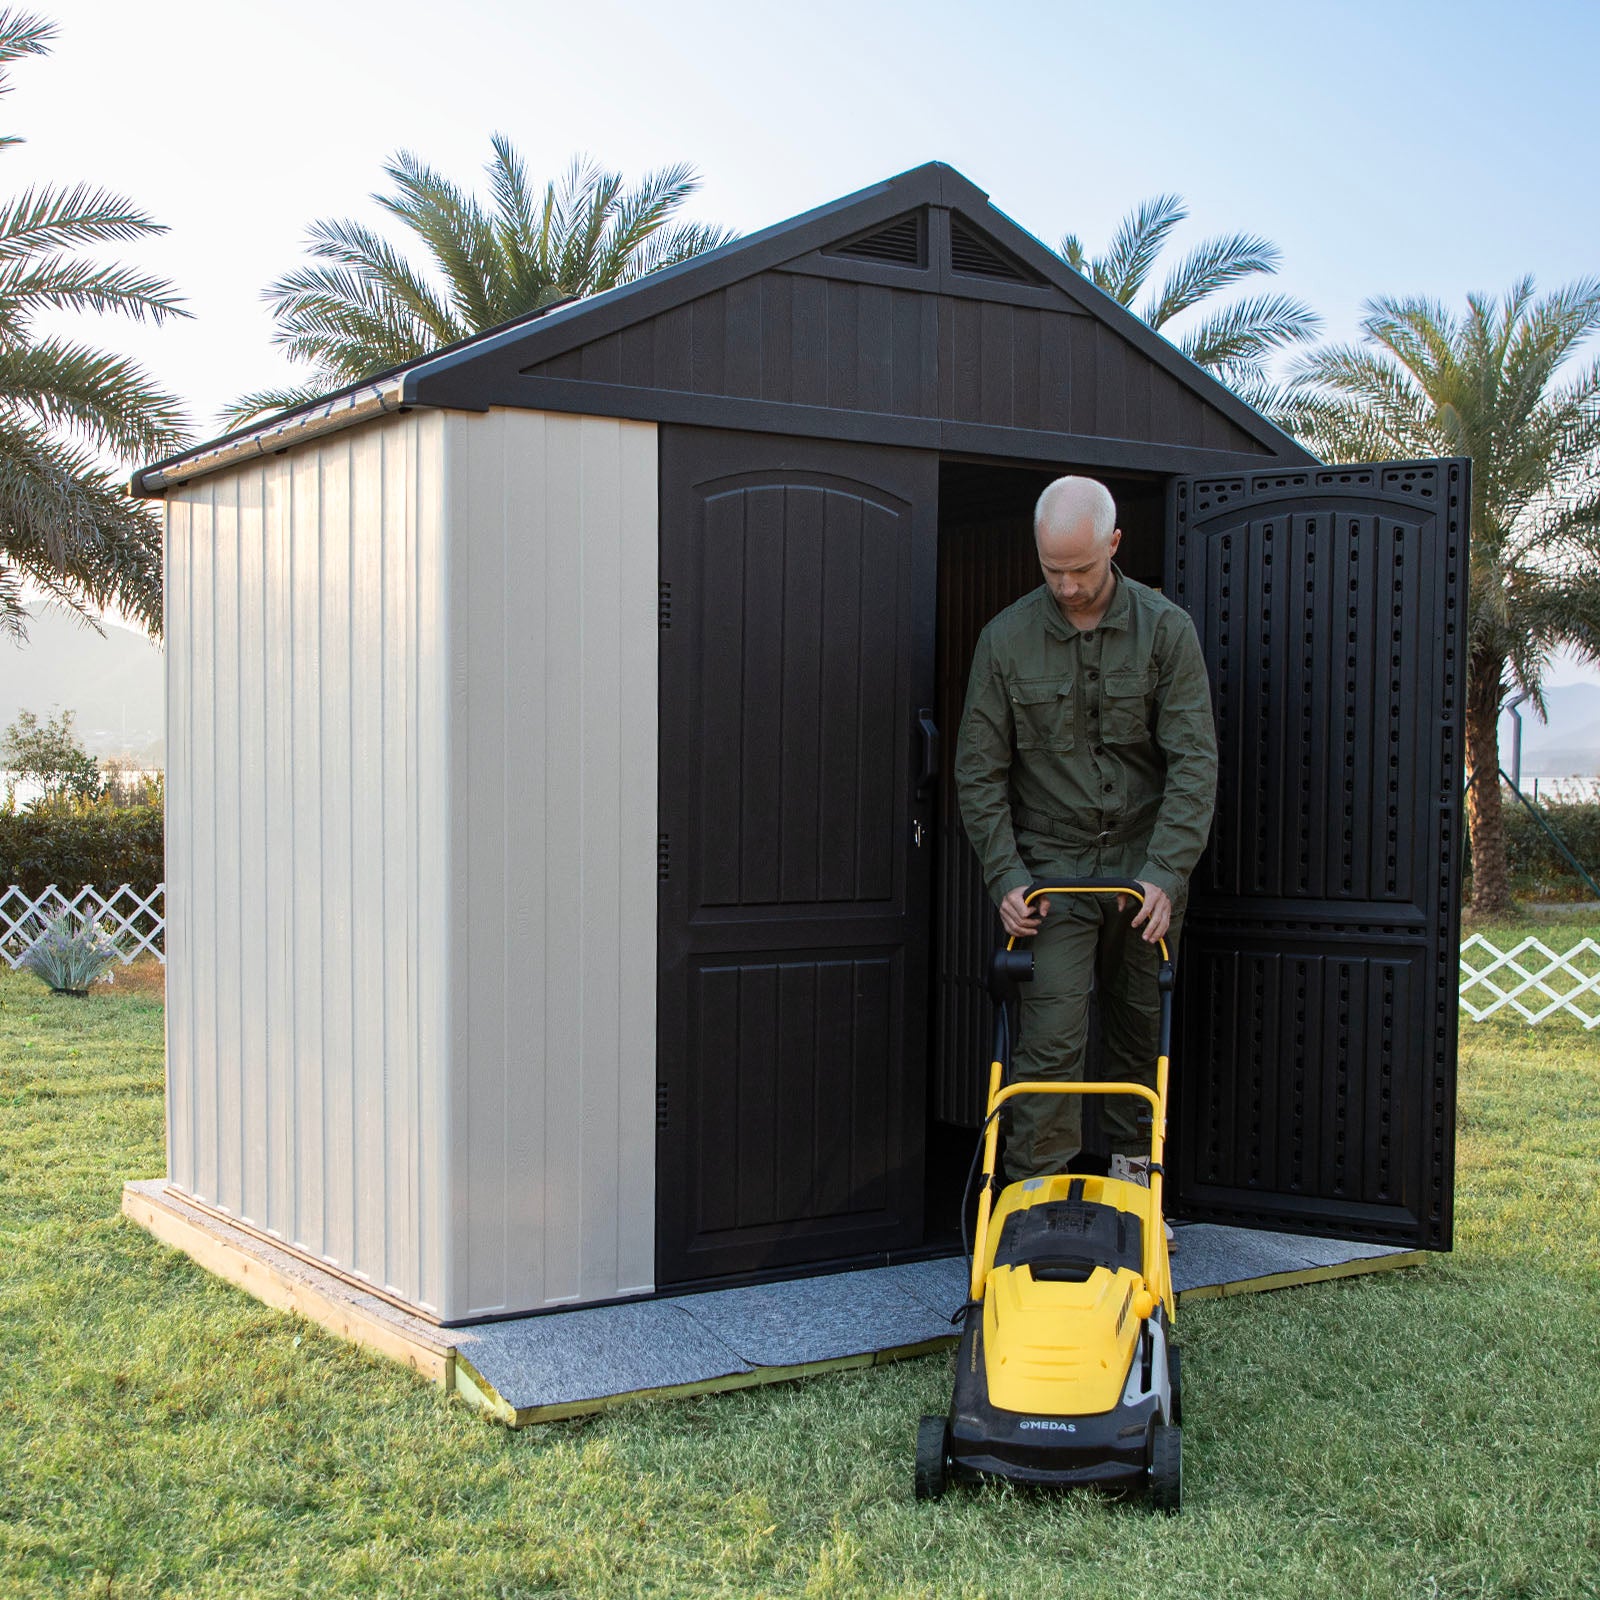
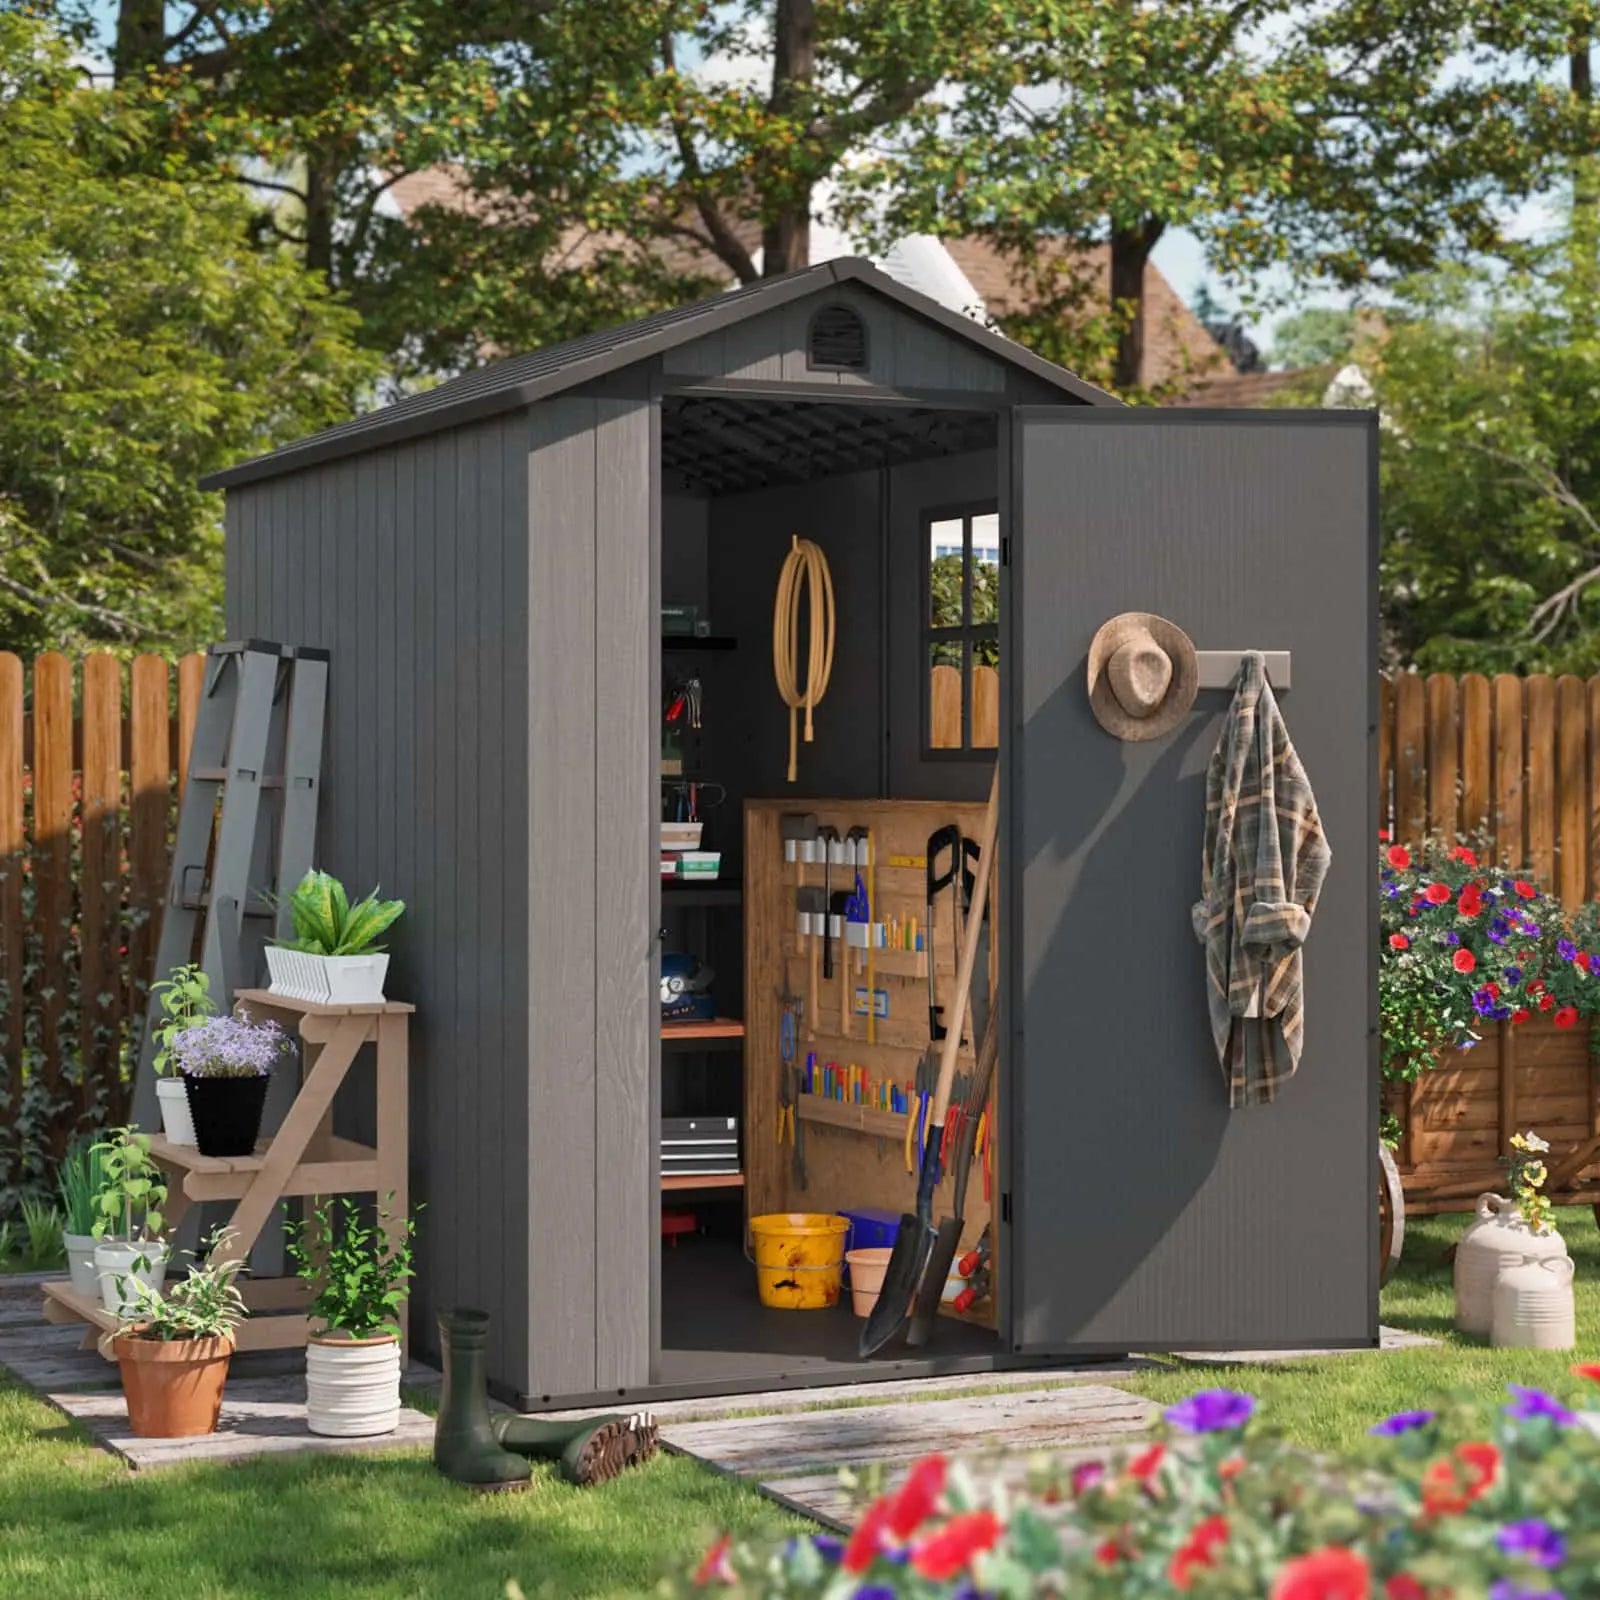
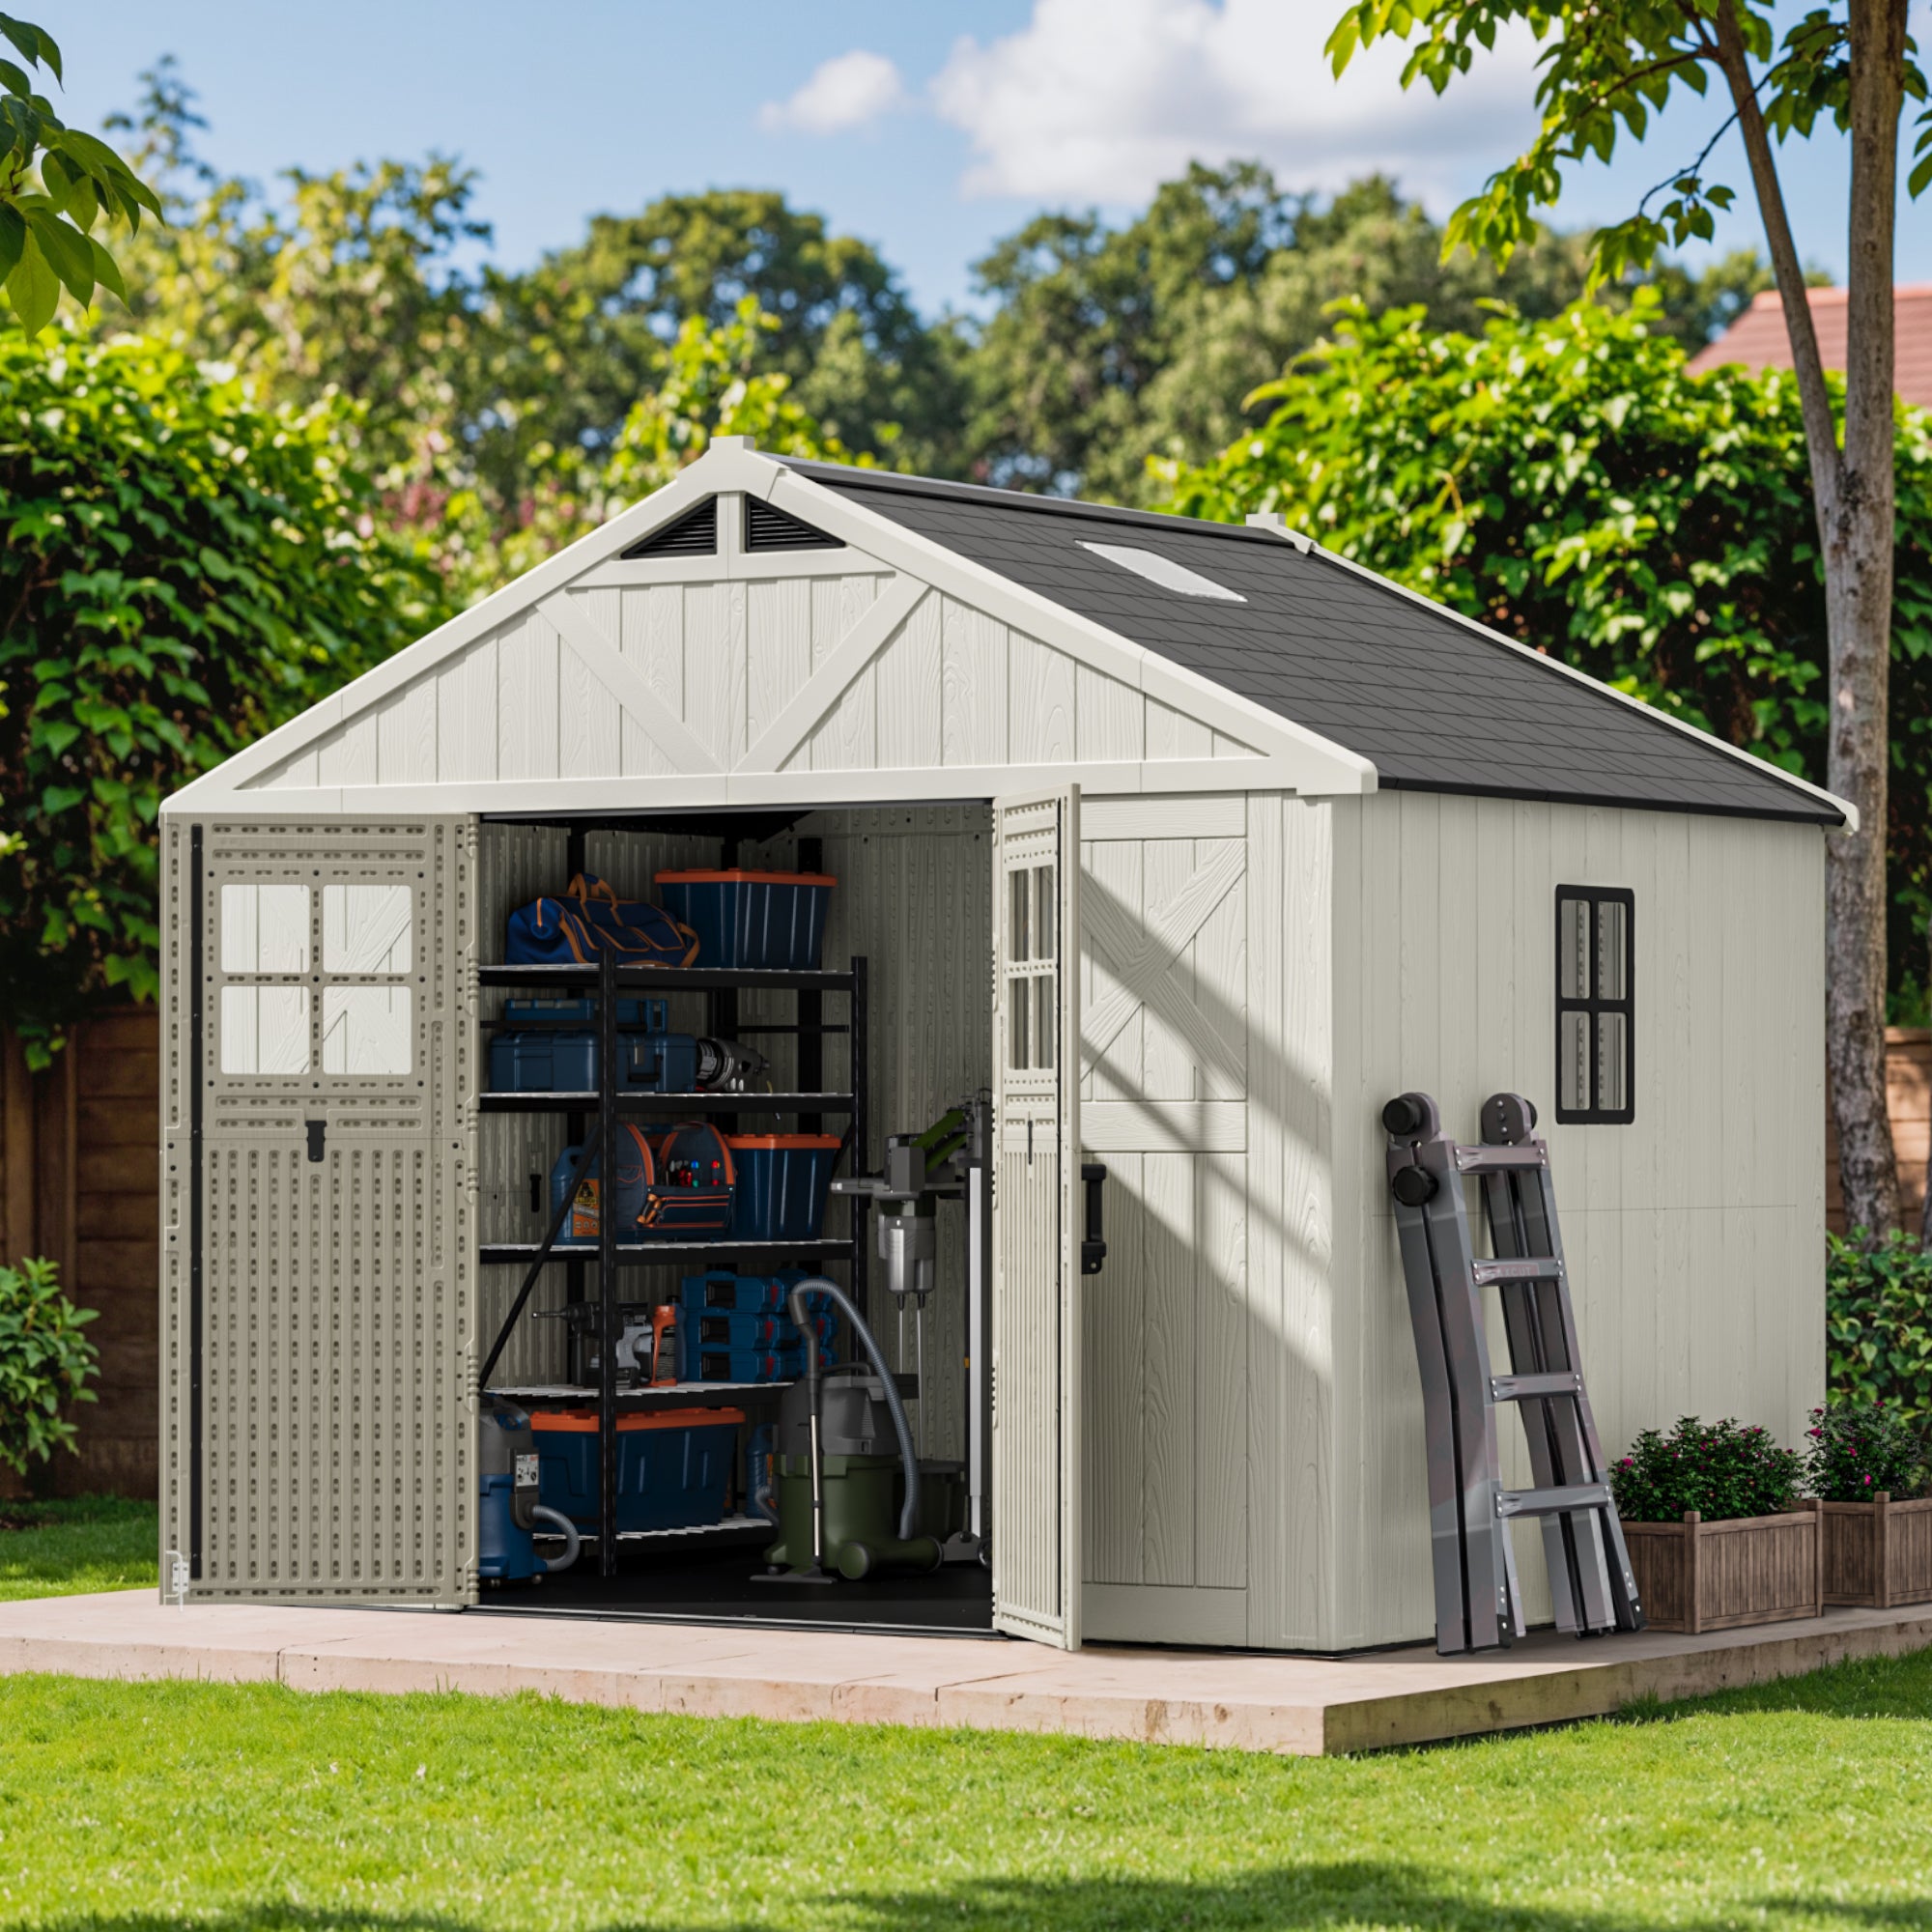
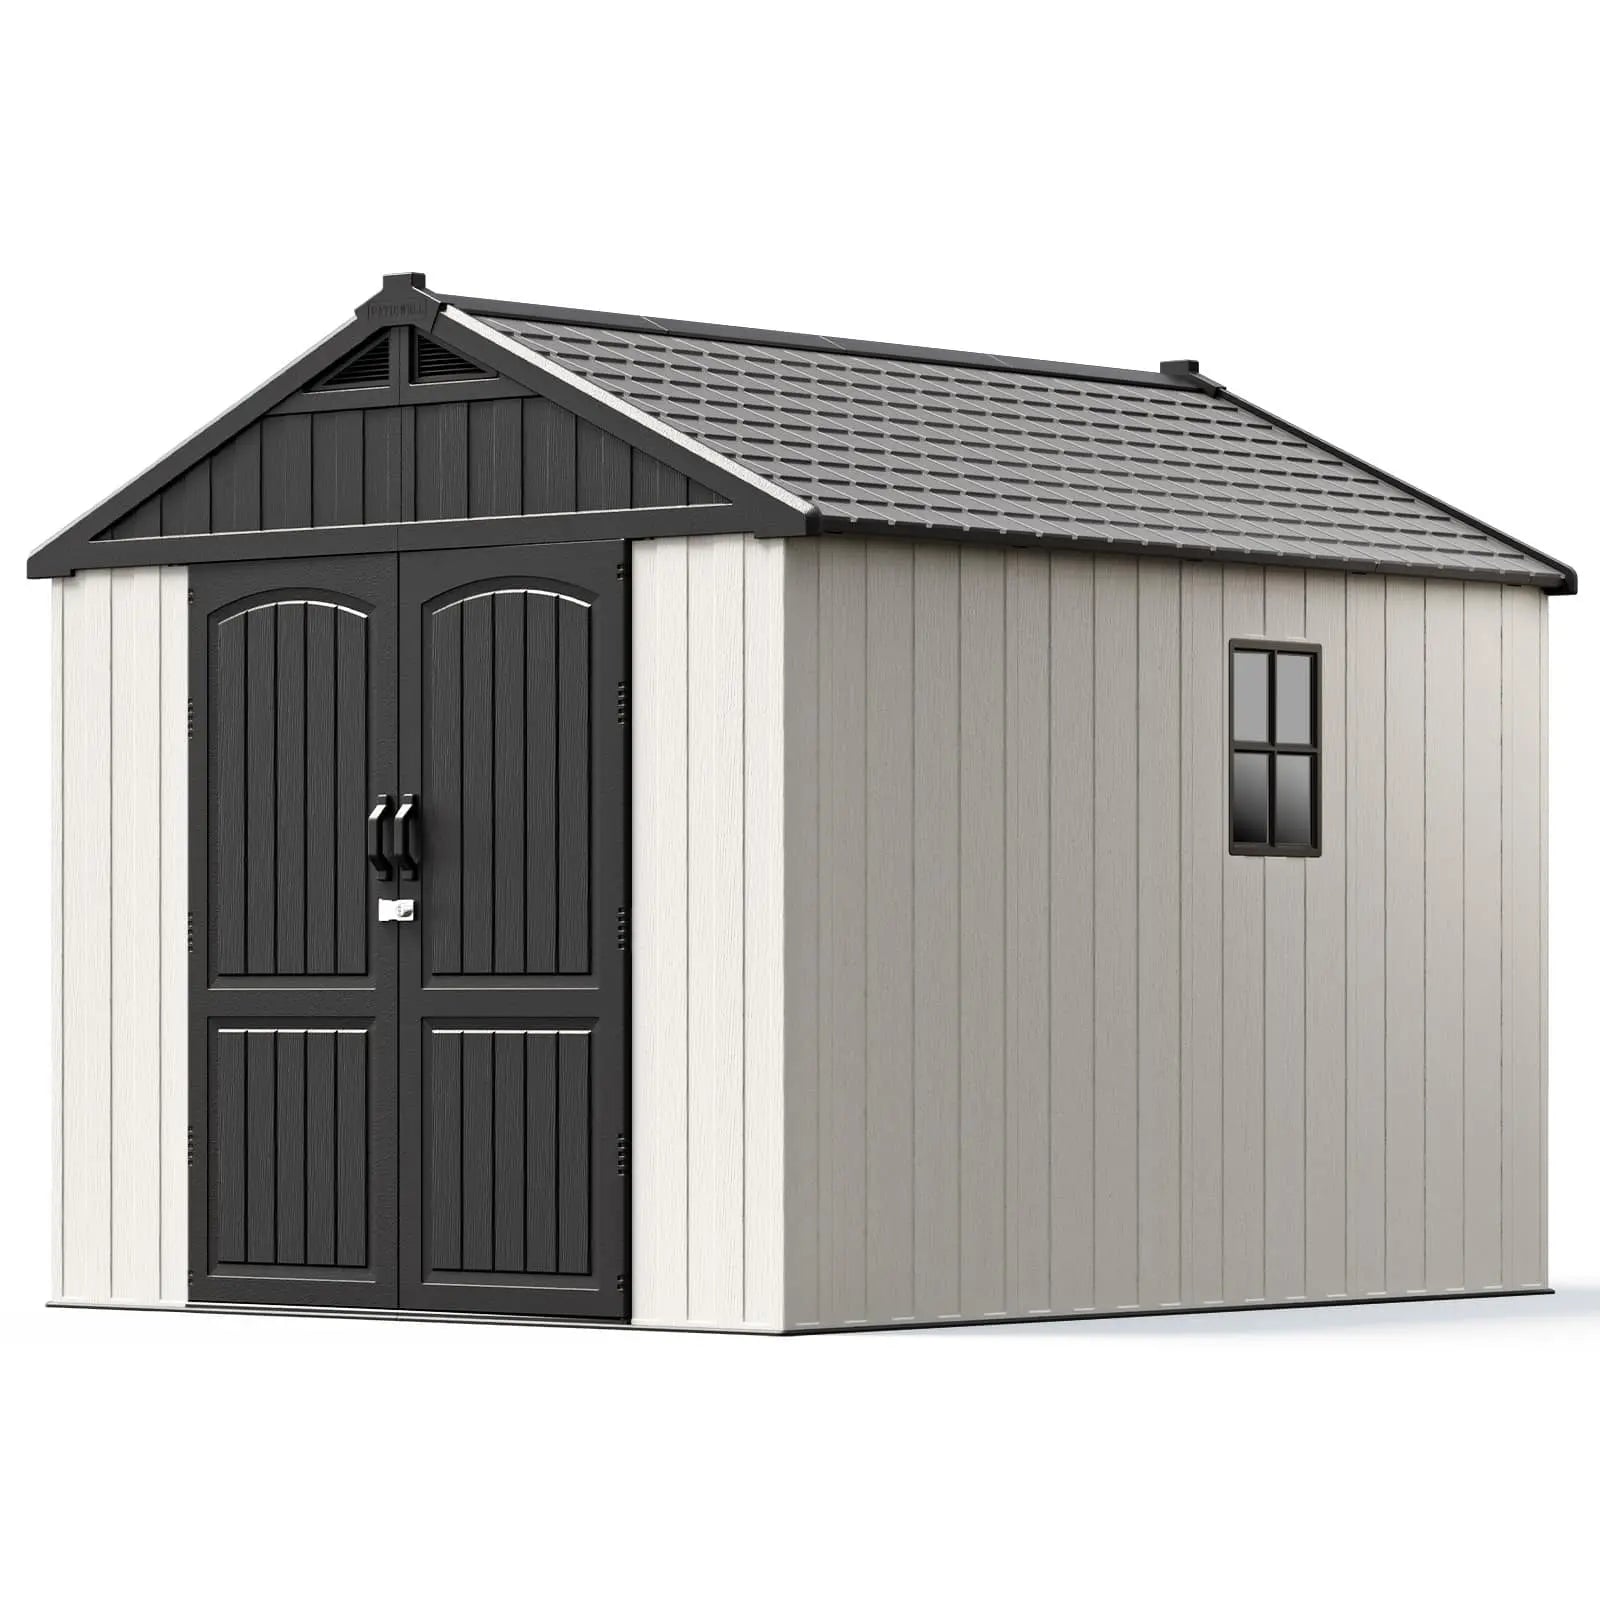
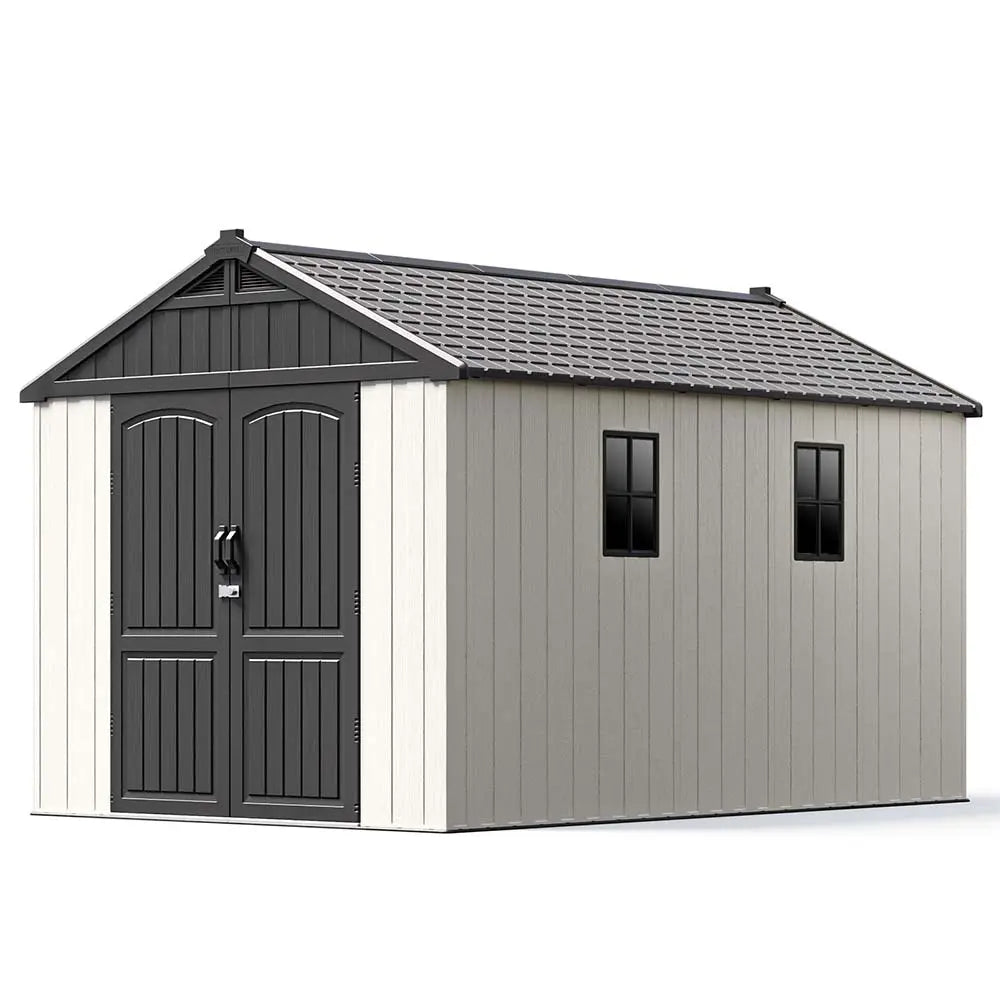
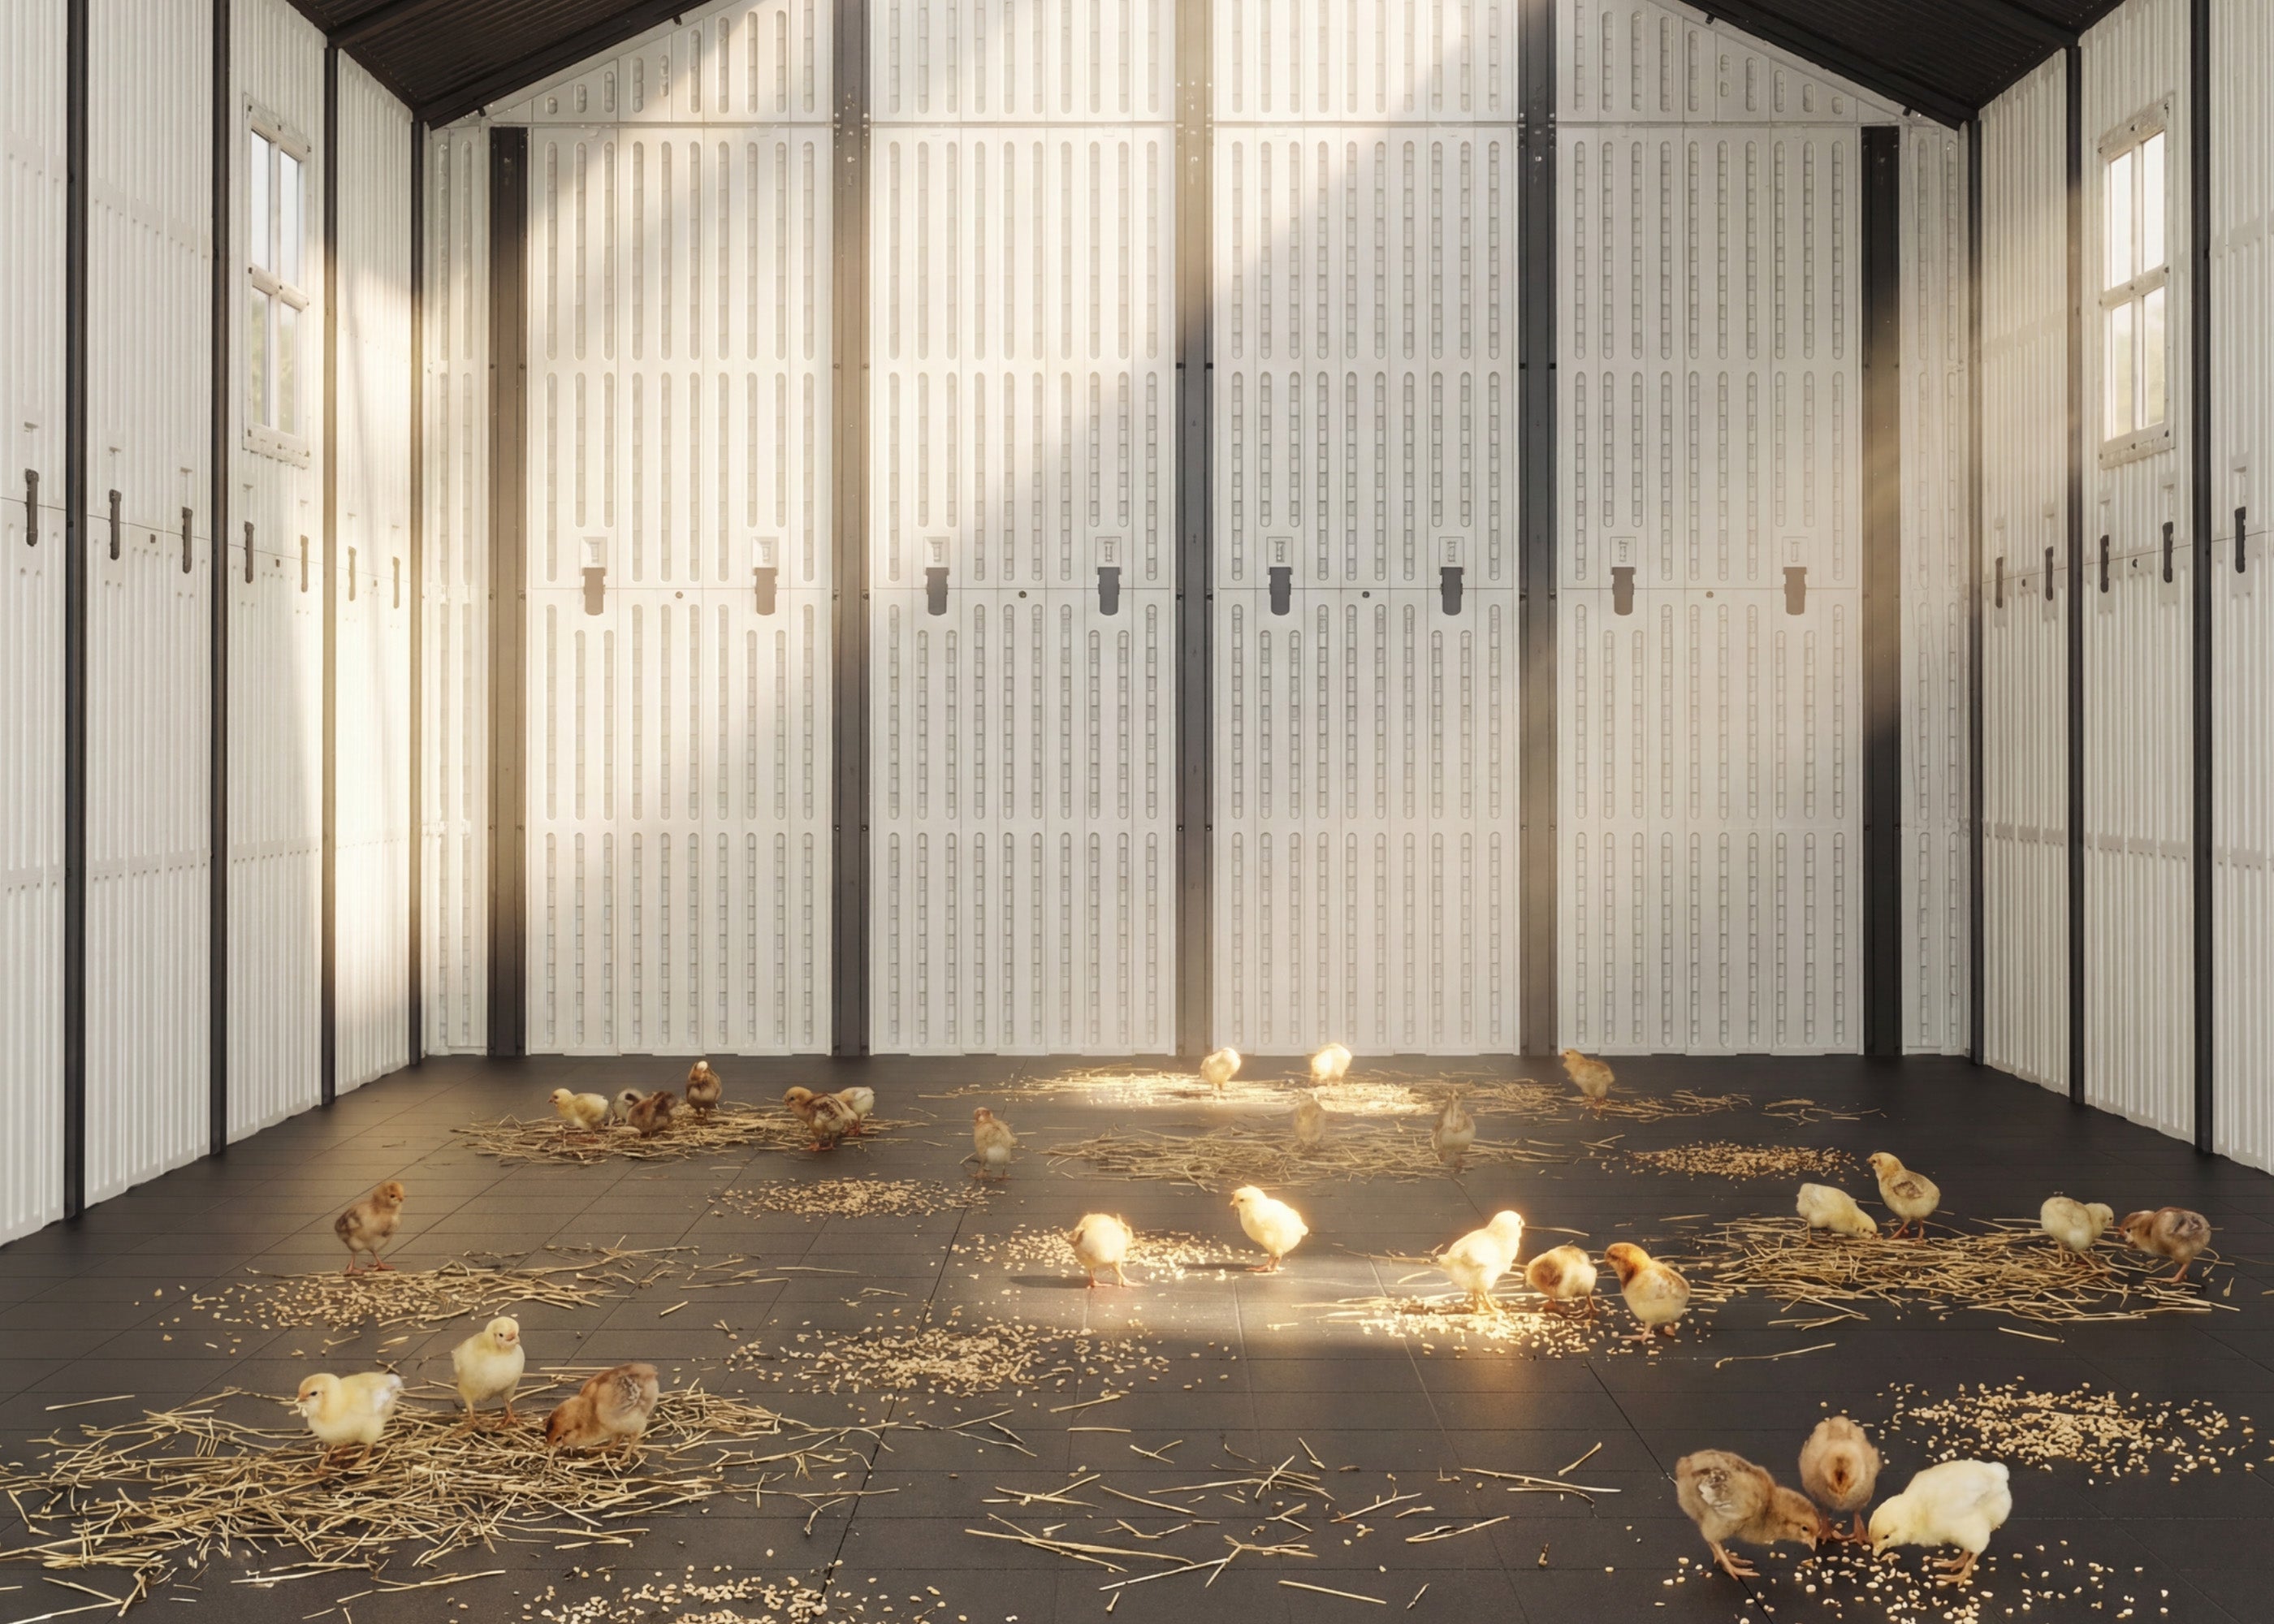
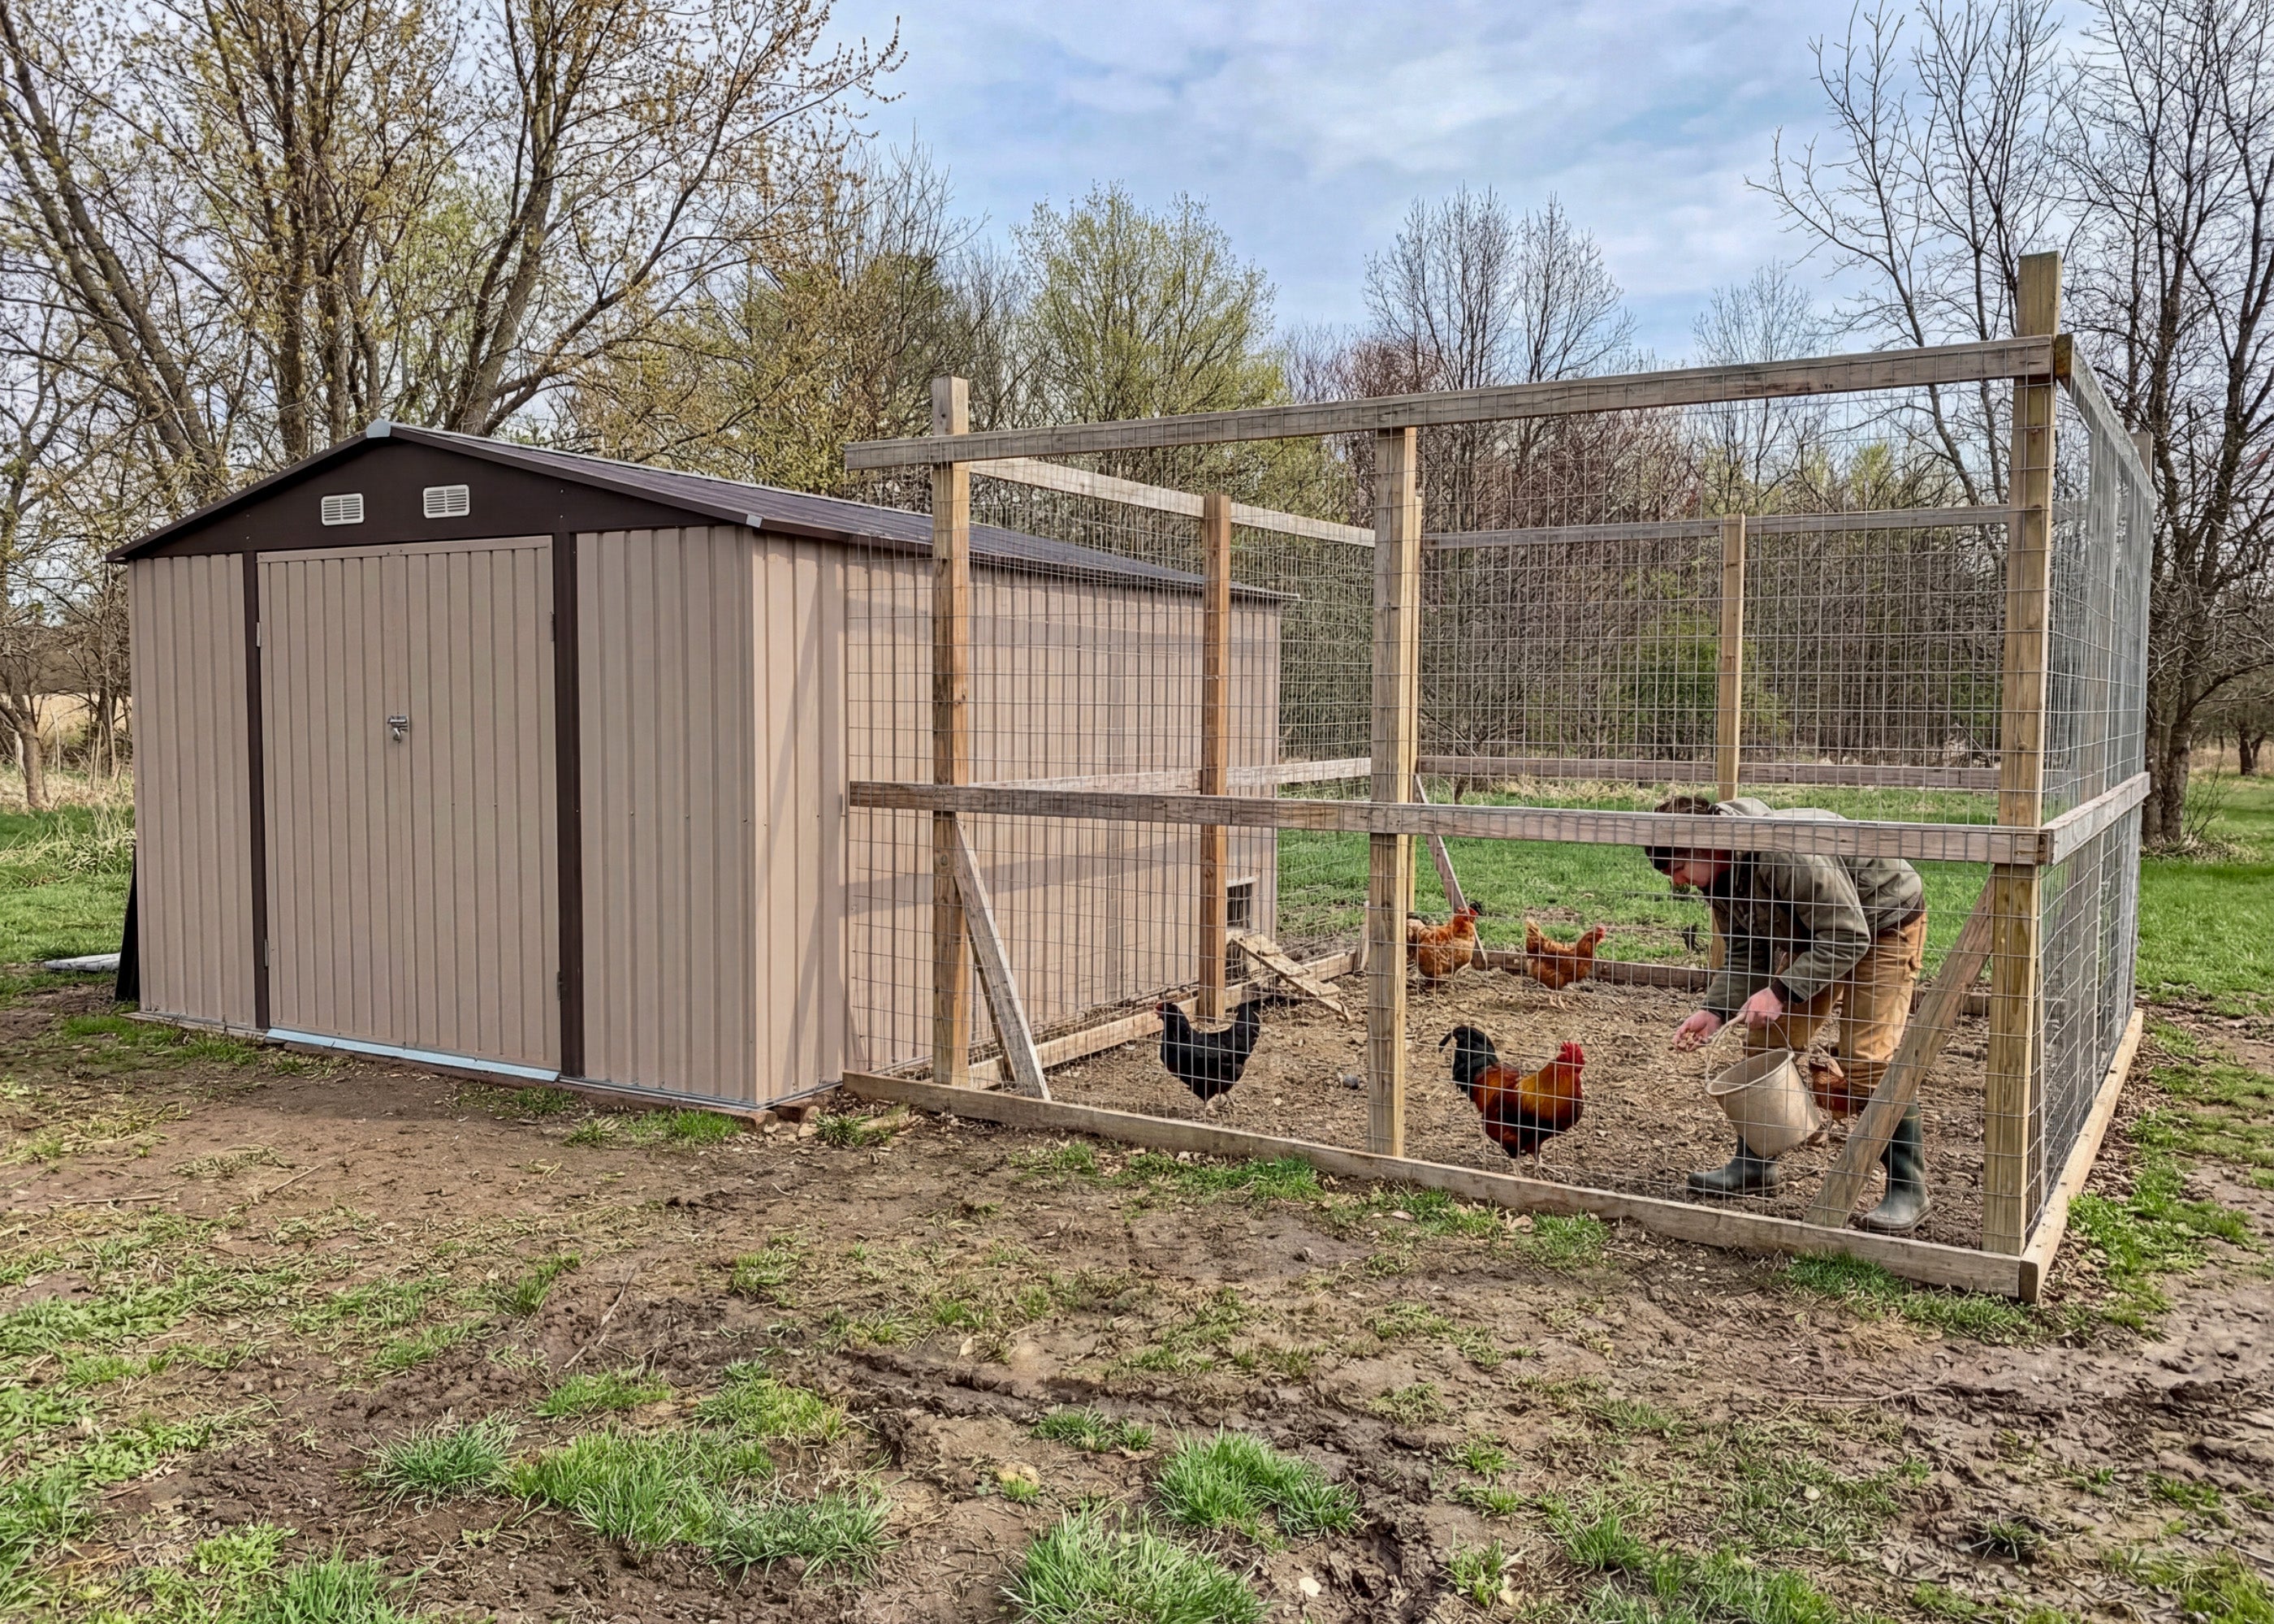
Want to raise a few feathered friends but short on space? If you have an unused shed, with just a little renovation, you can create a beautiful and functional shed chicken coop.
Pre-launch: Feasibility Analysis & Planning
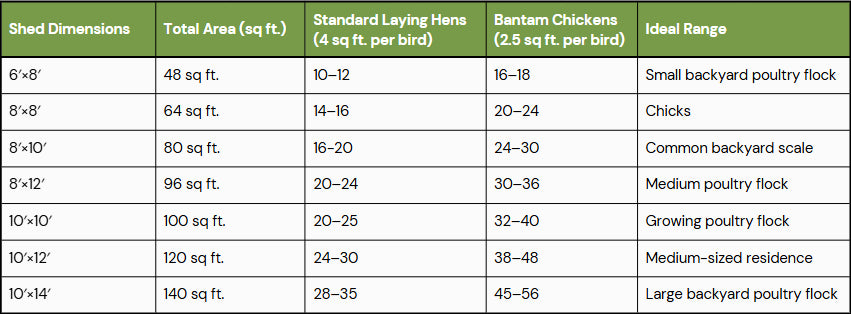
⚠ The above figures assume birds have regular outdoor access. If birds are confined indoors all day, free-range space must be increased by 25% to 50%.
Planning Key Points: Avoid Overcrowding
Most experienced poultry keepers recommend limiting stocking density to 70%–85% of maximum capacity to:
Reduce pecking order aggression
For example:


Many cities have established regulations for poultry keeping, including setback distances or permit requirements. Before undertaking any home modifications, be sure to review zoning ordinances and homeowners association (HOA) bylaws.
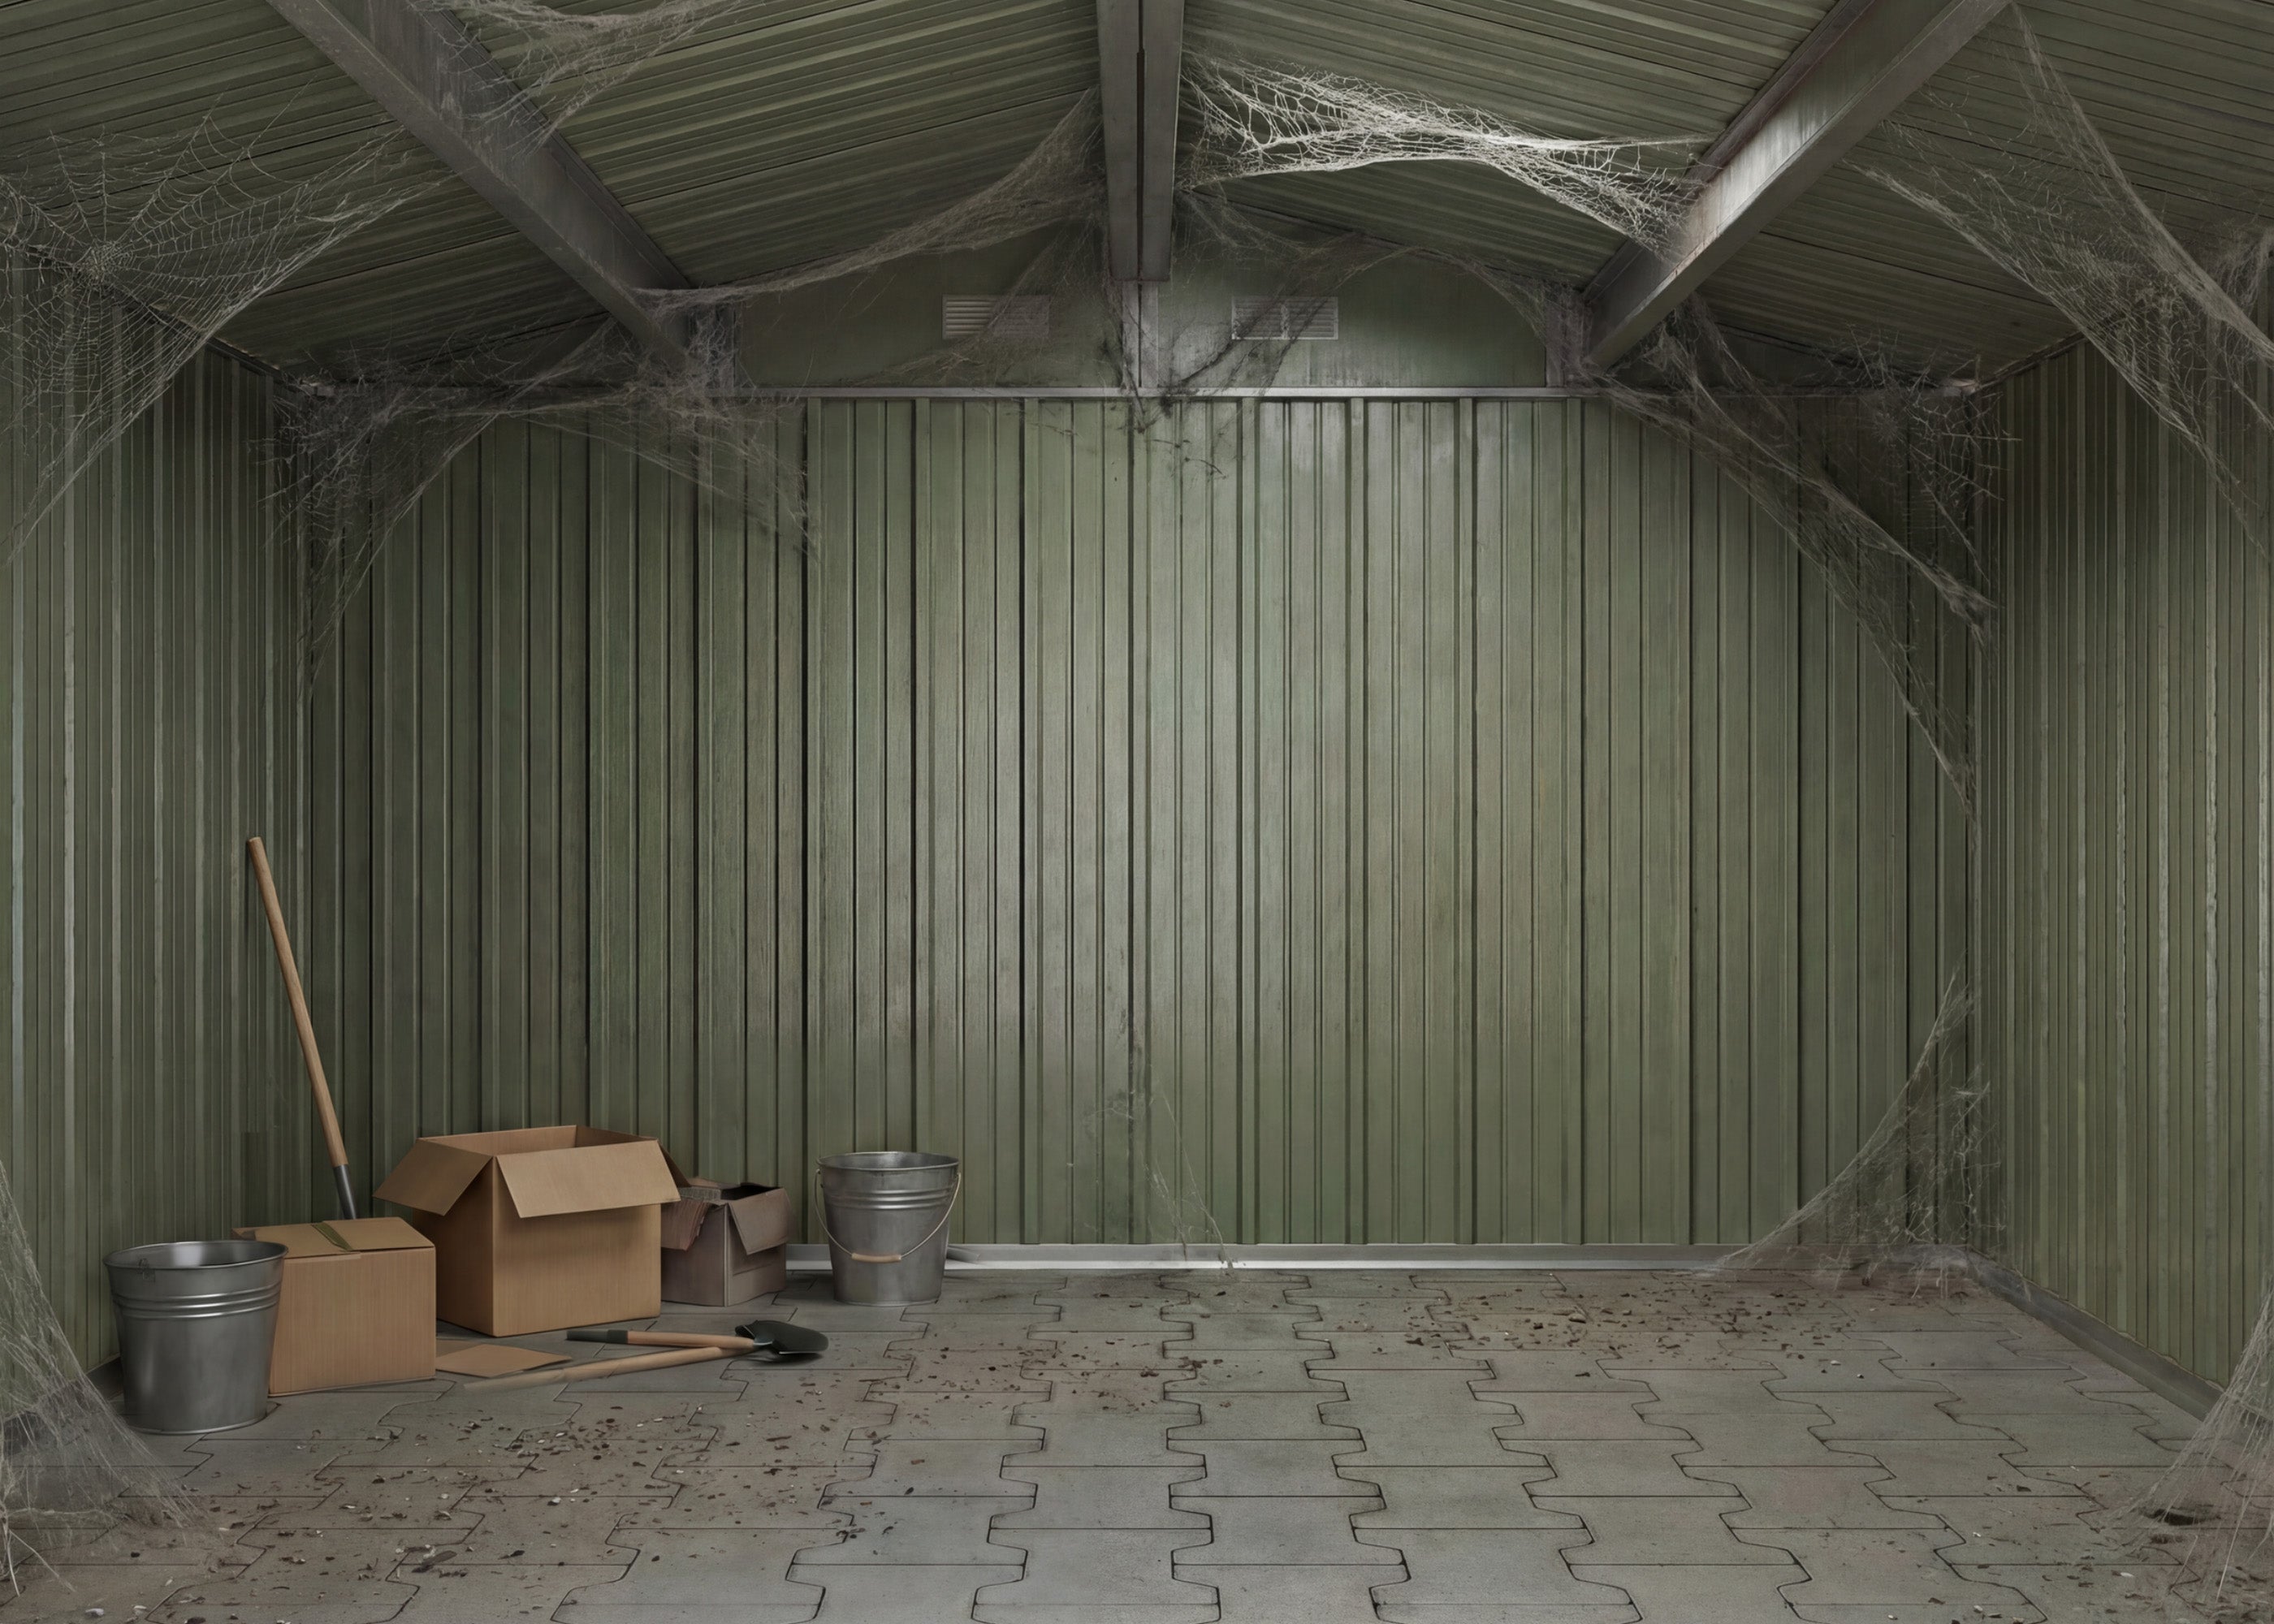
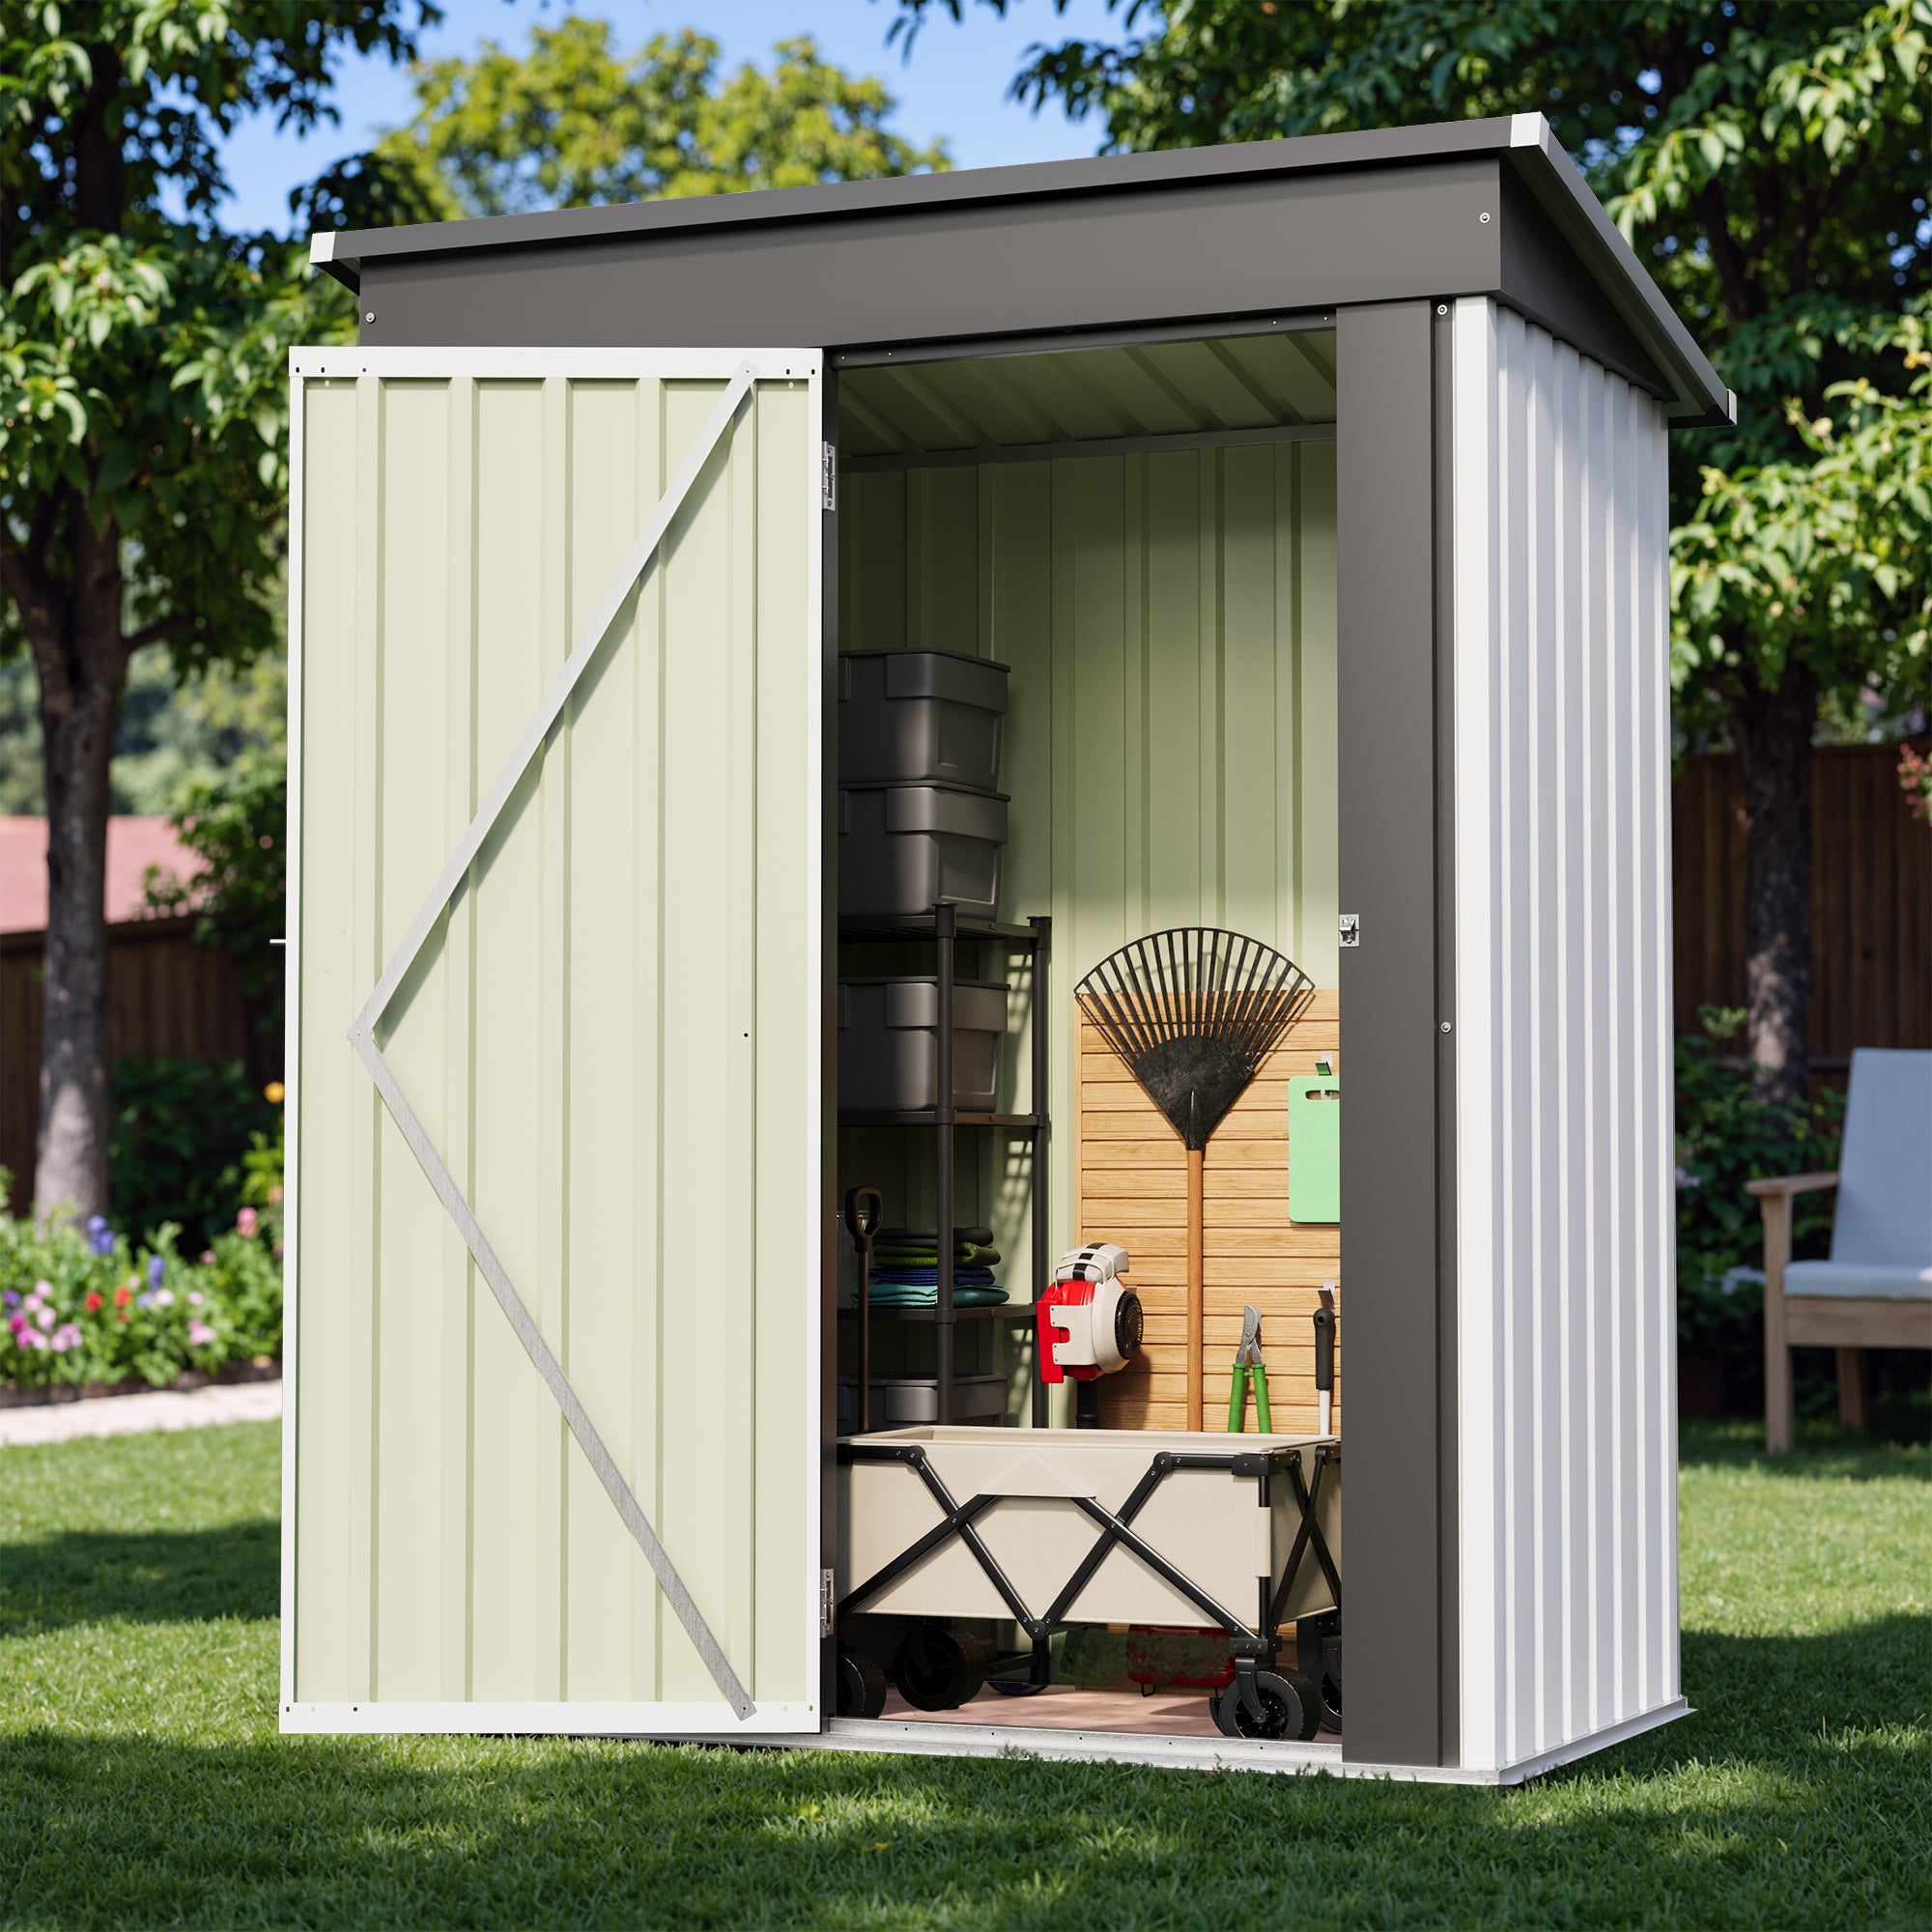
Remove shelves, stored items, and any interior decorations unsafe for poultry. Thoroughly clean the area, removing dust, cobwebs, or rodent nests. Residual odors or toxic residues may harm the flock.
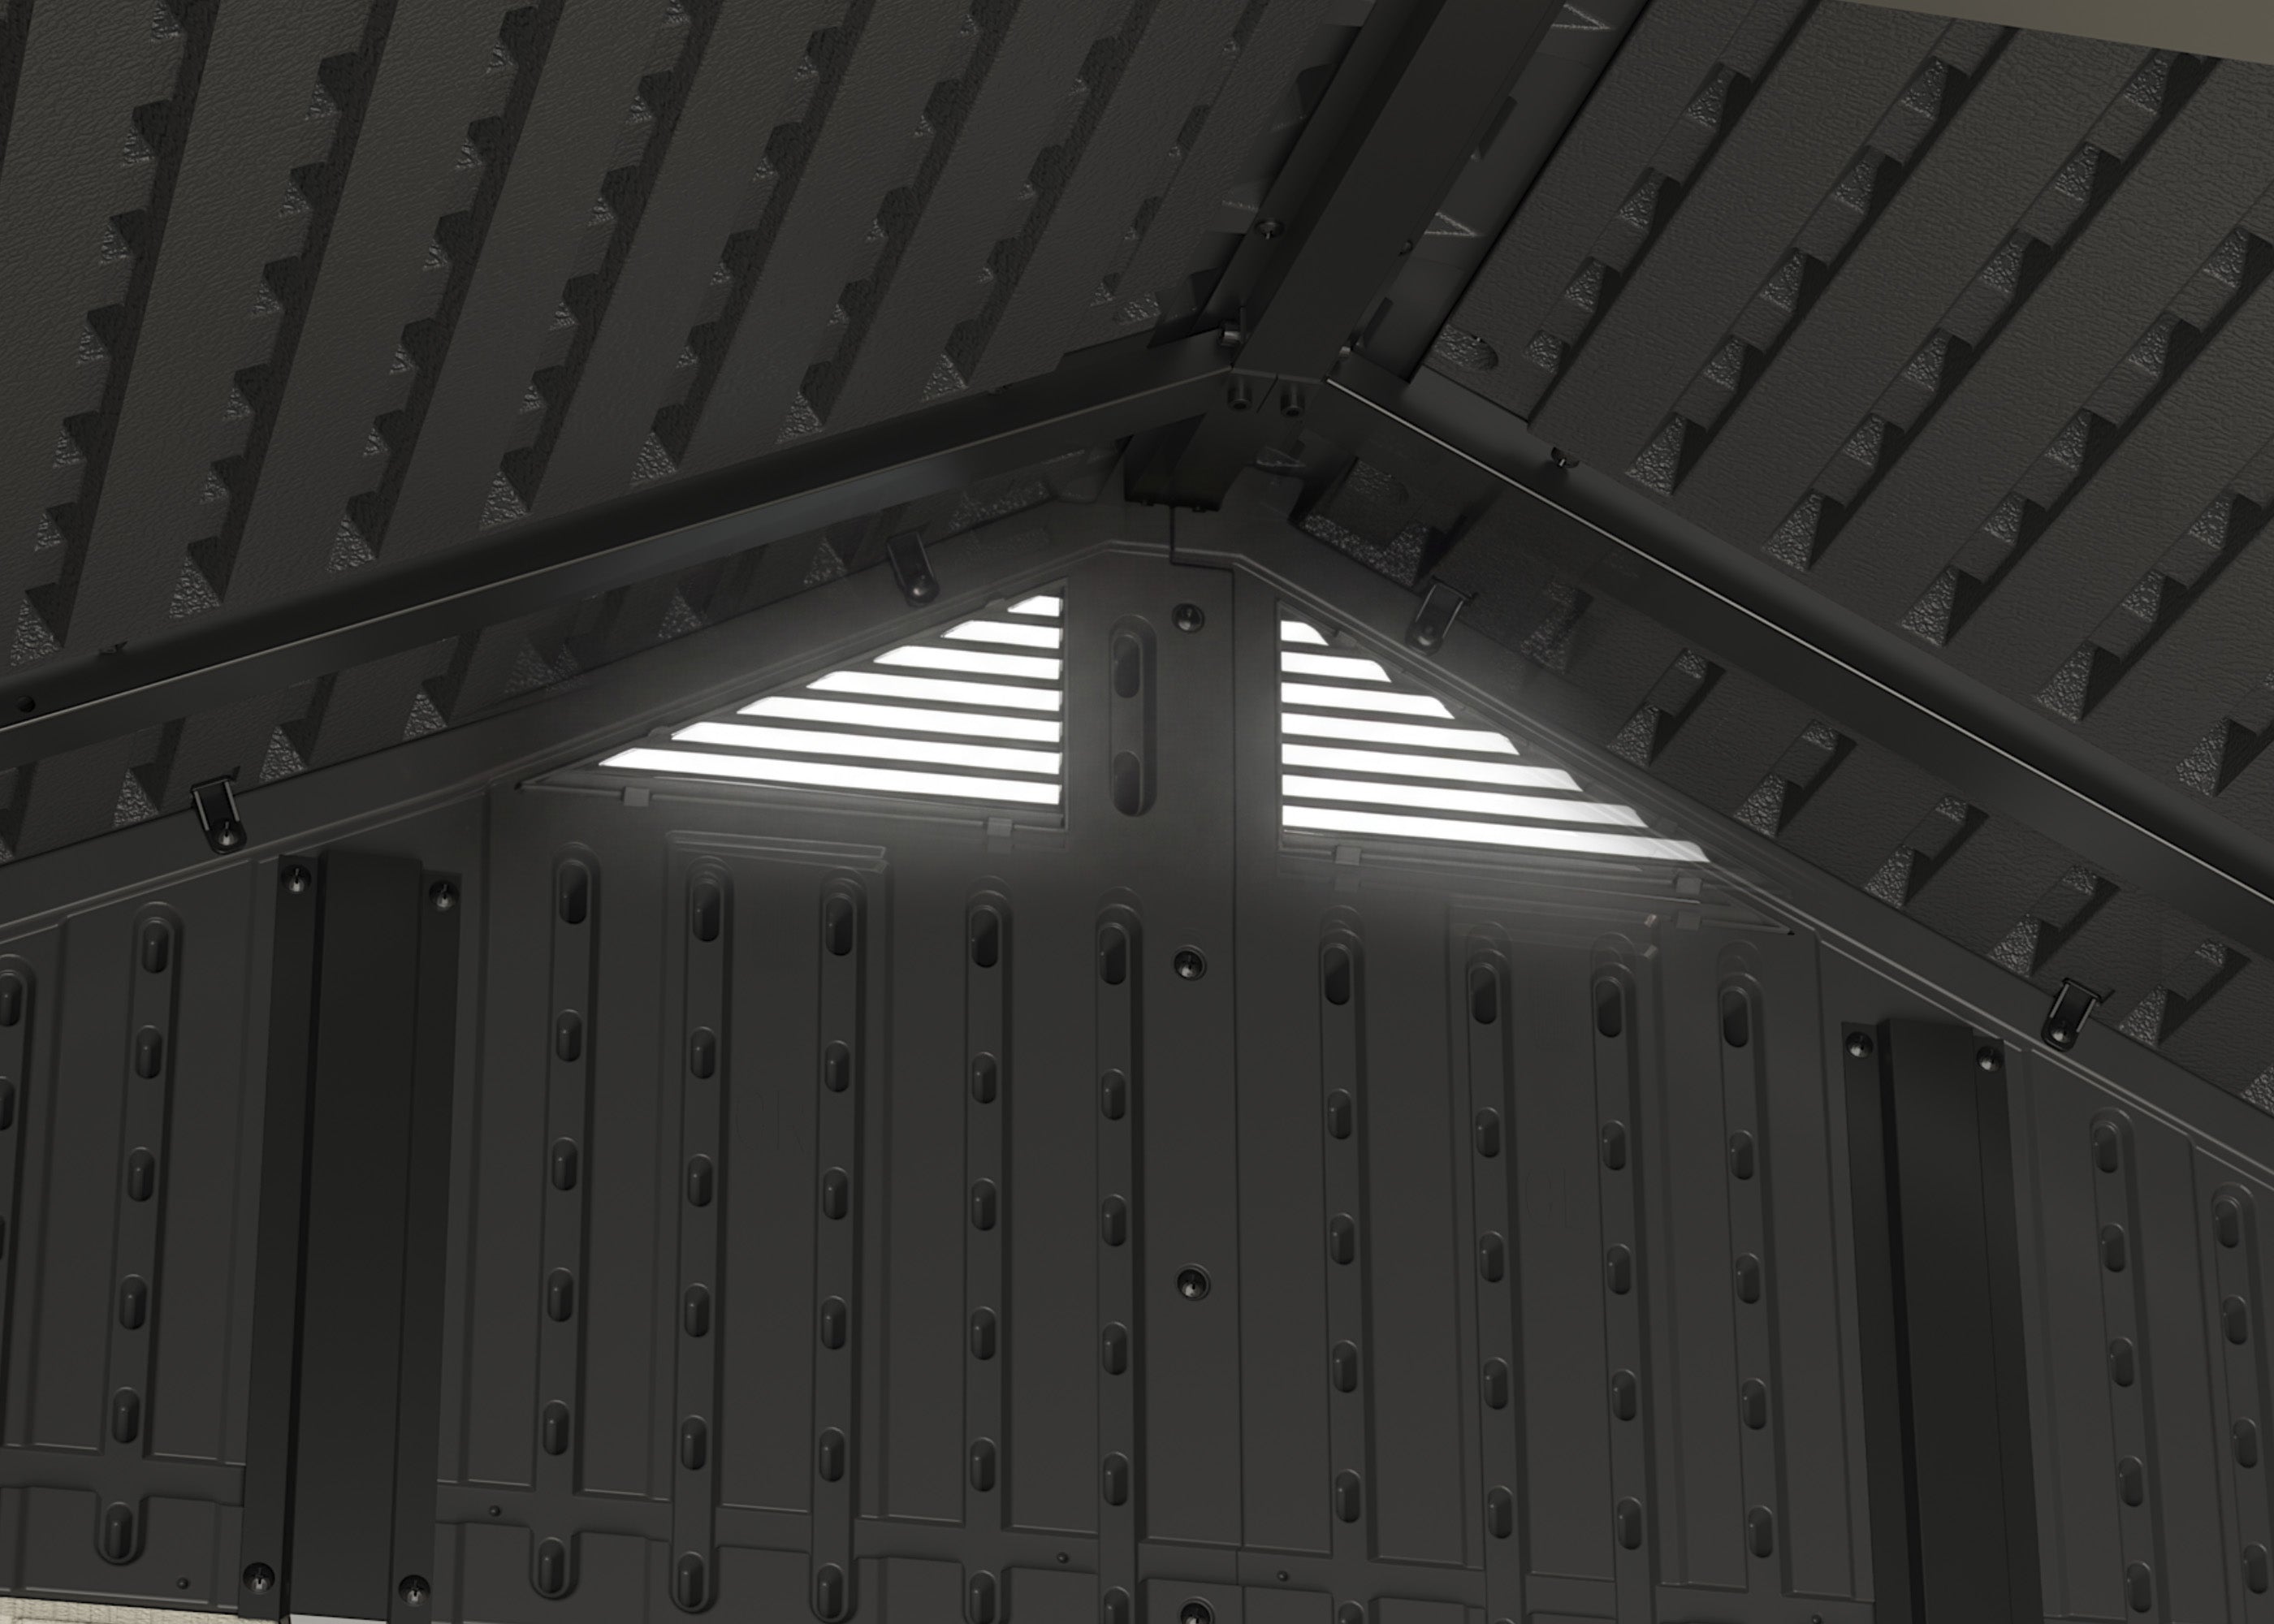
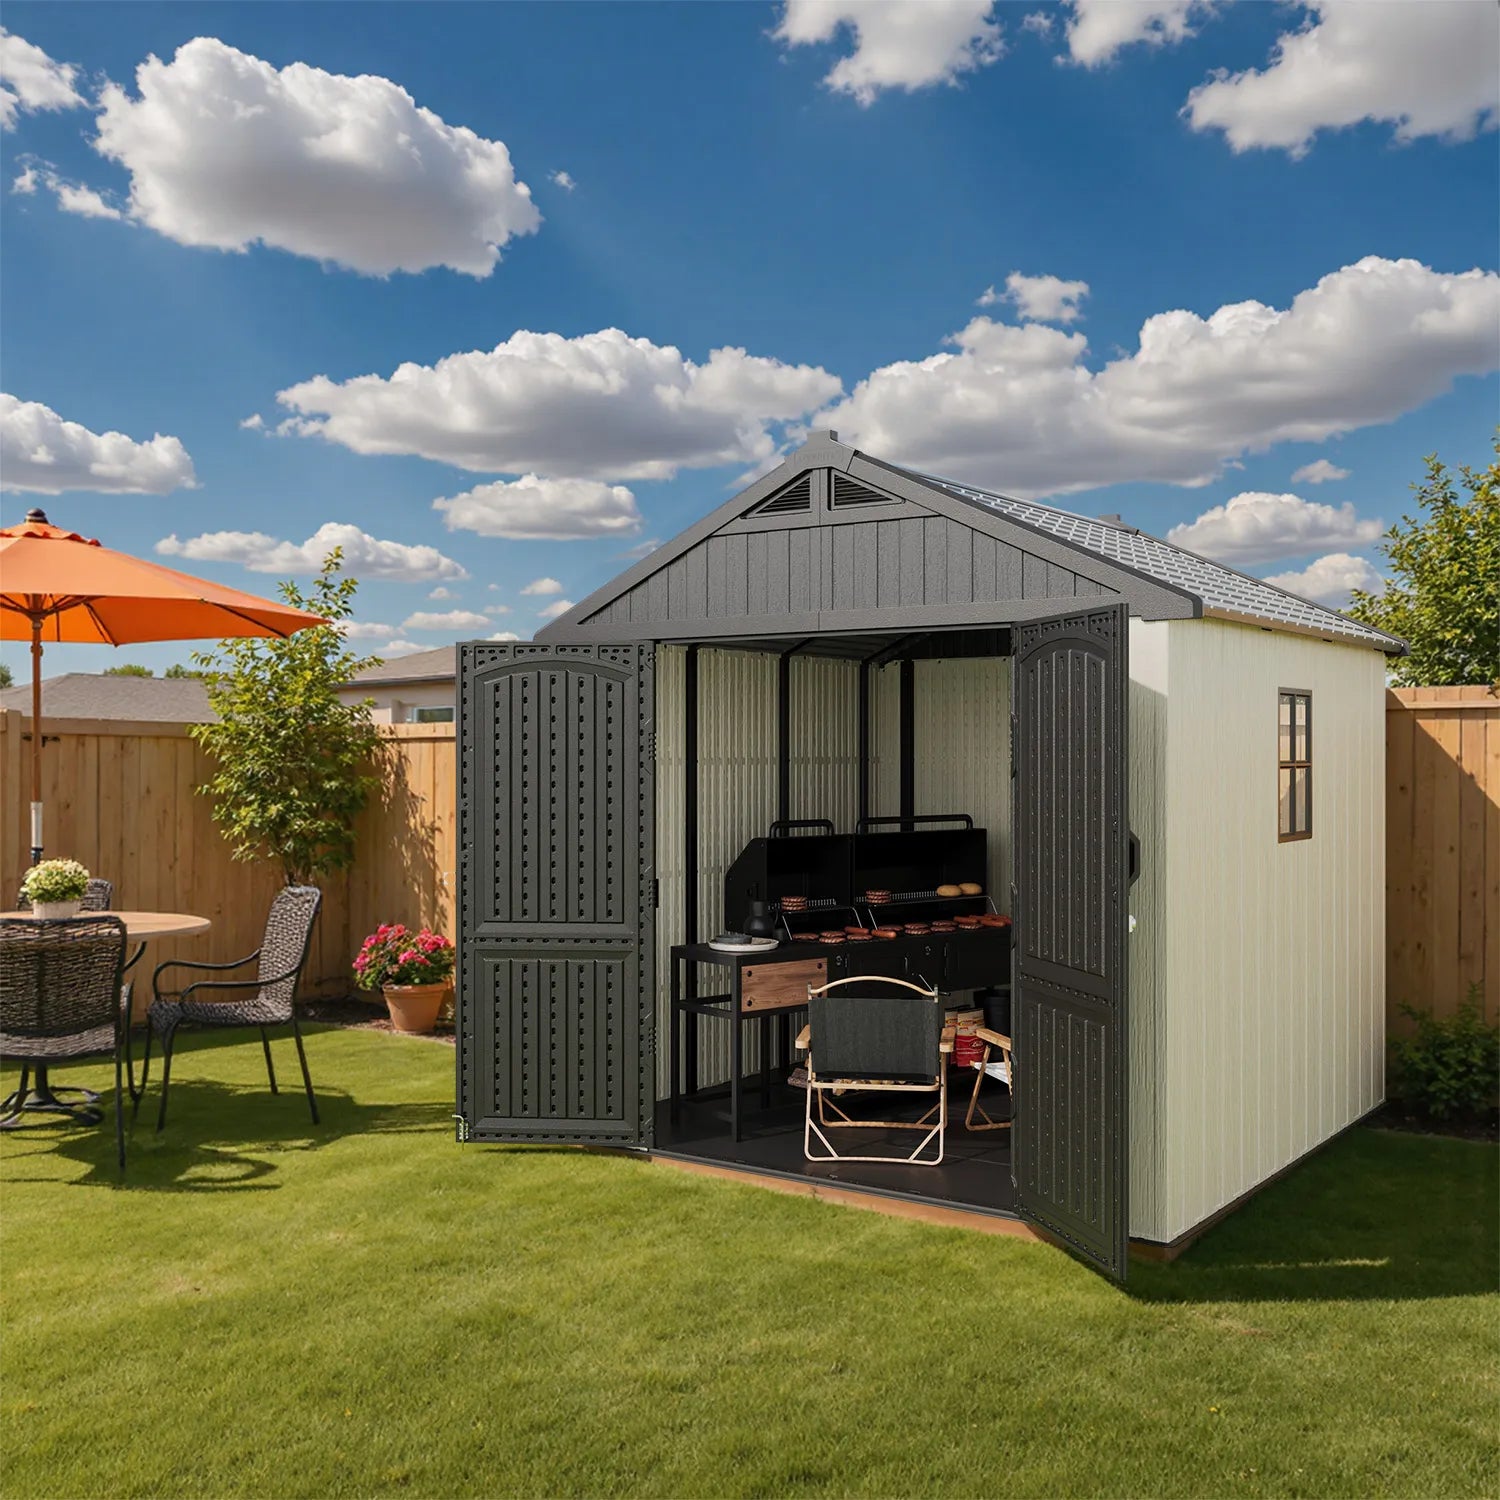
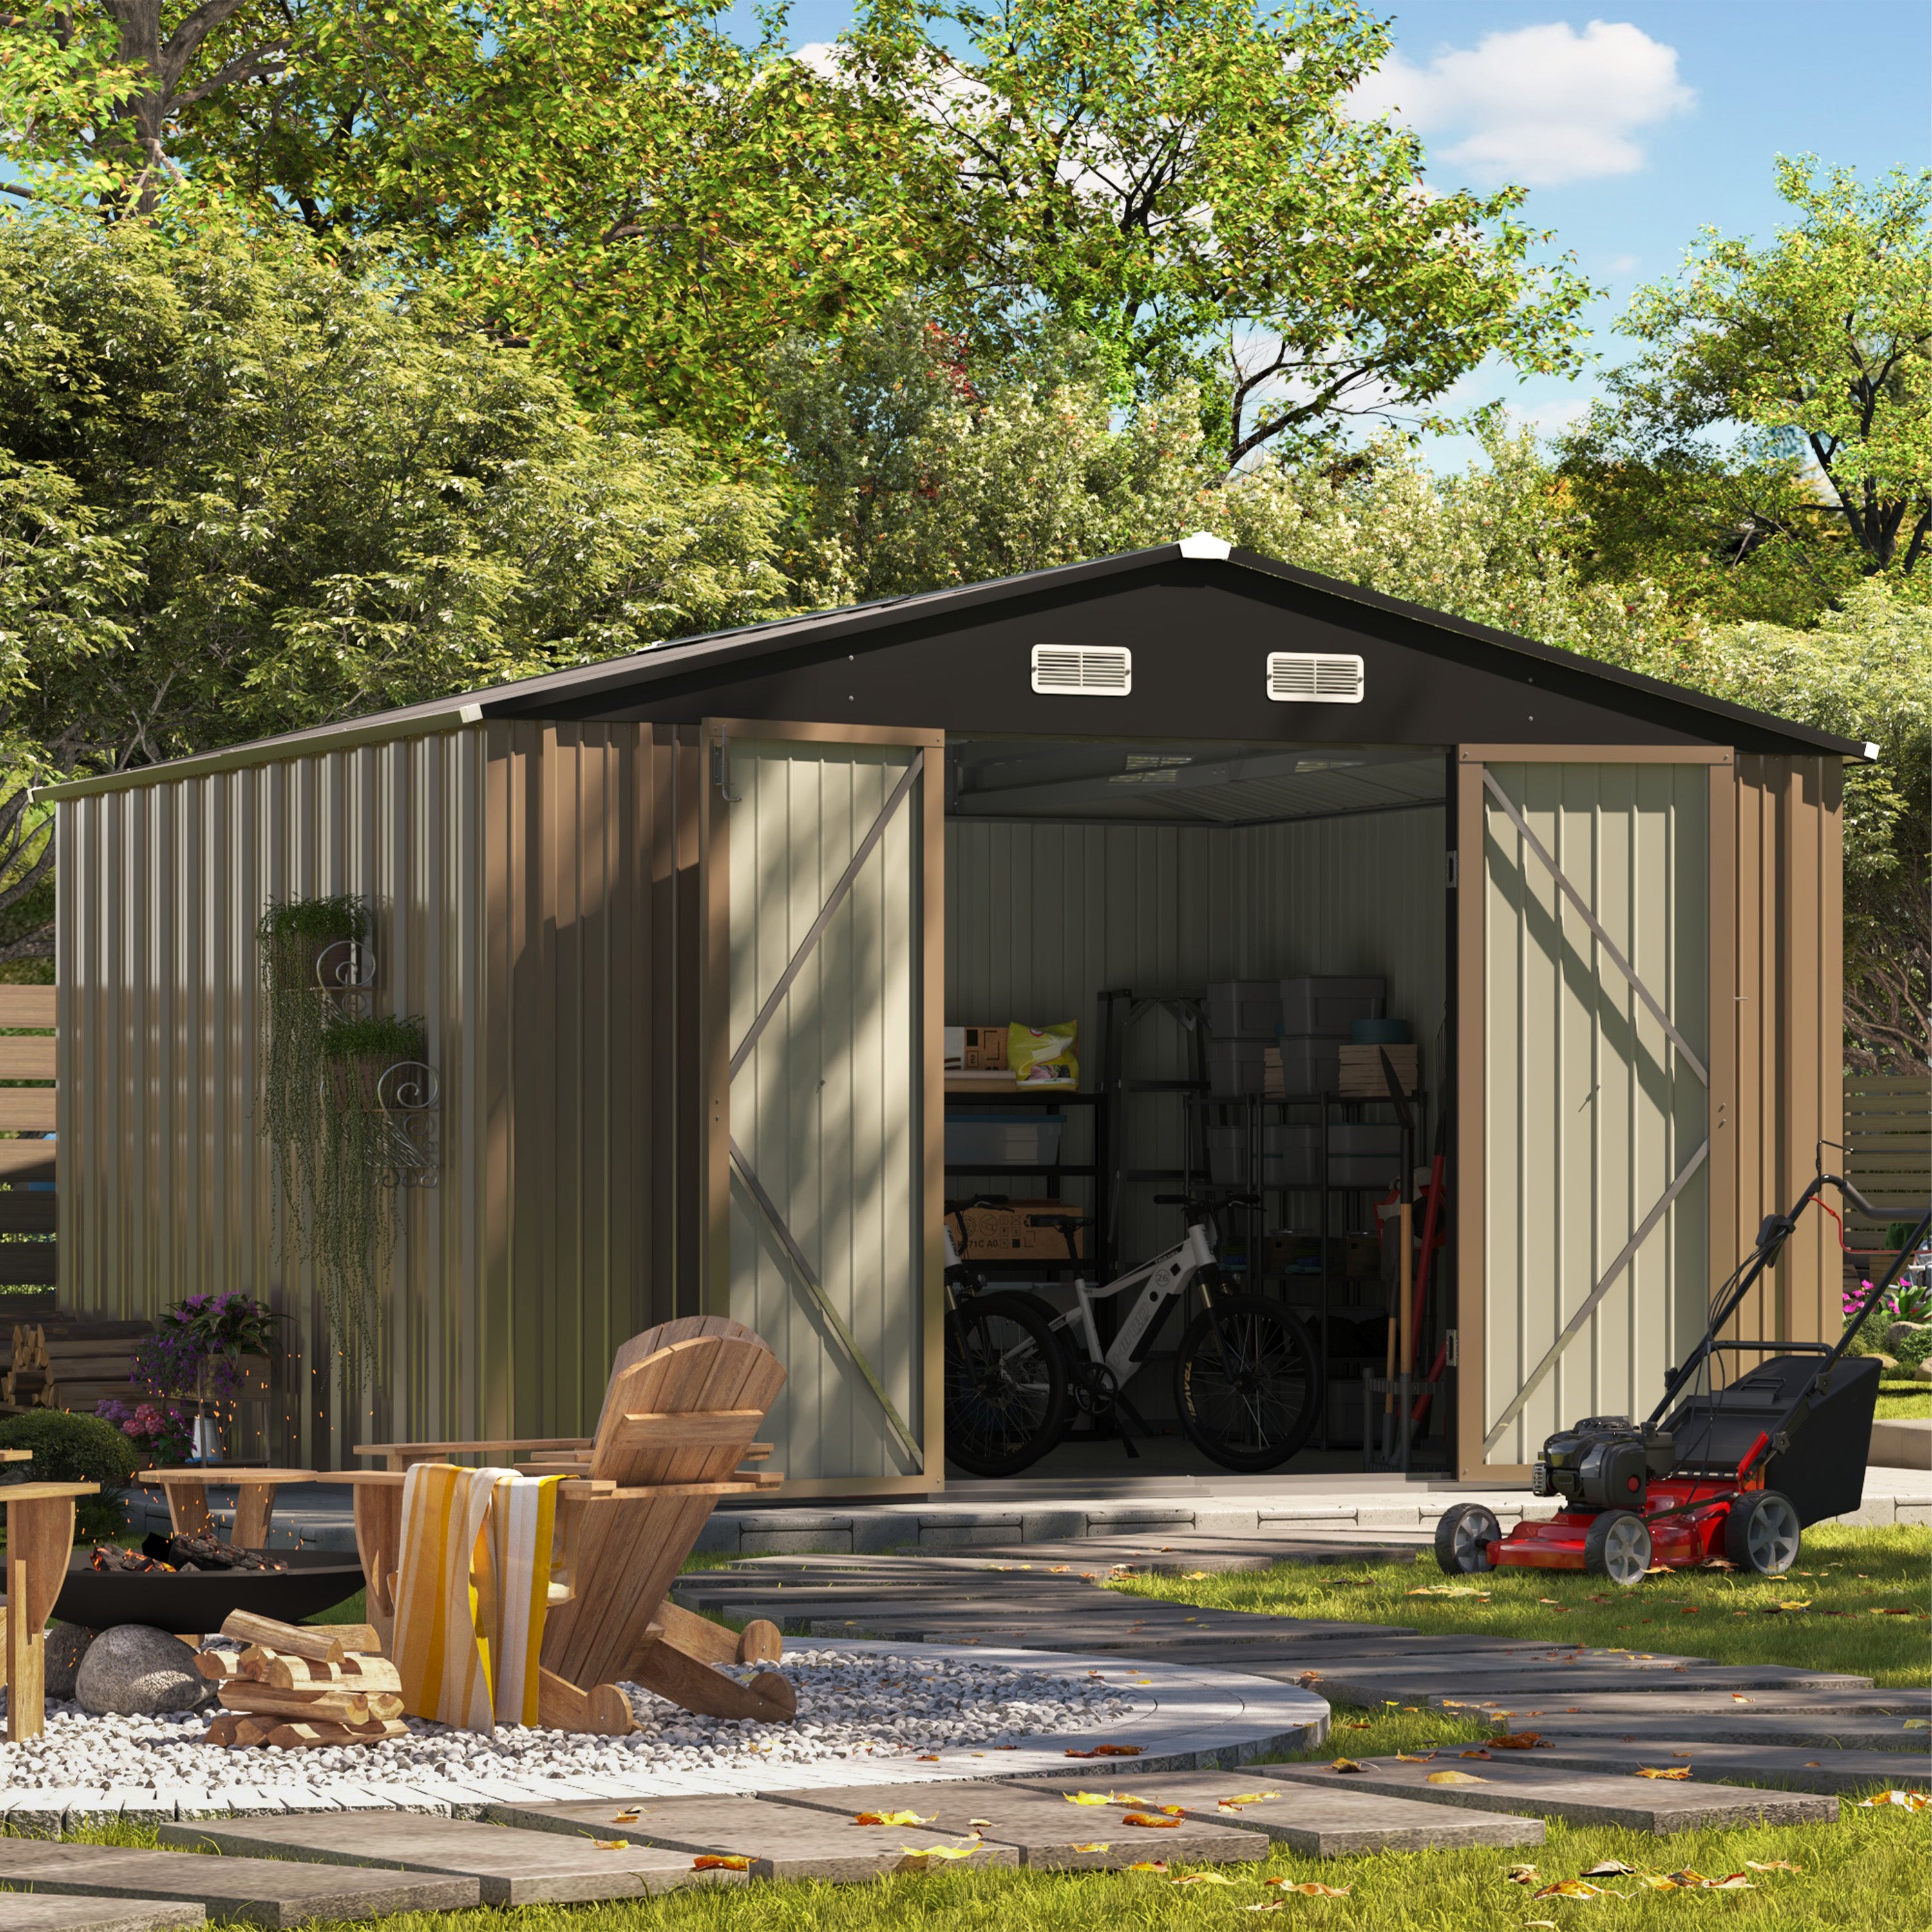
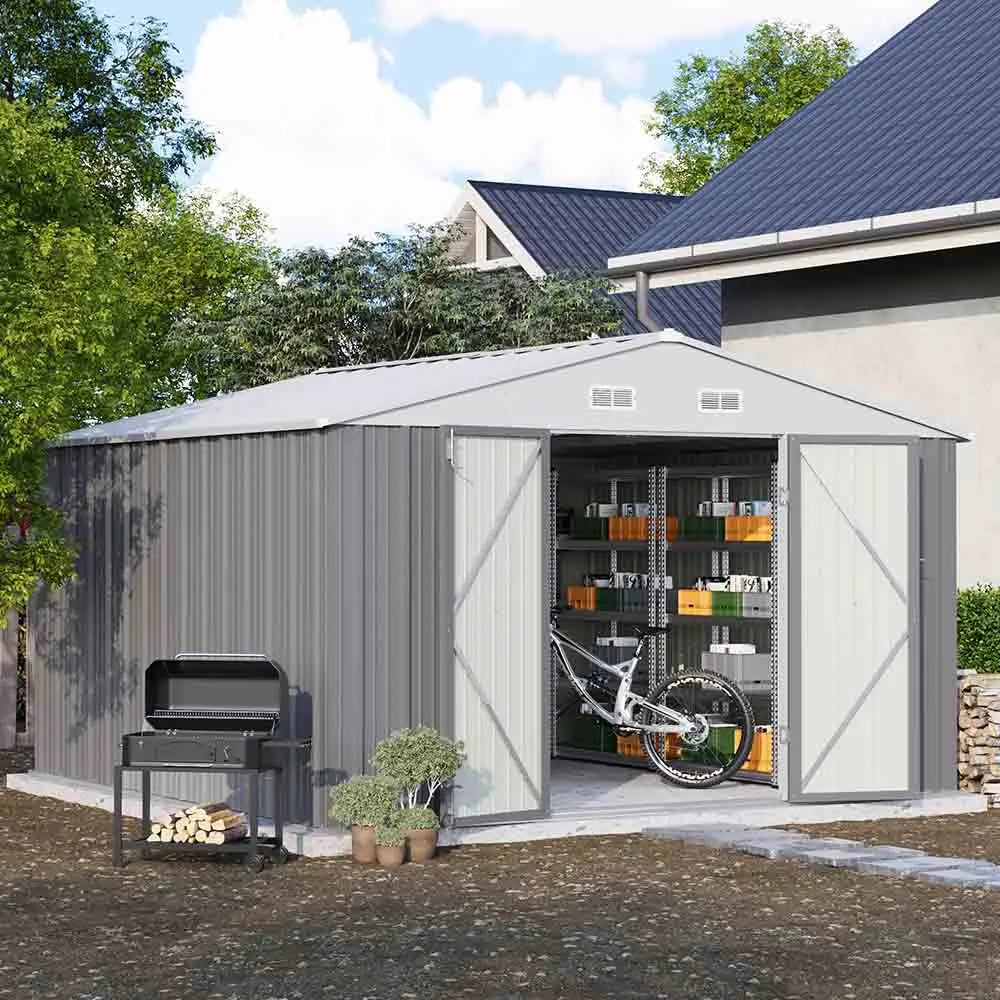
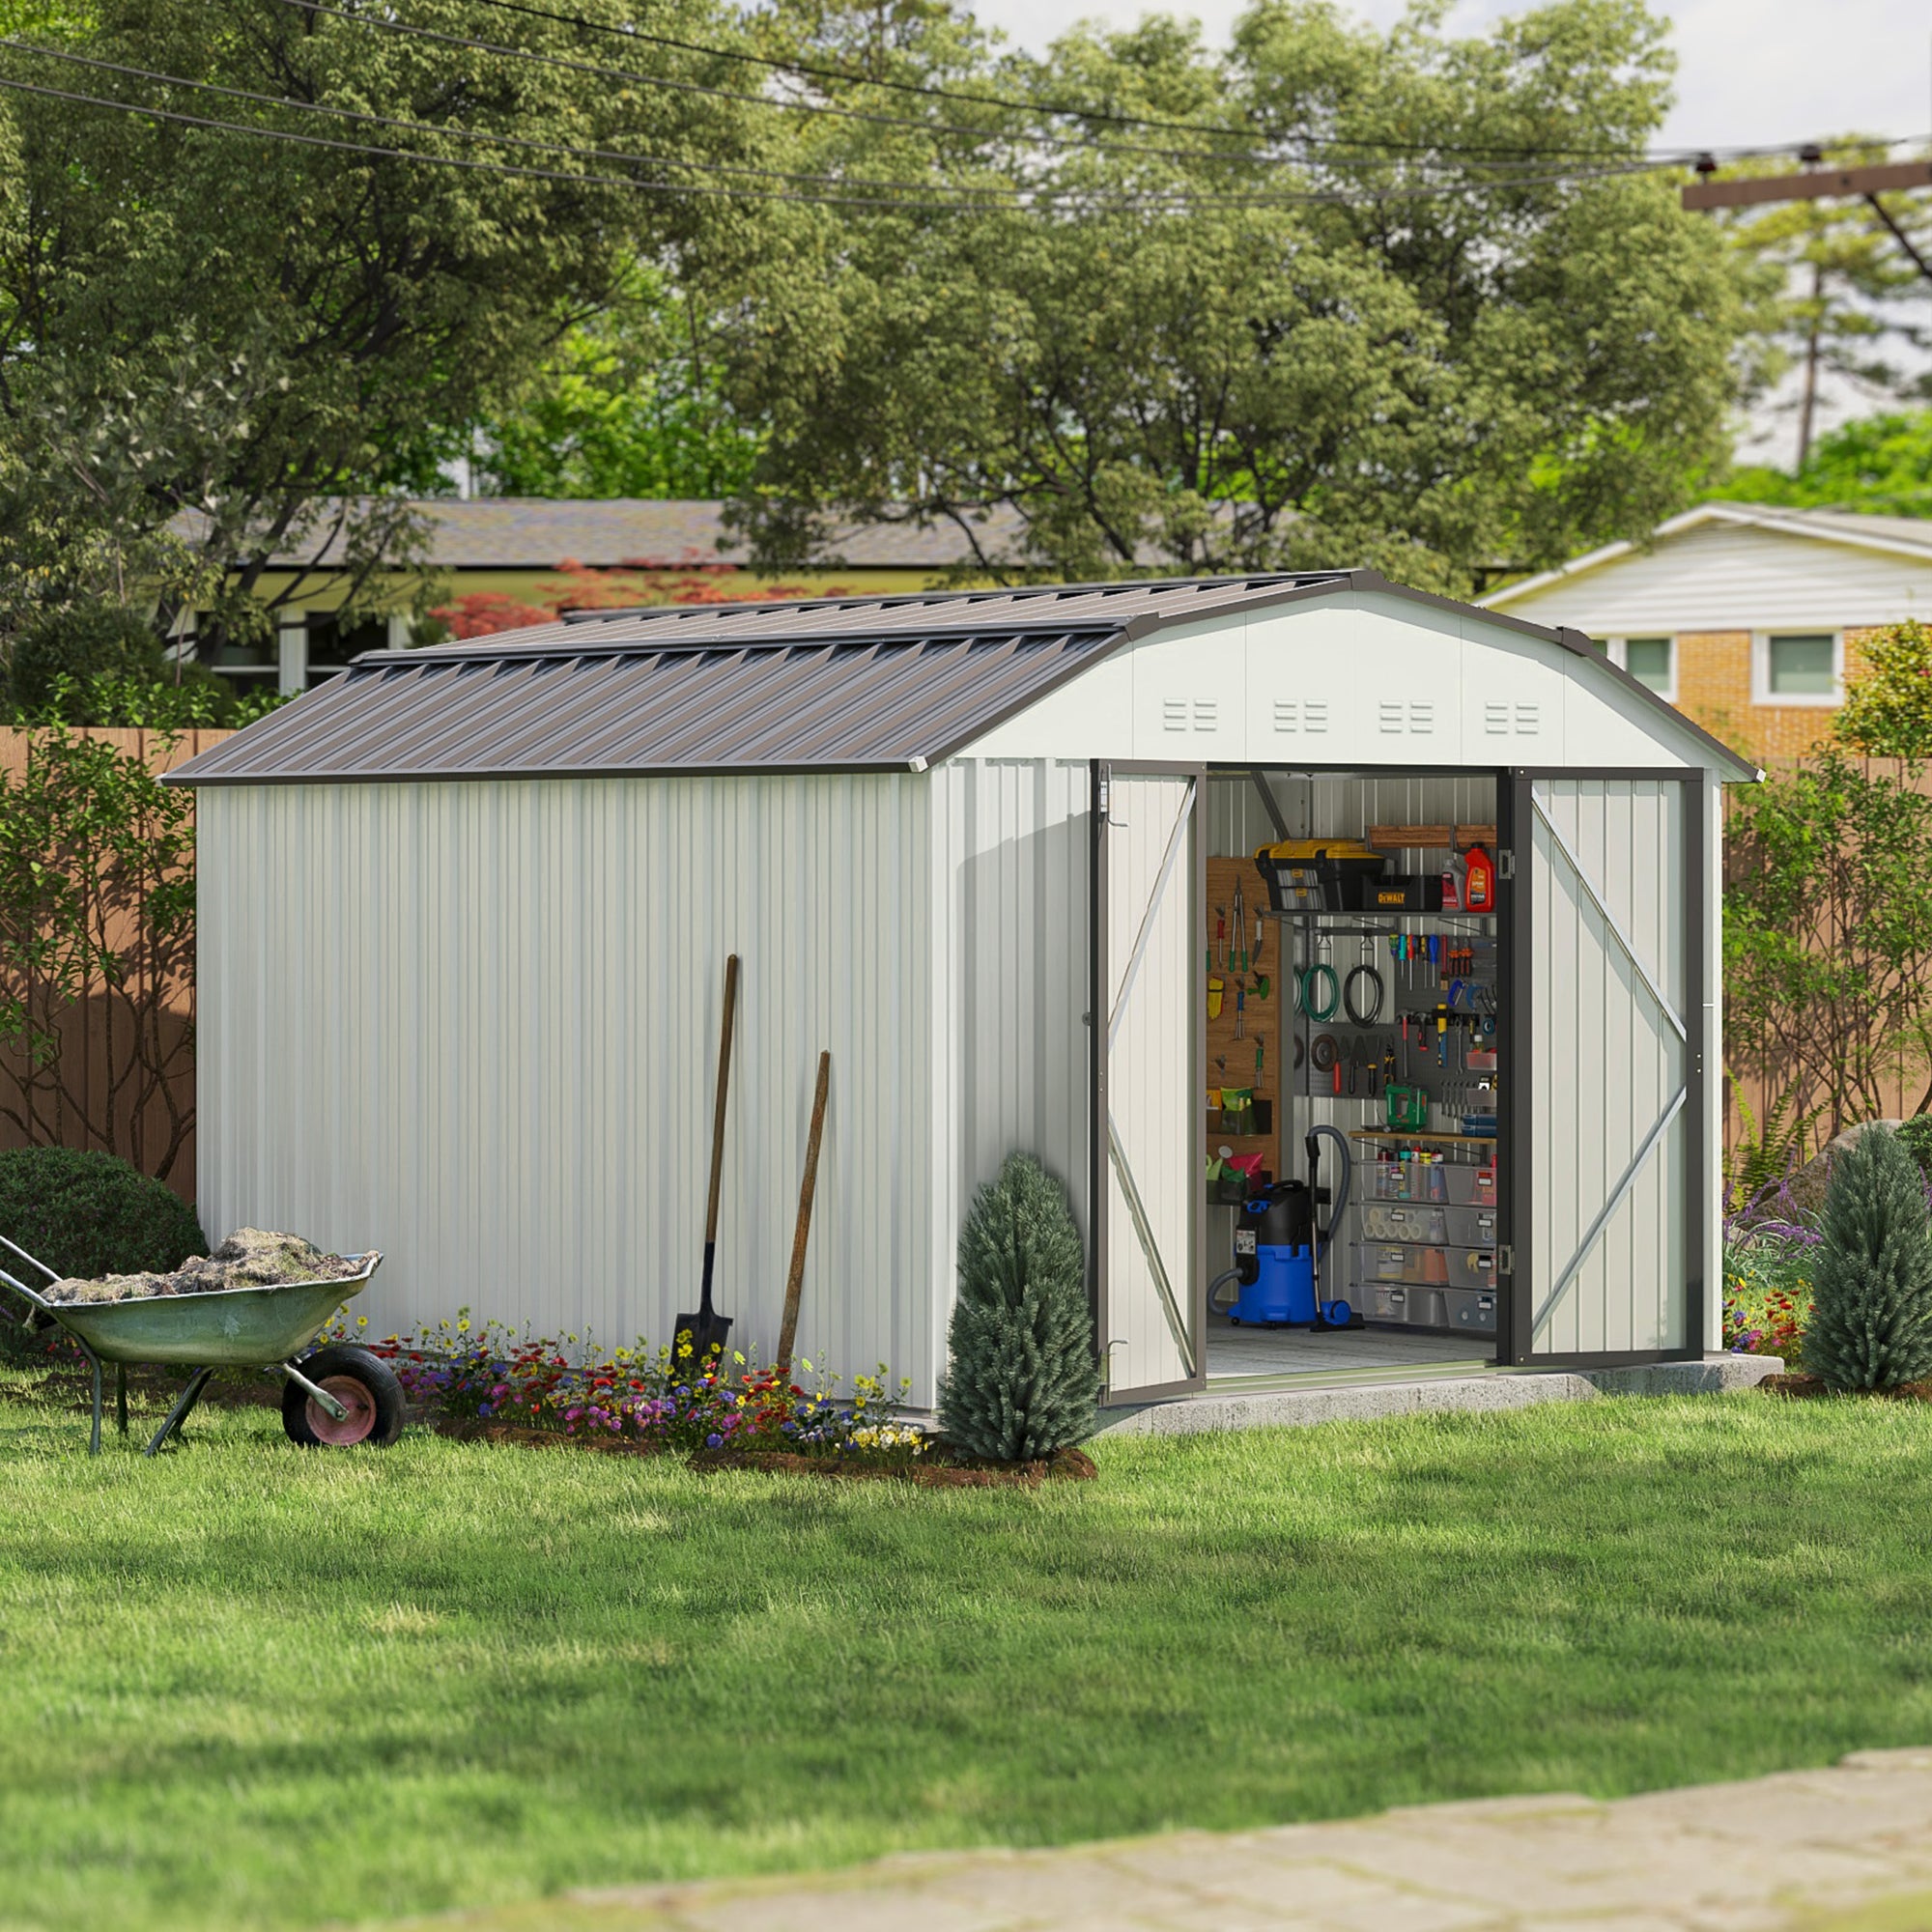
Good air circulation reduces ammonia buildup and prevents respiratory illnesses. The tool shed currently lacks sufficient vents; additional vents should be installed high on the opposite wall, fitted with metal protective screens.
Tip: Metal or plastic sheds heat up quickly in hot weather—painting them with light-colored coatings and adding shade structures or vents helps lower internal temperatures.
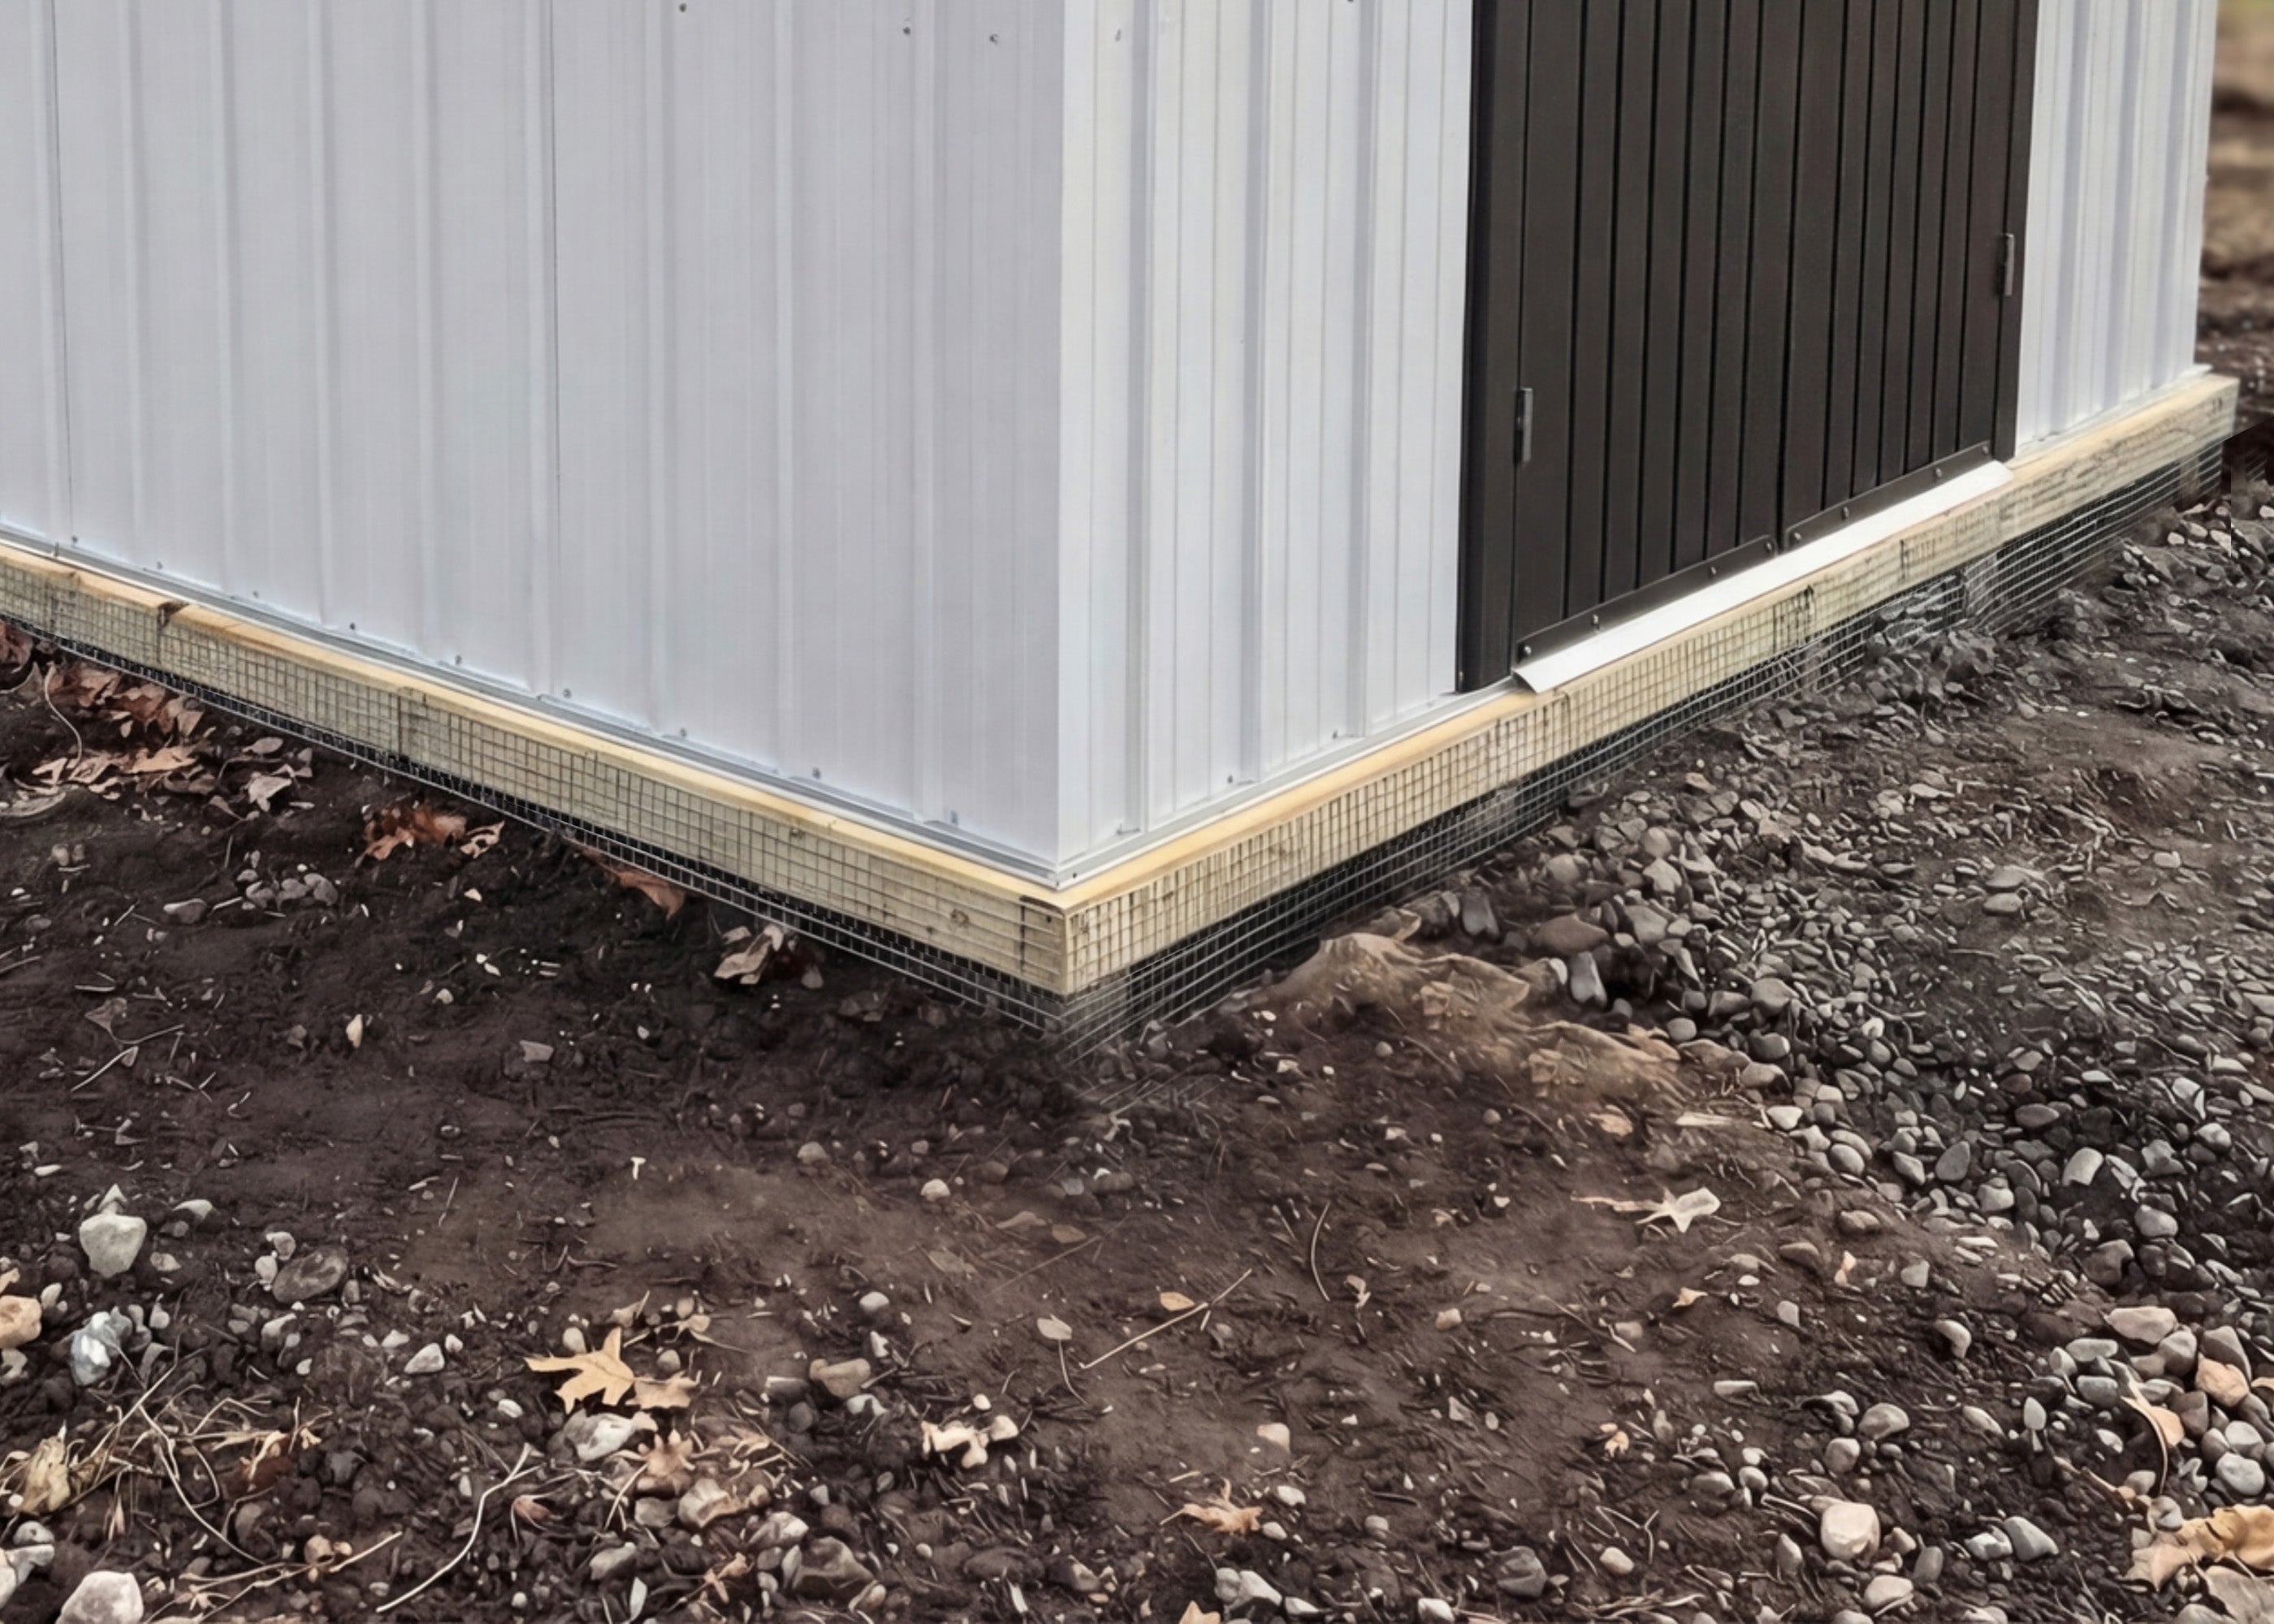
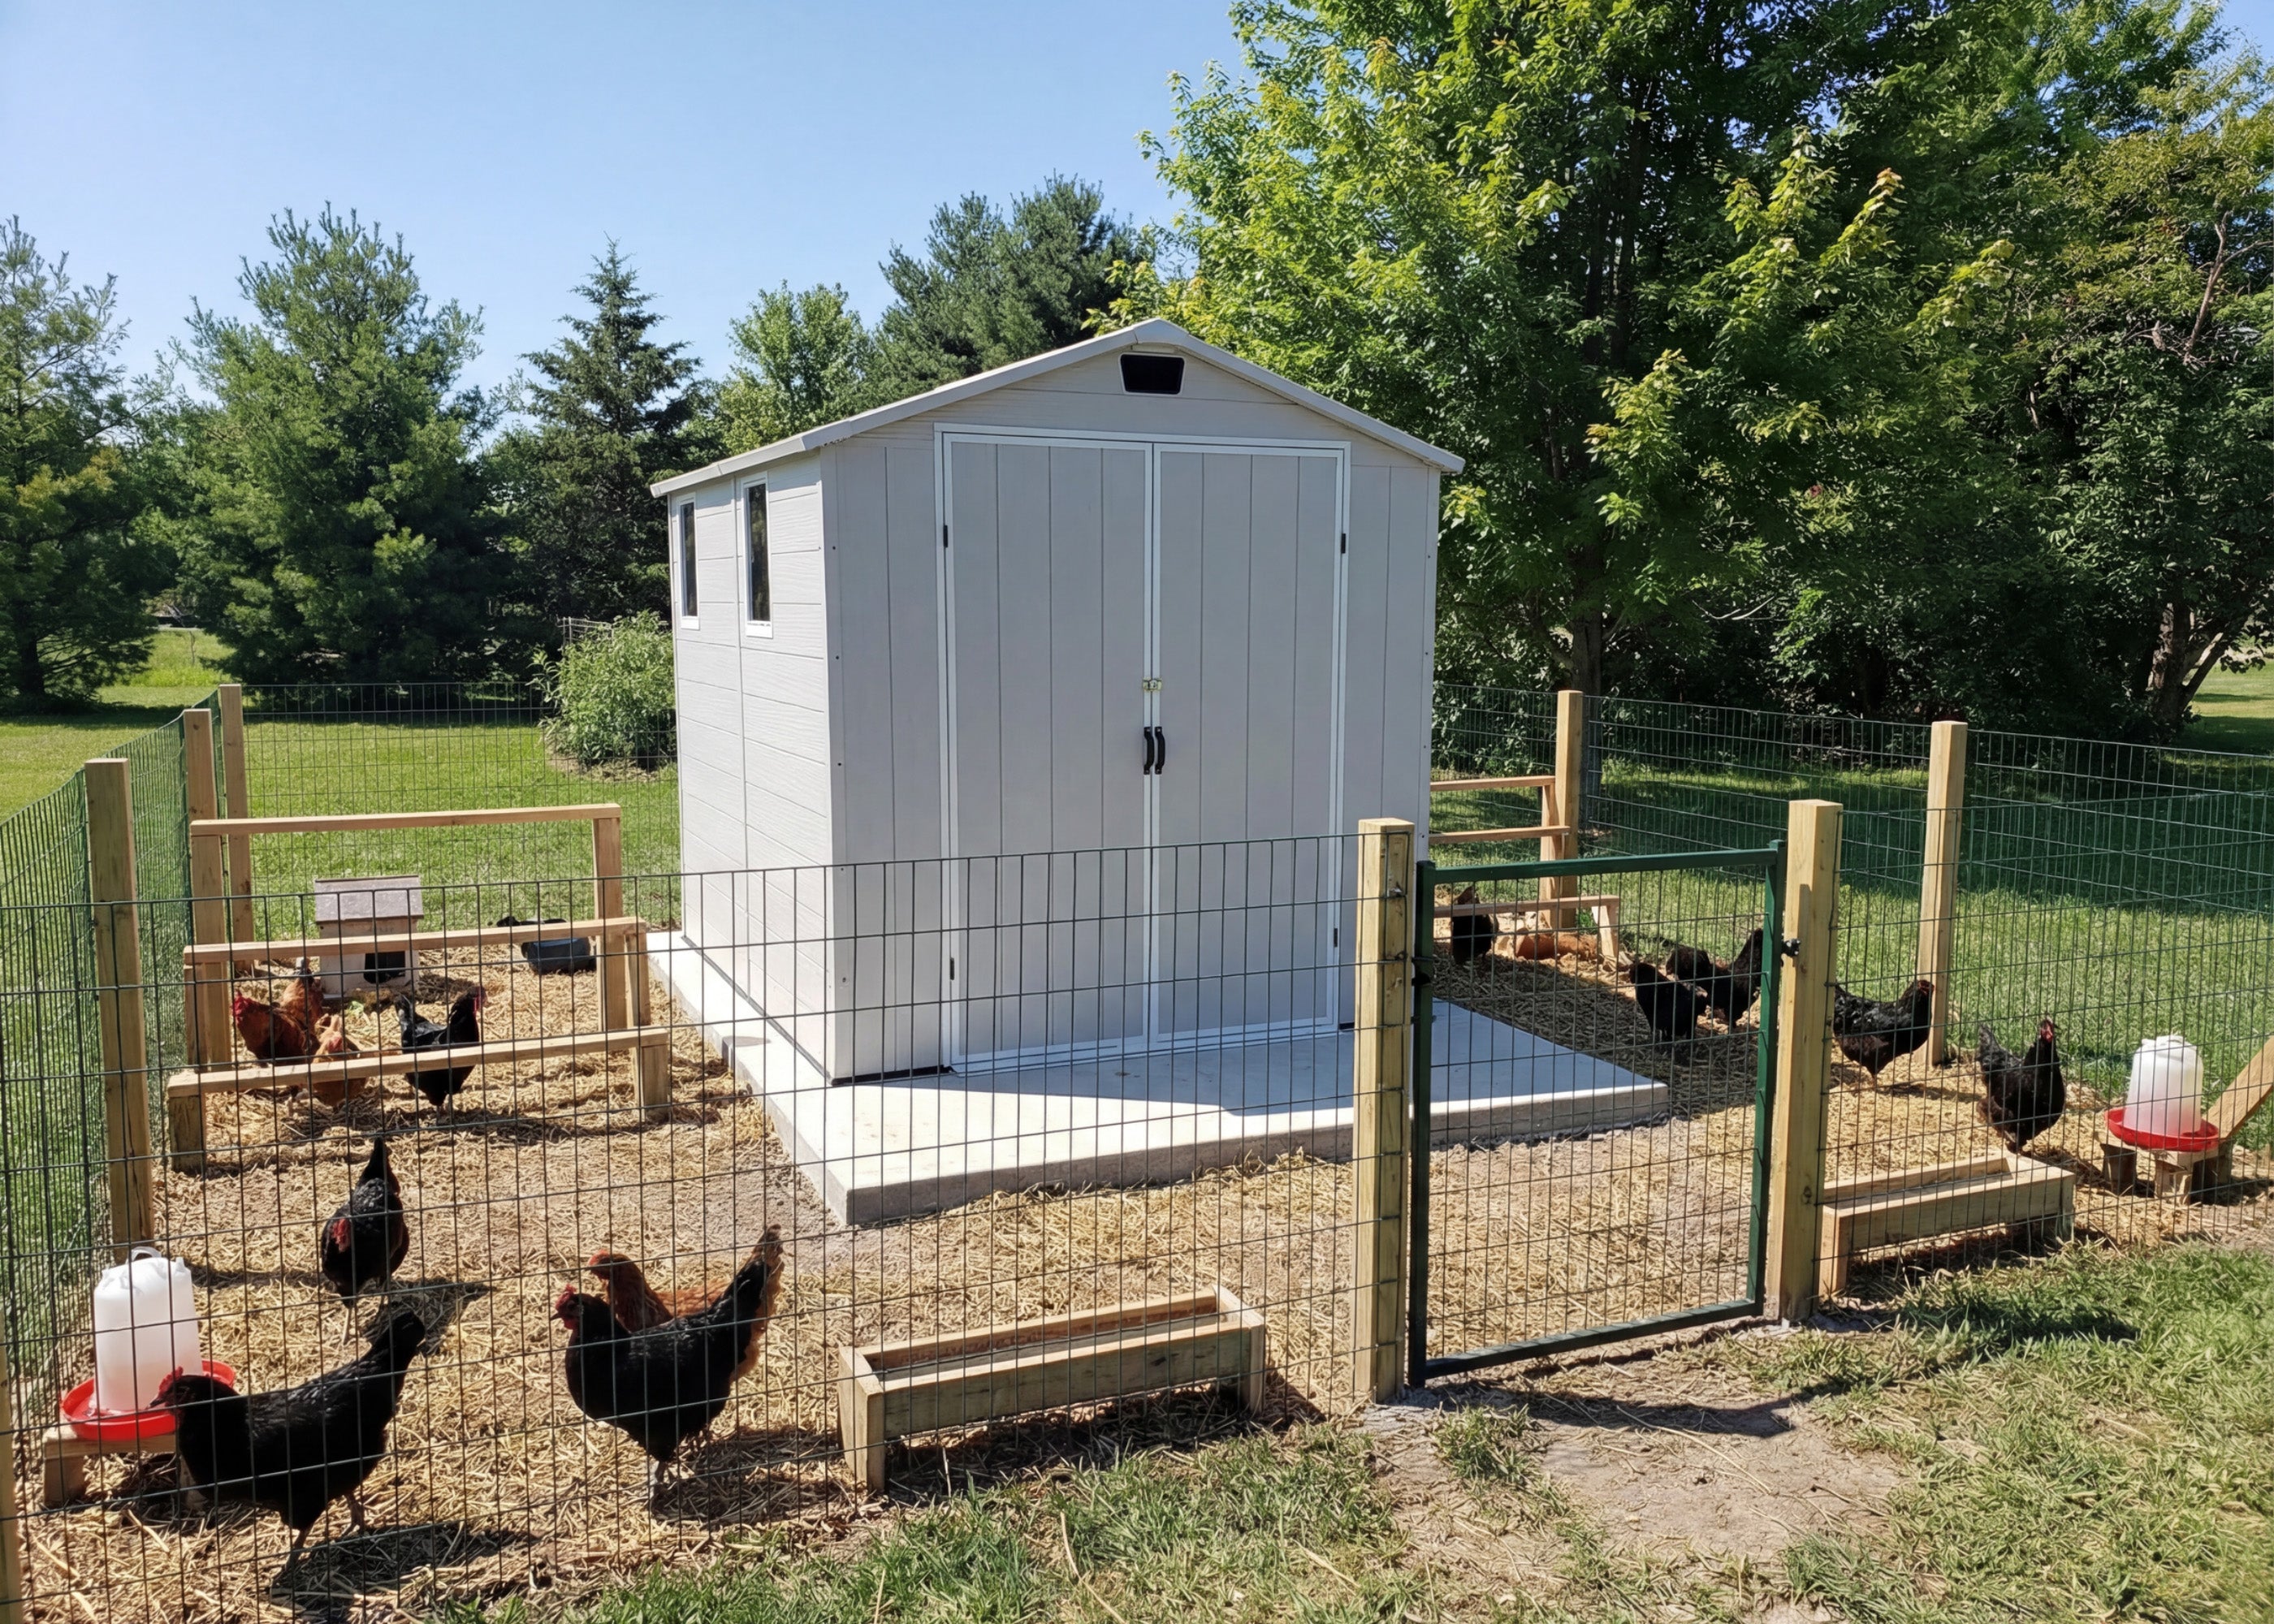
Chicken flocks are vulnerable to attacks from predators such as foxes, raccoons, rats, and weasels. Bury metal mesh around the base of the chicken coop (at least 6-12 inches deep) and seal all openings with heavy-duty metal mesh.
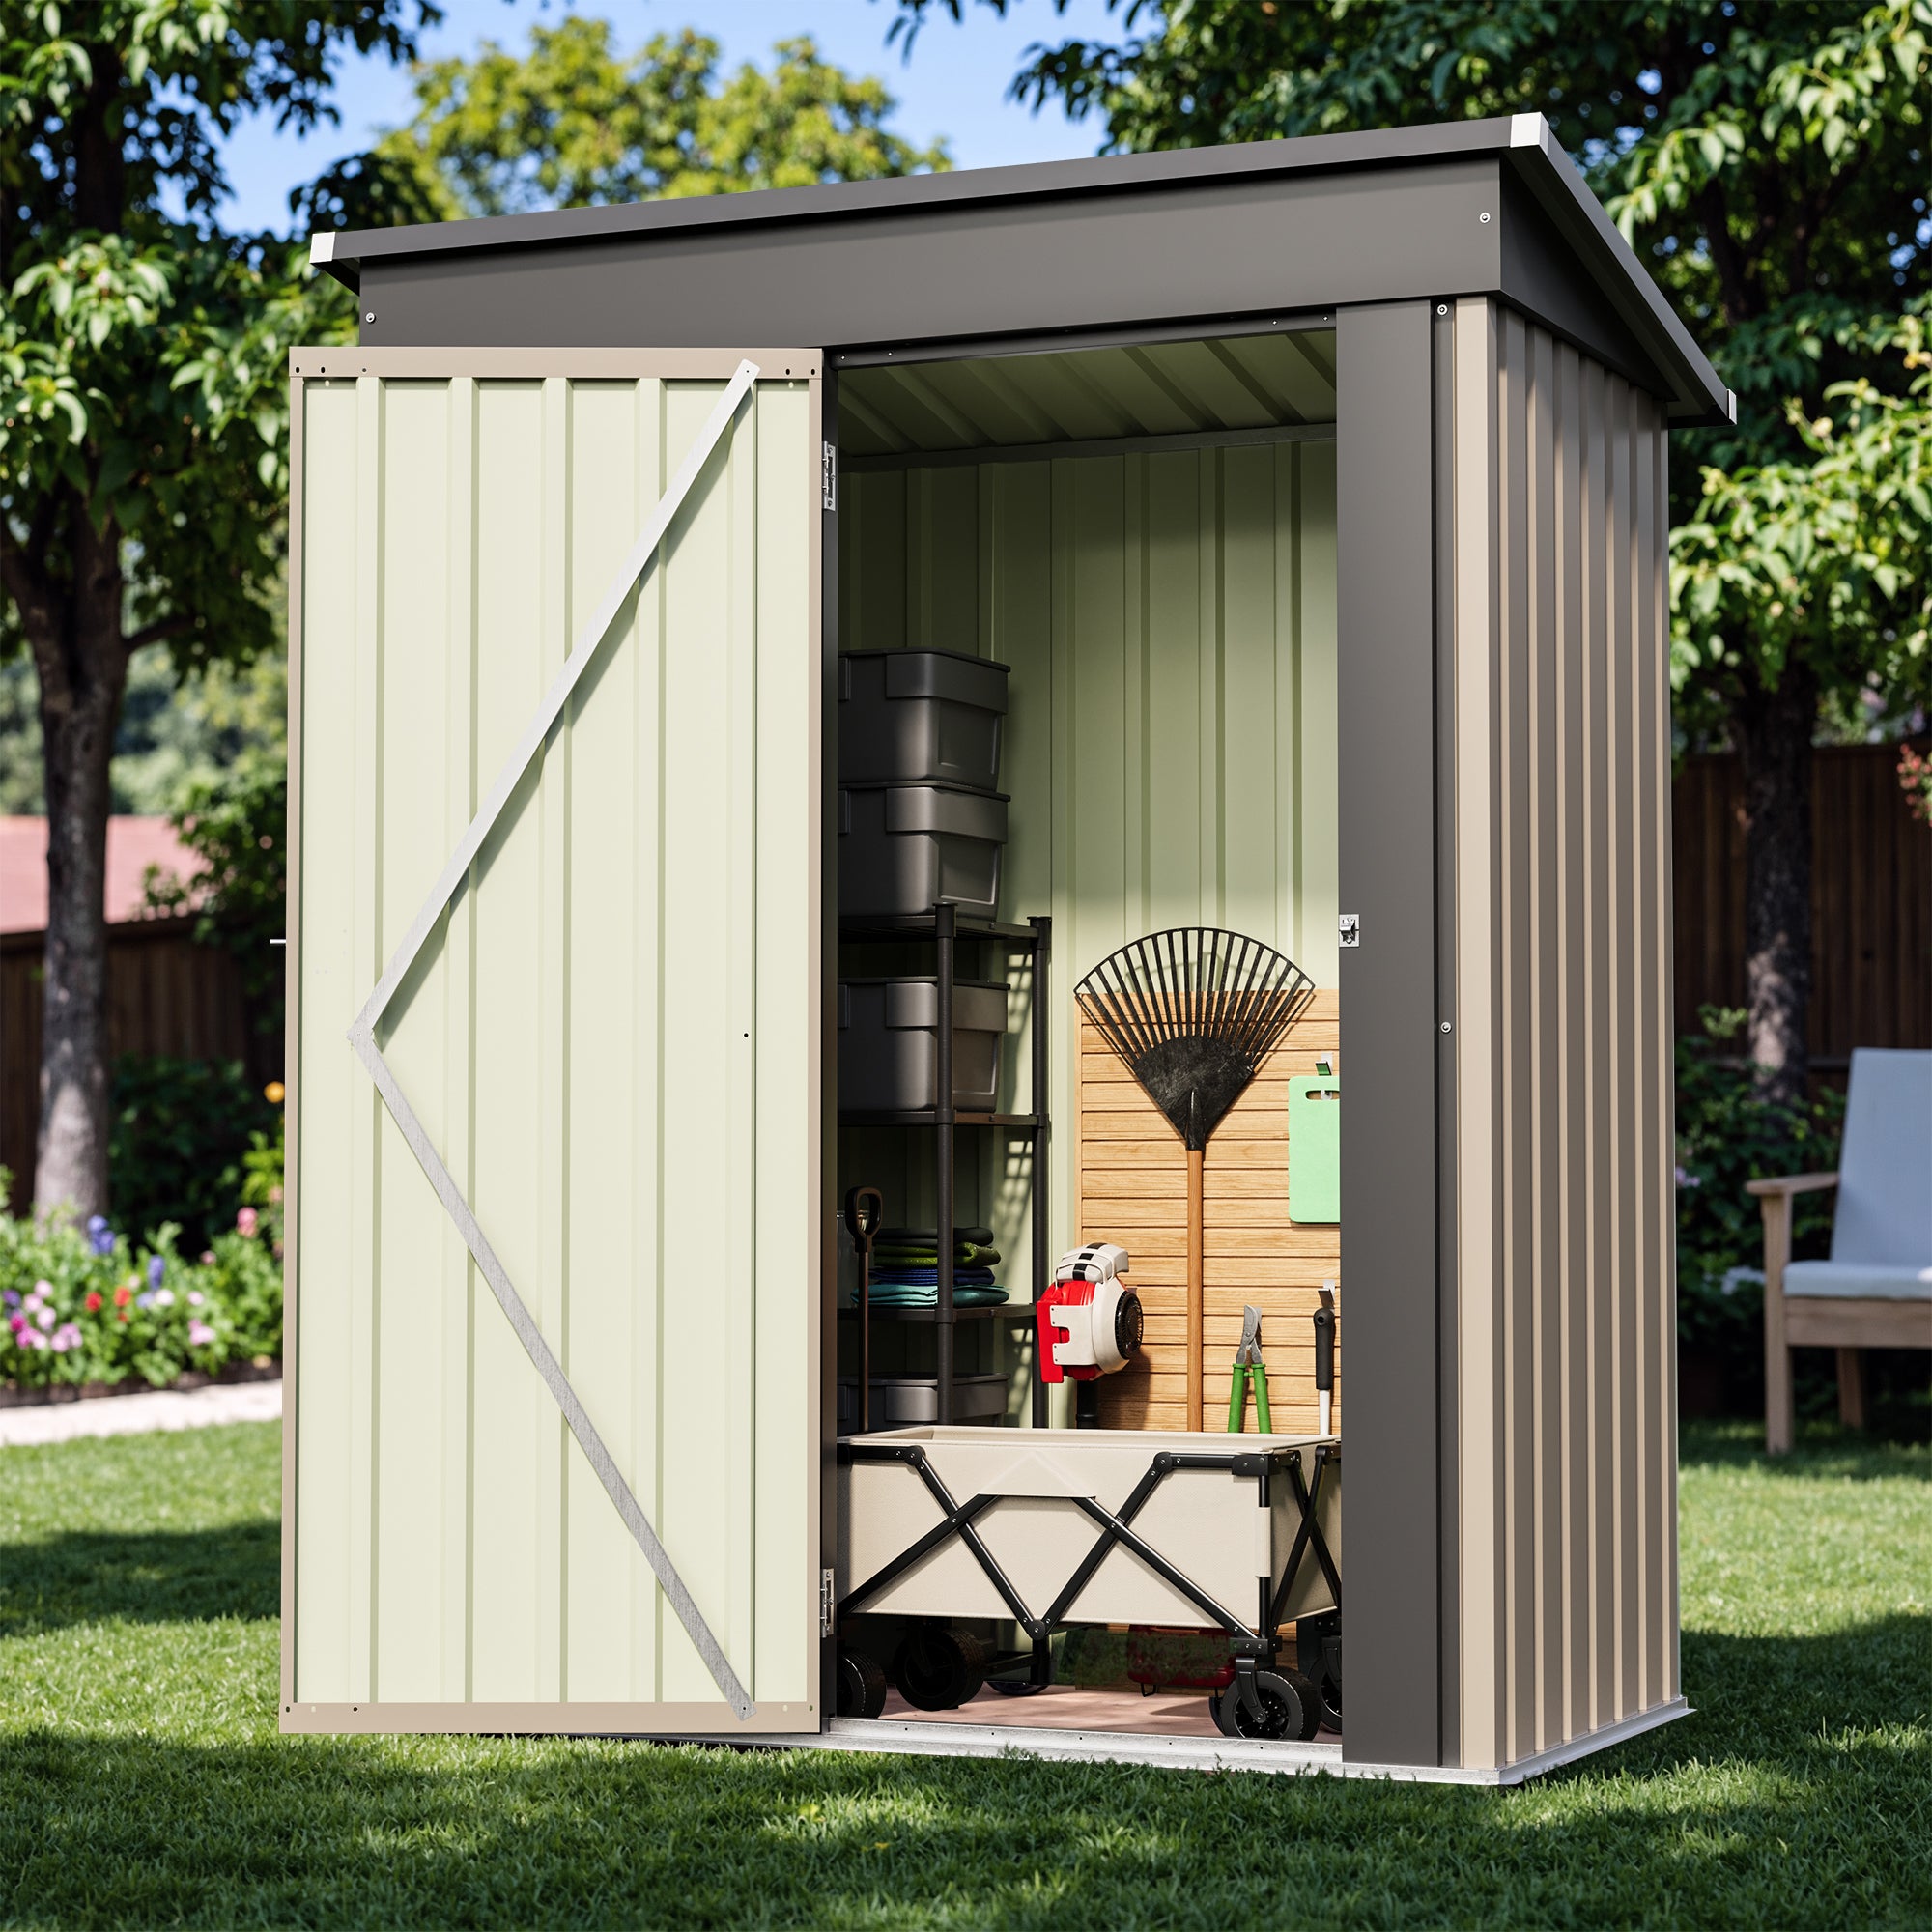
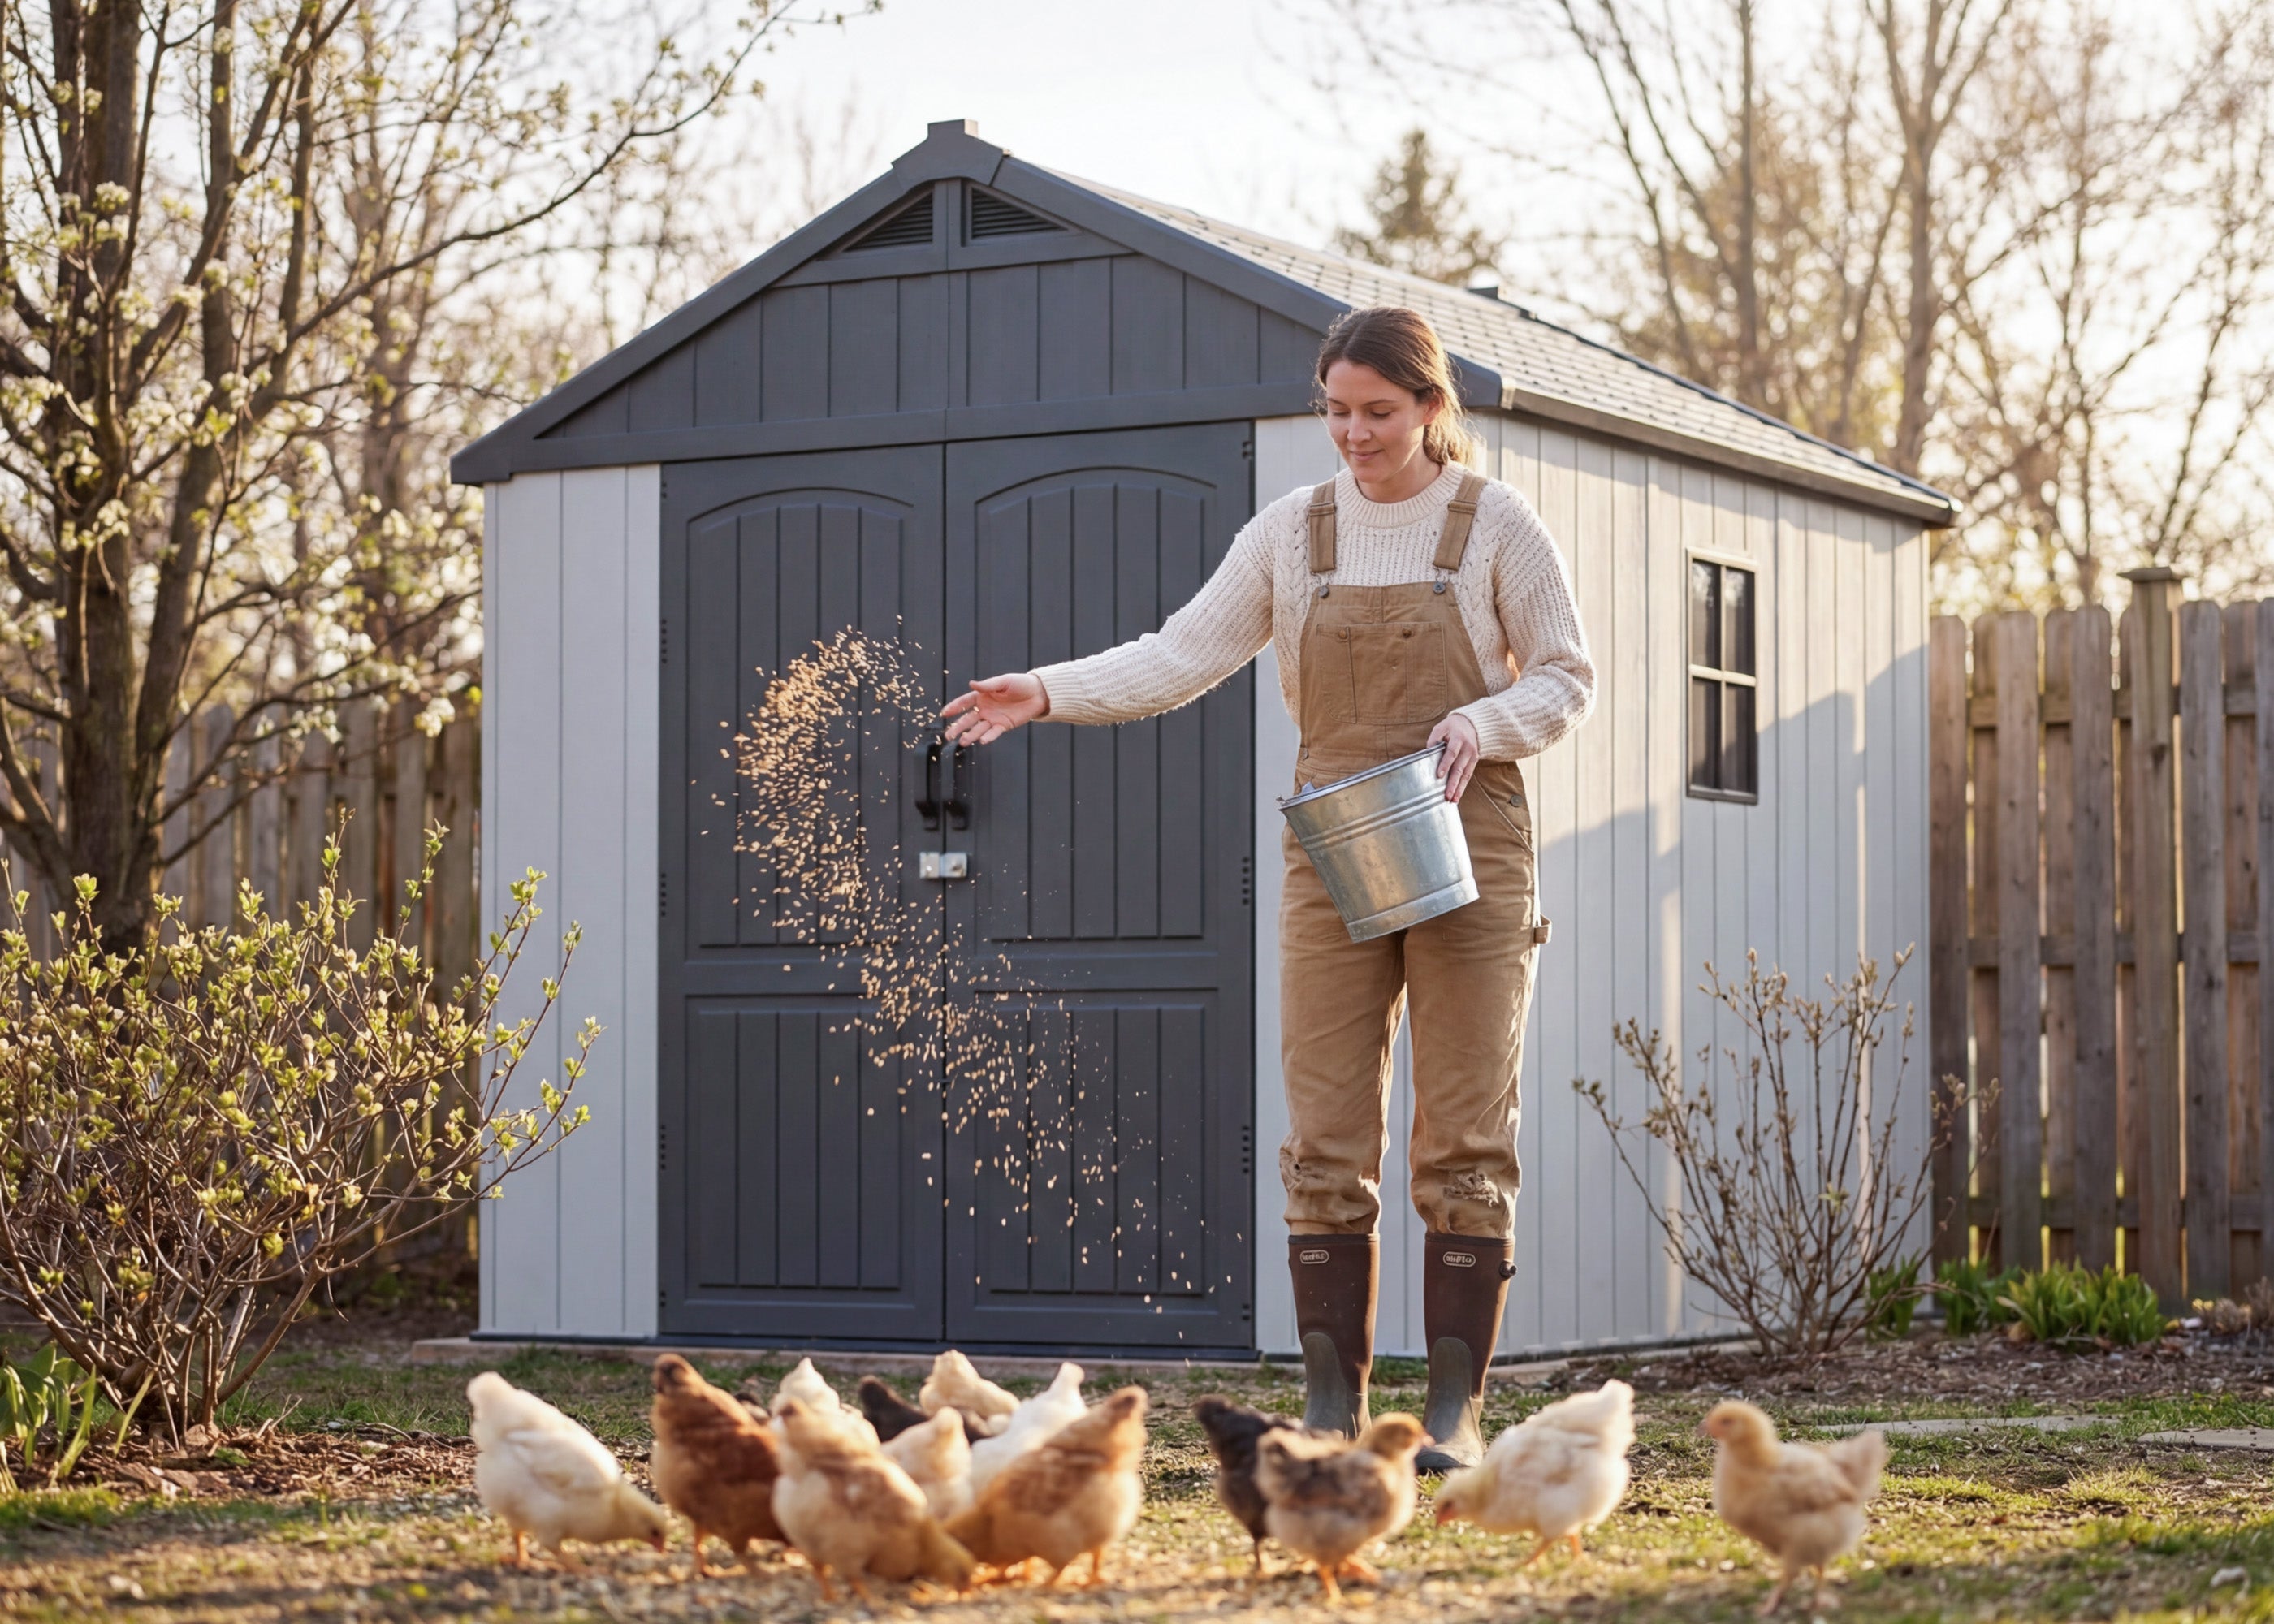
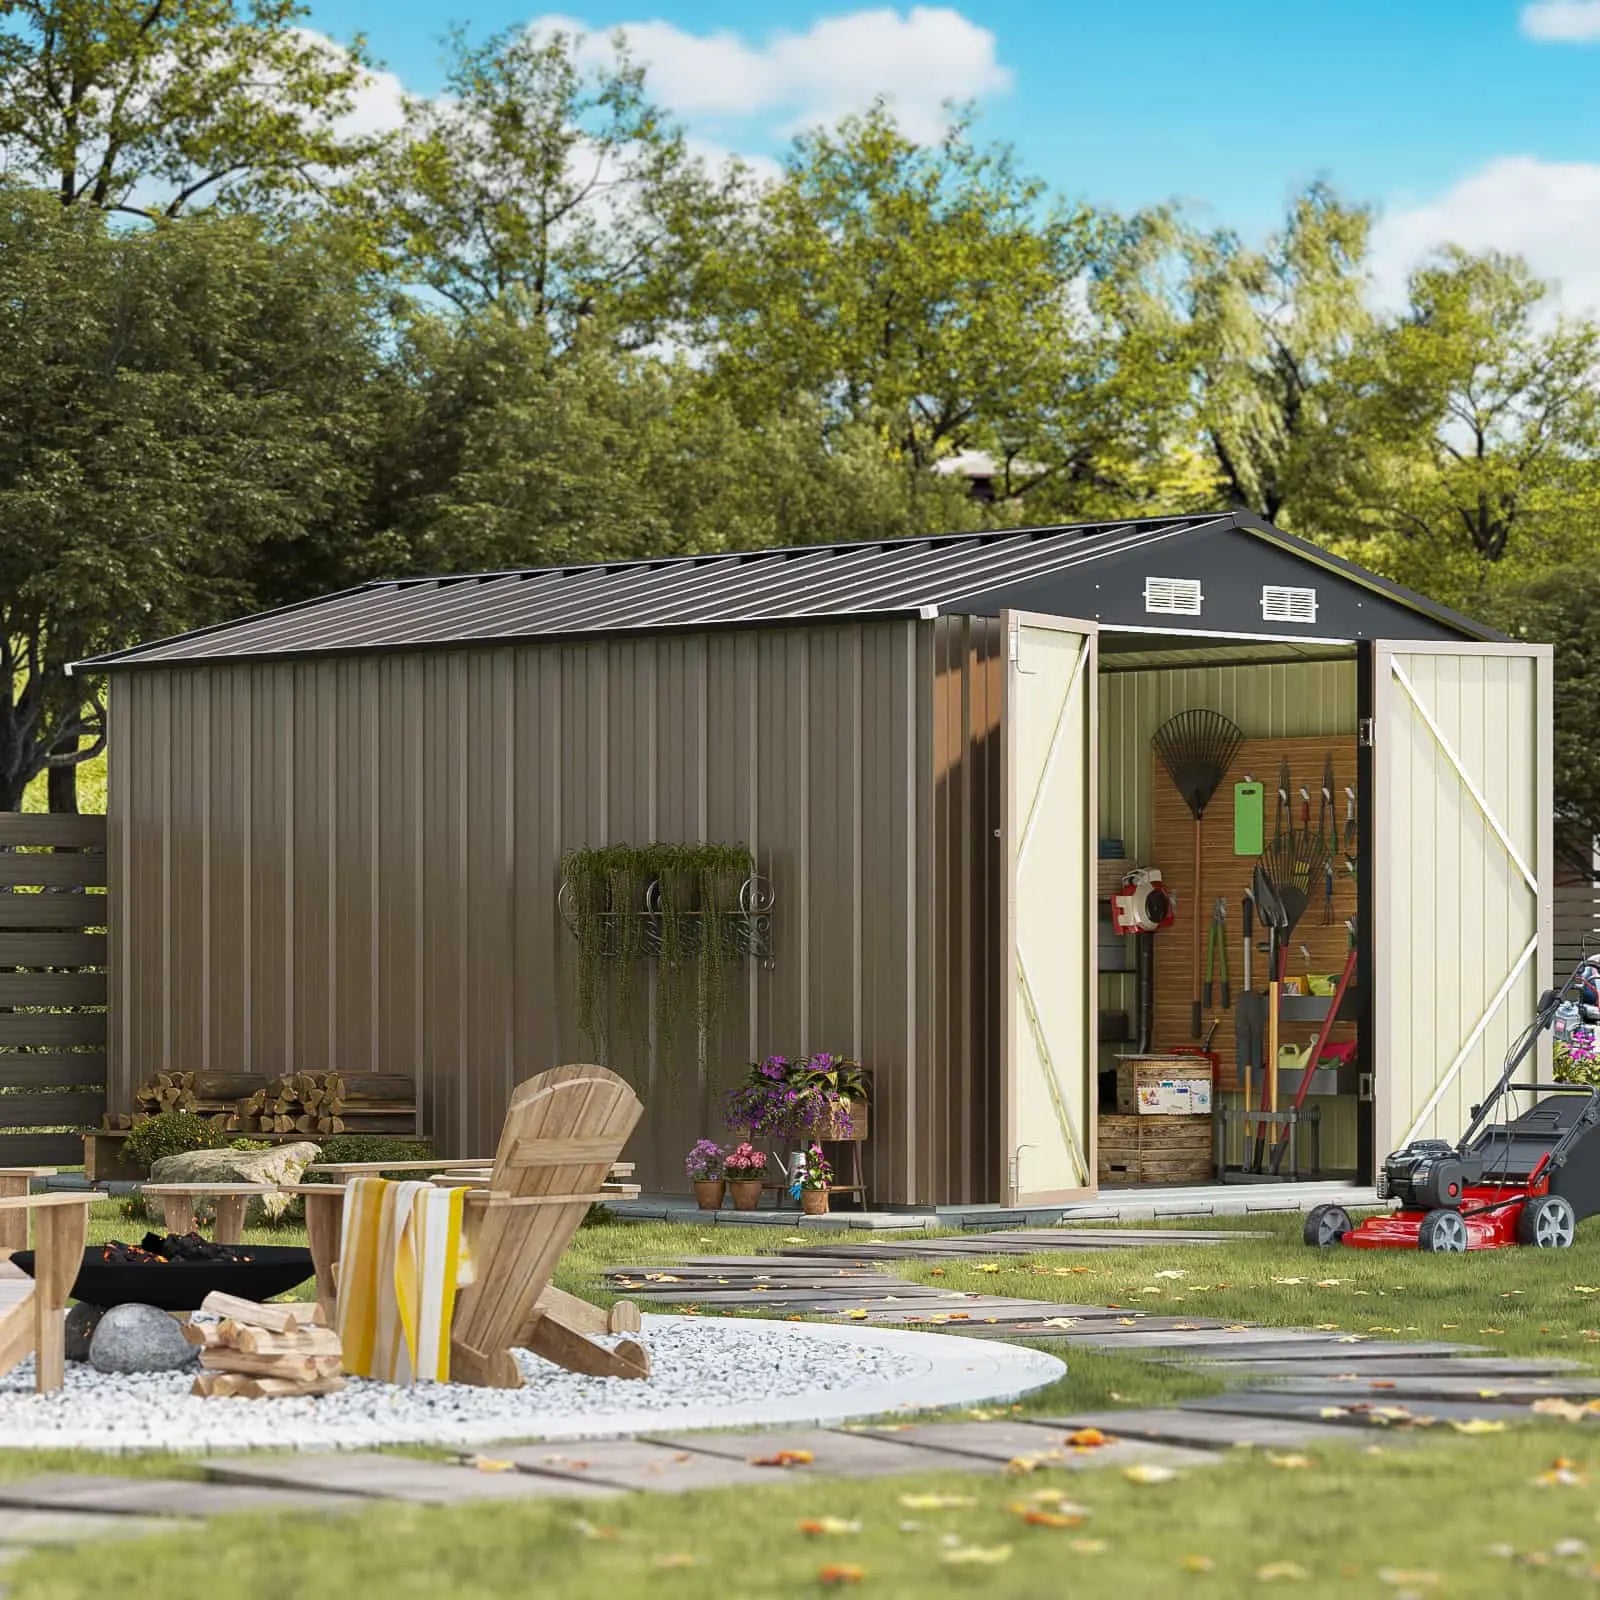
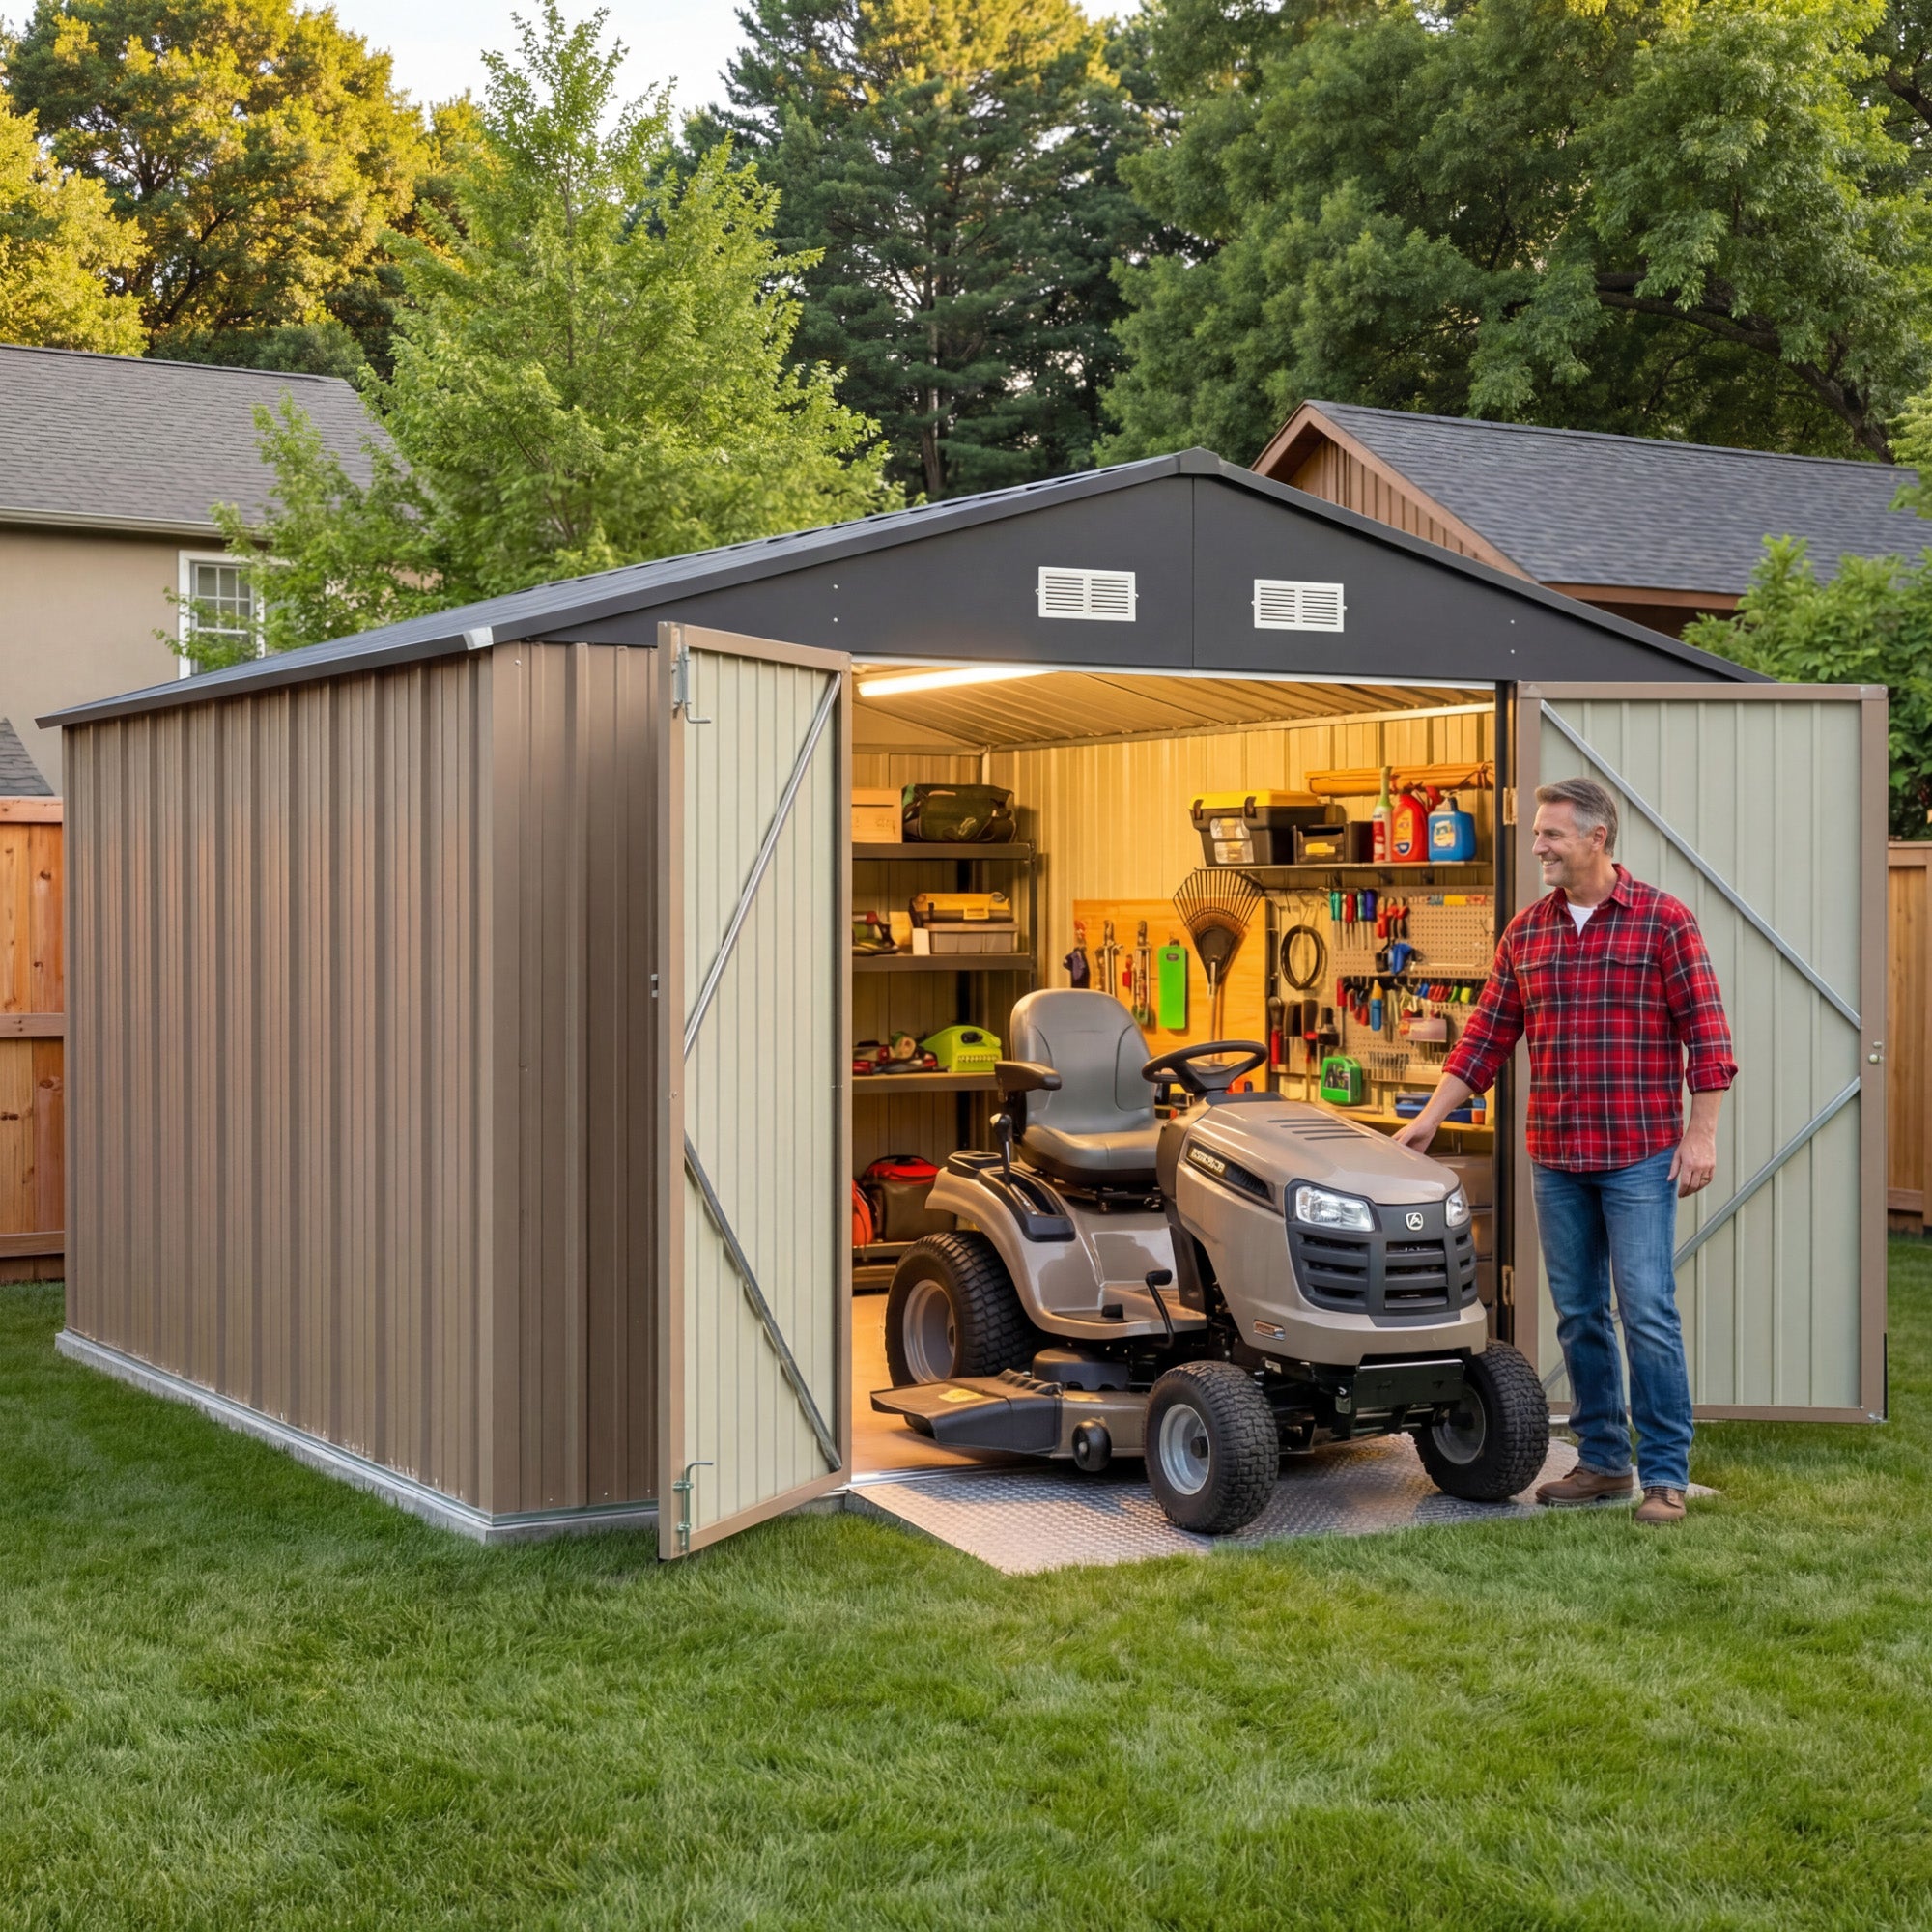
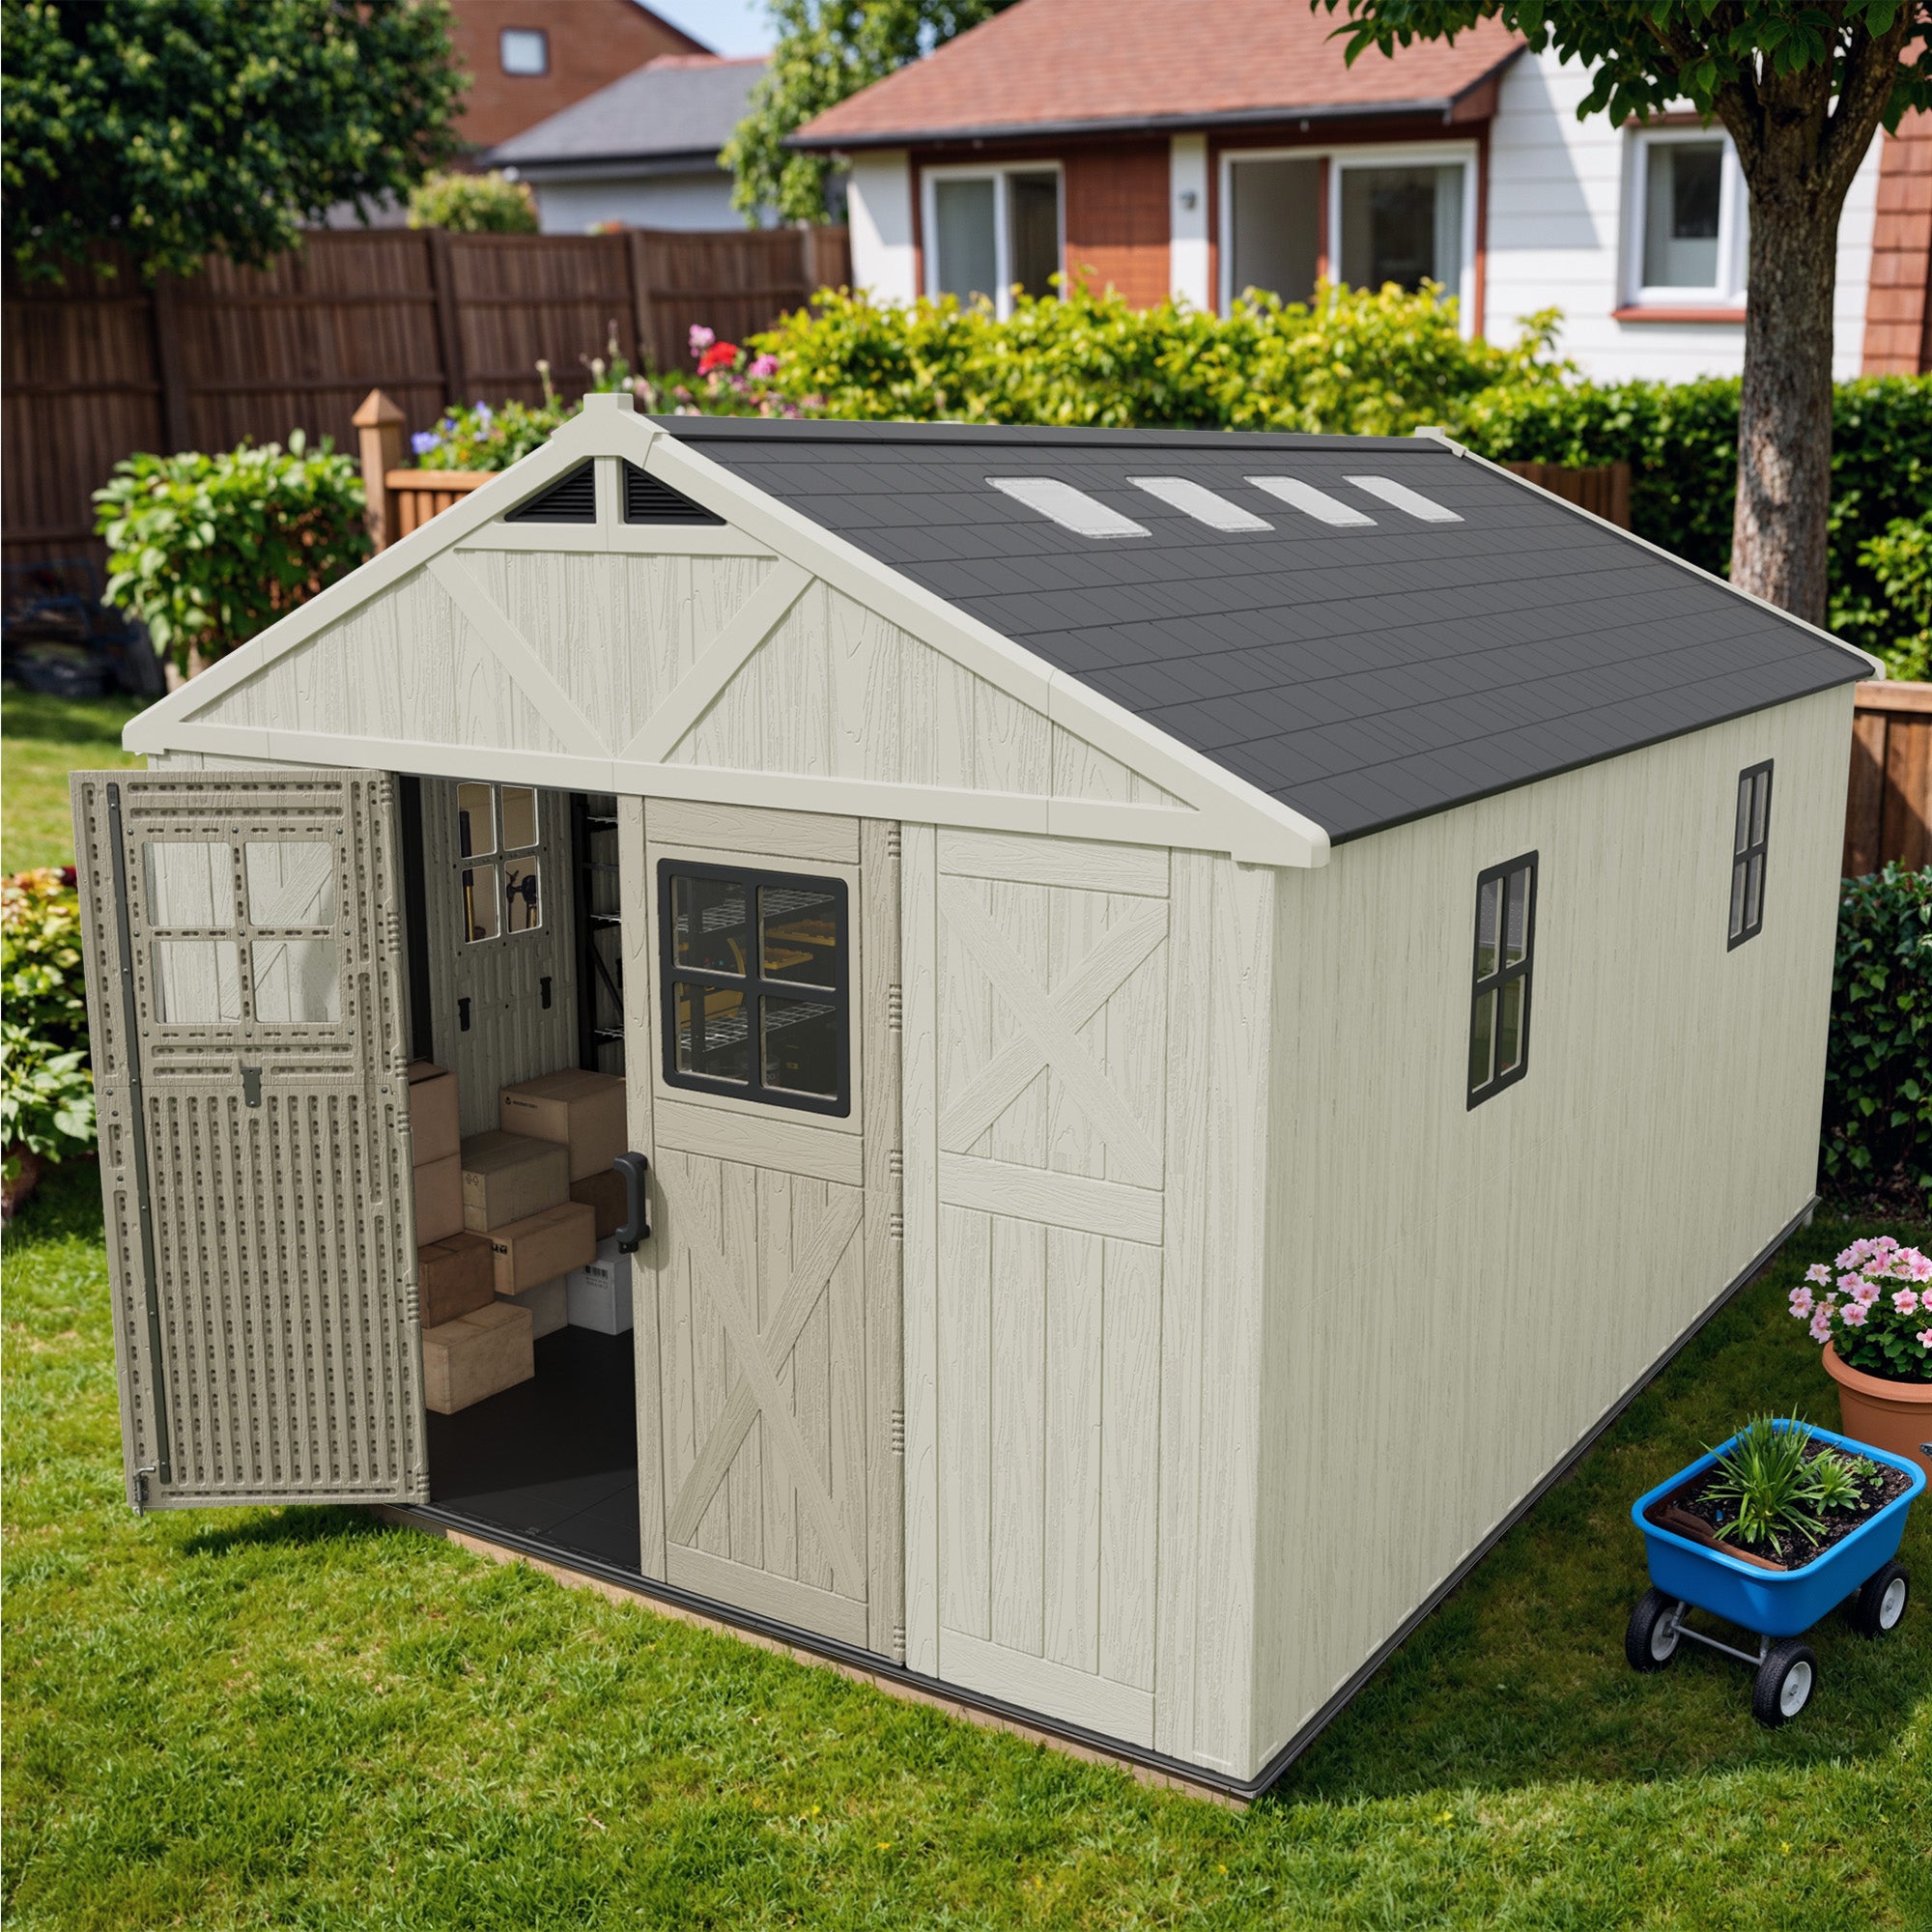
Our plastic tool sheds come with built-in flooring. For metal sheds, we recommend adding a wooden subfloor or rubber underlayment to enhance comfort and insulation. Seal or replace damaged floor areas inside plastic sheds to ensure the floor remains clean and dry at all times.
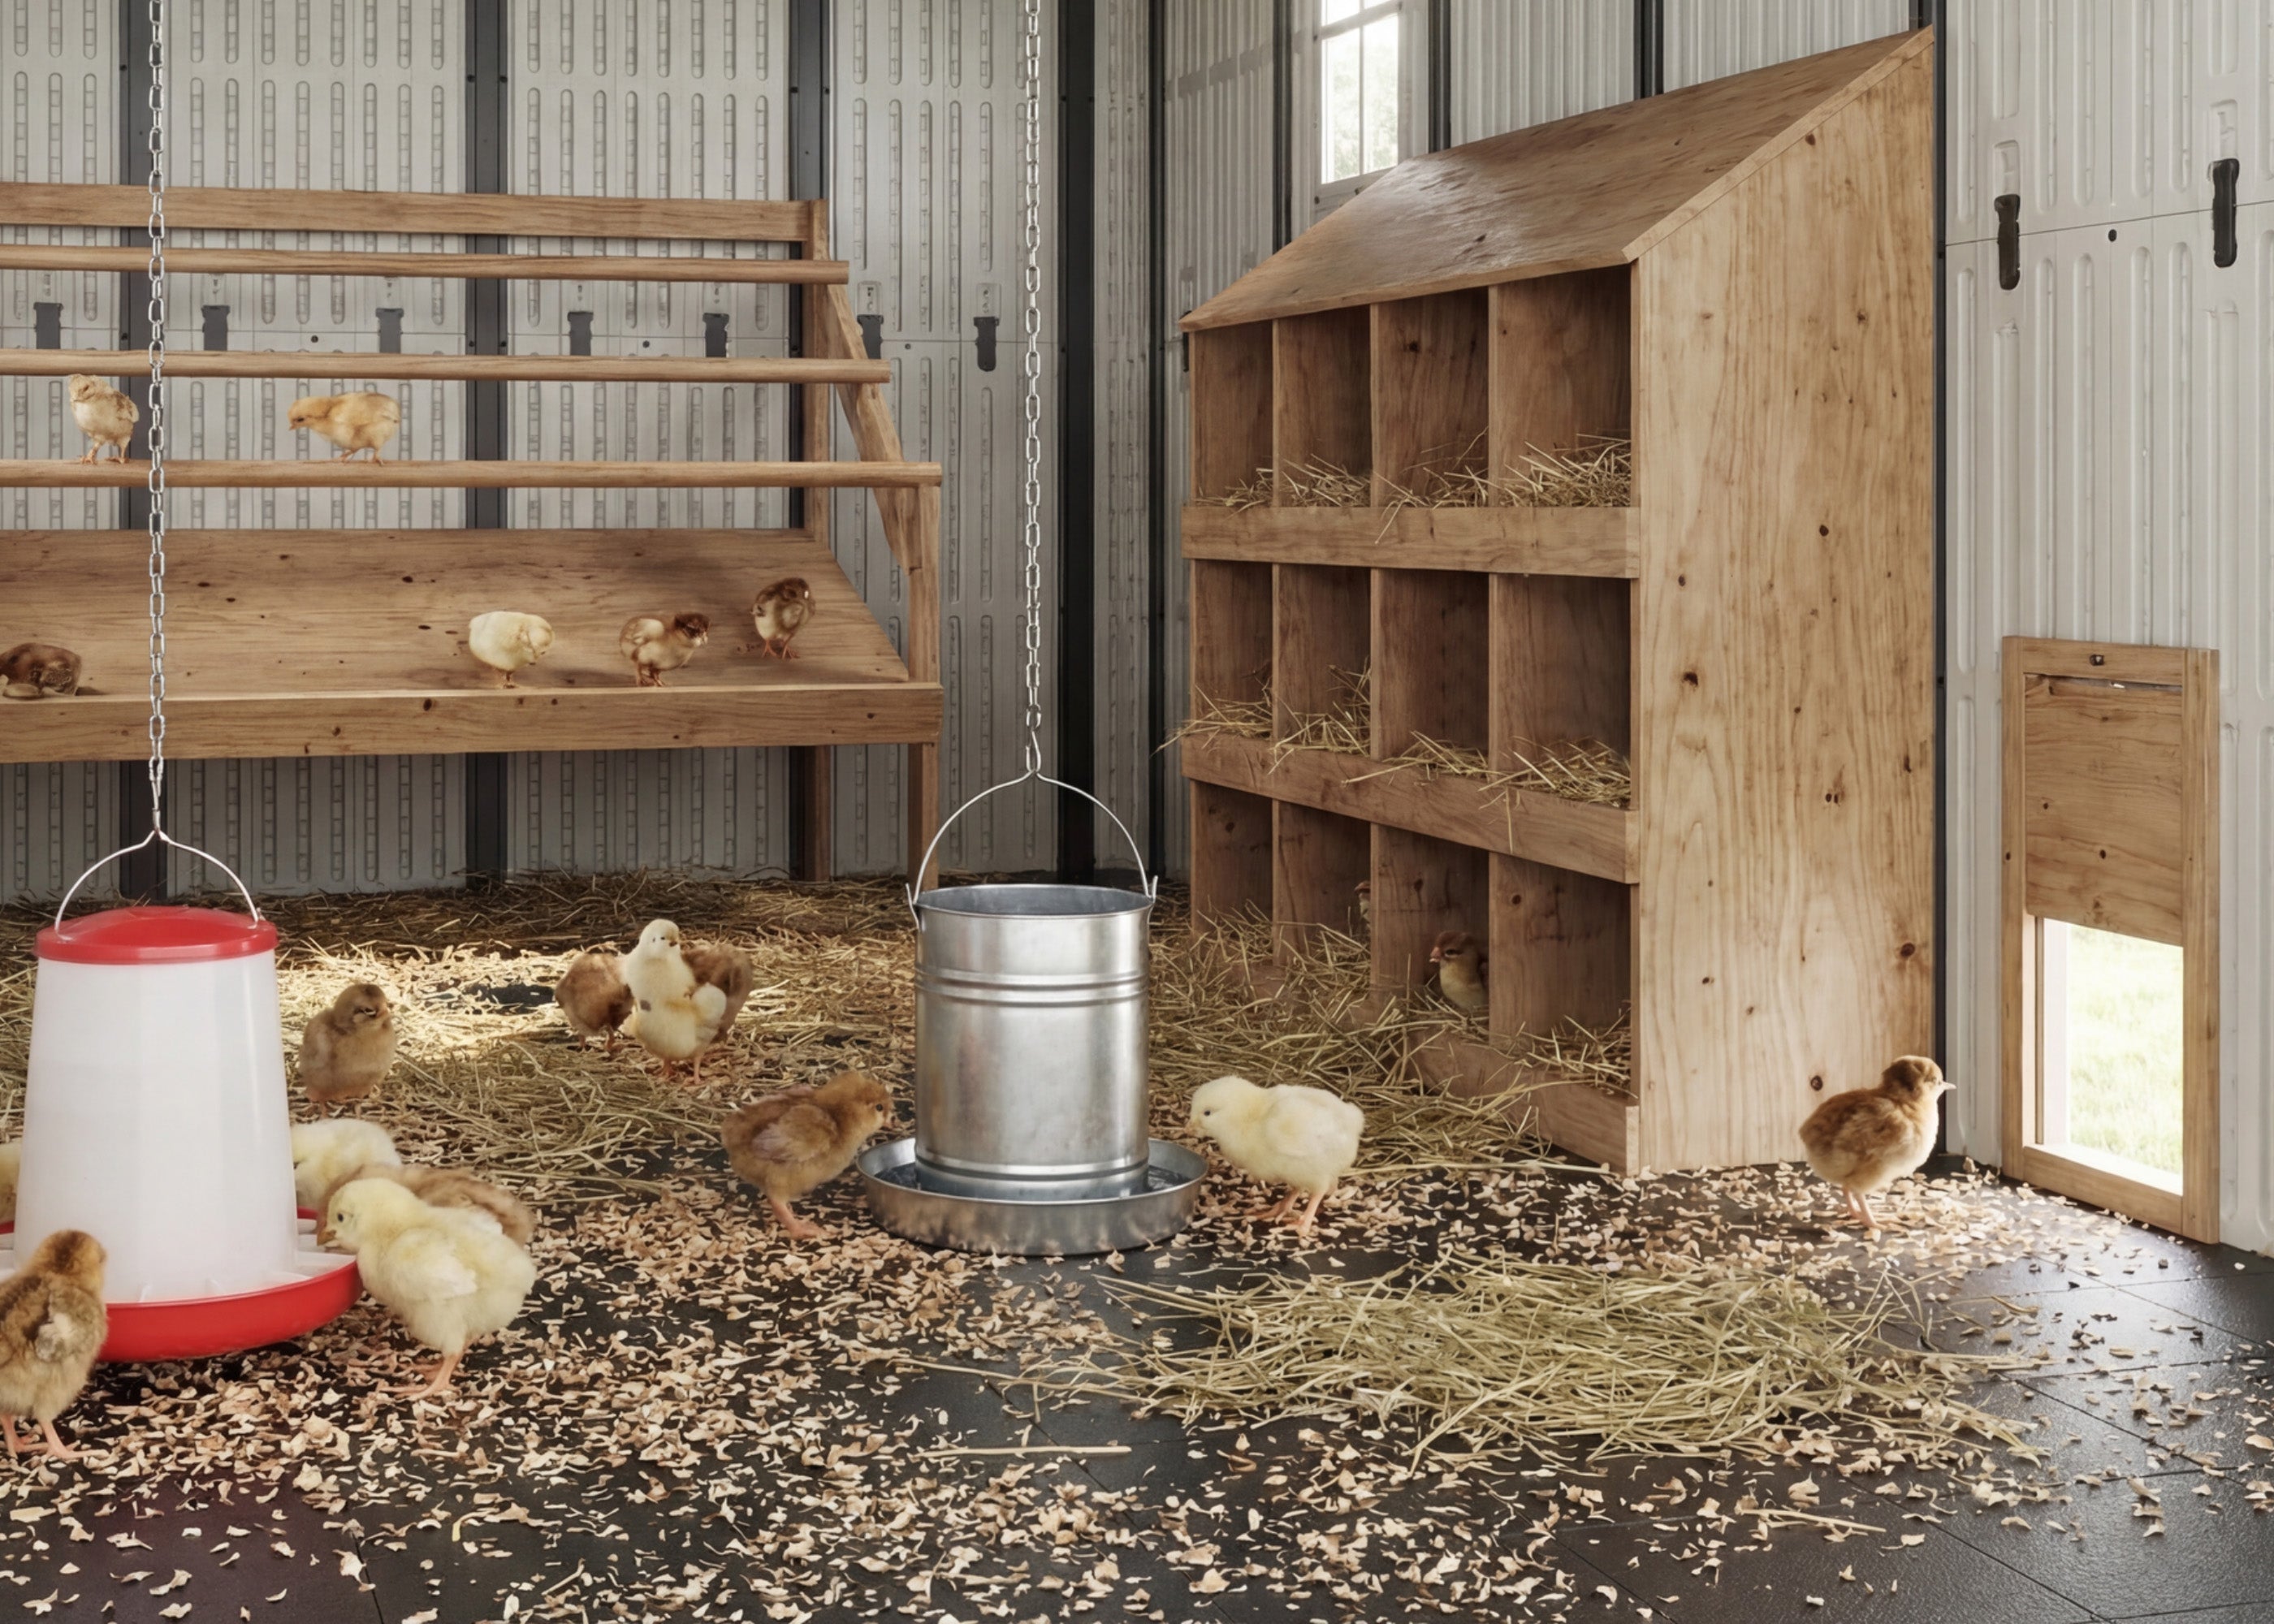
Plan the laying area and roosting area based on flock size, and equip them with the following essential facilities:
1. Roosting space (8-12 inches per hen) Hens prefer sleeping off the ground. Install sturdy roosts at least 18 inches (approximately 45 cm) above the floor.
2. Nesting boxes: Provide one nesting box for every 3-4 hens. Position nesting boxes in quiet, dimly lit corners of the coop.
3. Feeding and watering equipment: If space permits, establish a feed storage area. Place feeders or water buckets for convenient feeding.
4. Manure trays and cleaning troughs: Install removable grates or shelves beneath perches to collect droppings for easy cleanup.
5. Optional: Consider adding a side door or external egg collection port to retrieve eggs without entering the coop.
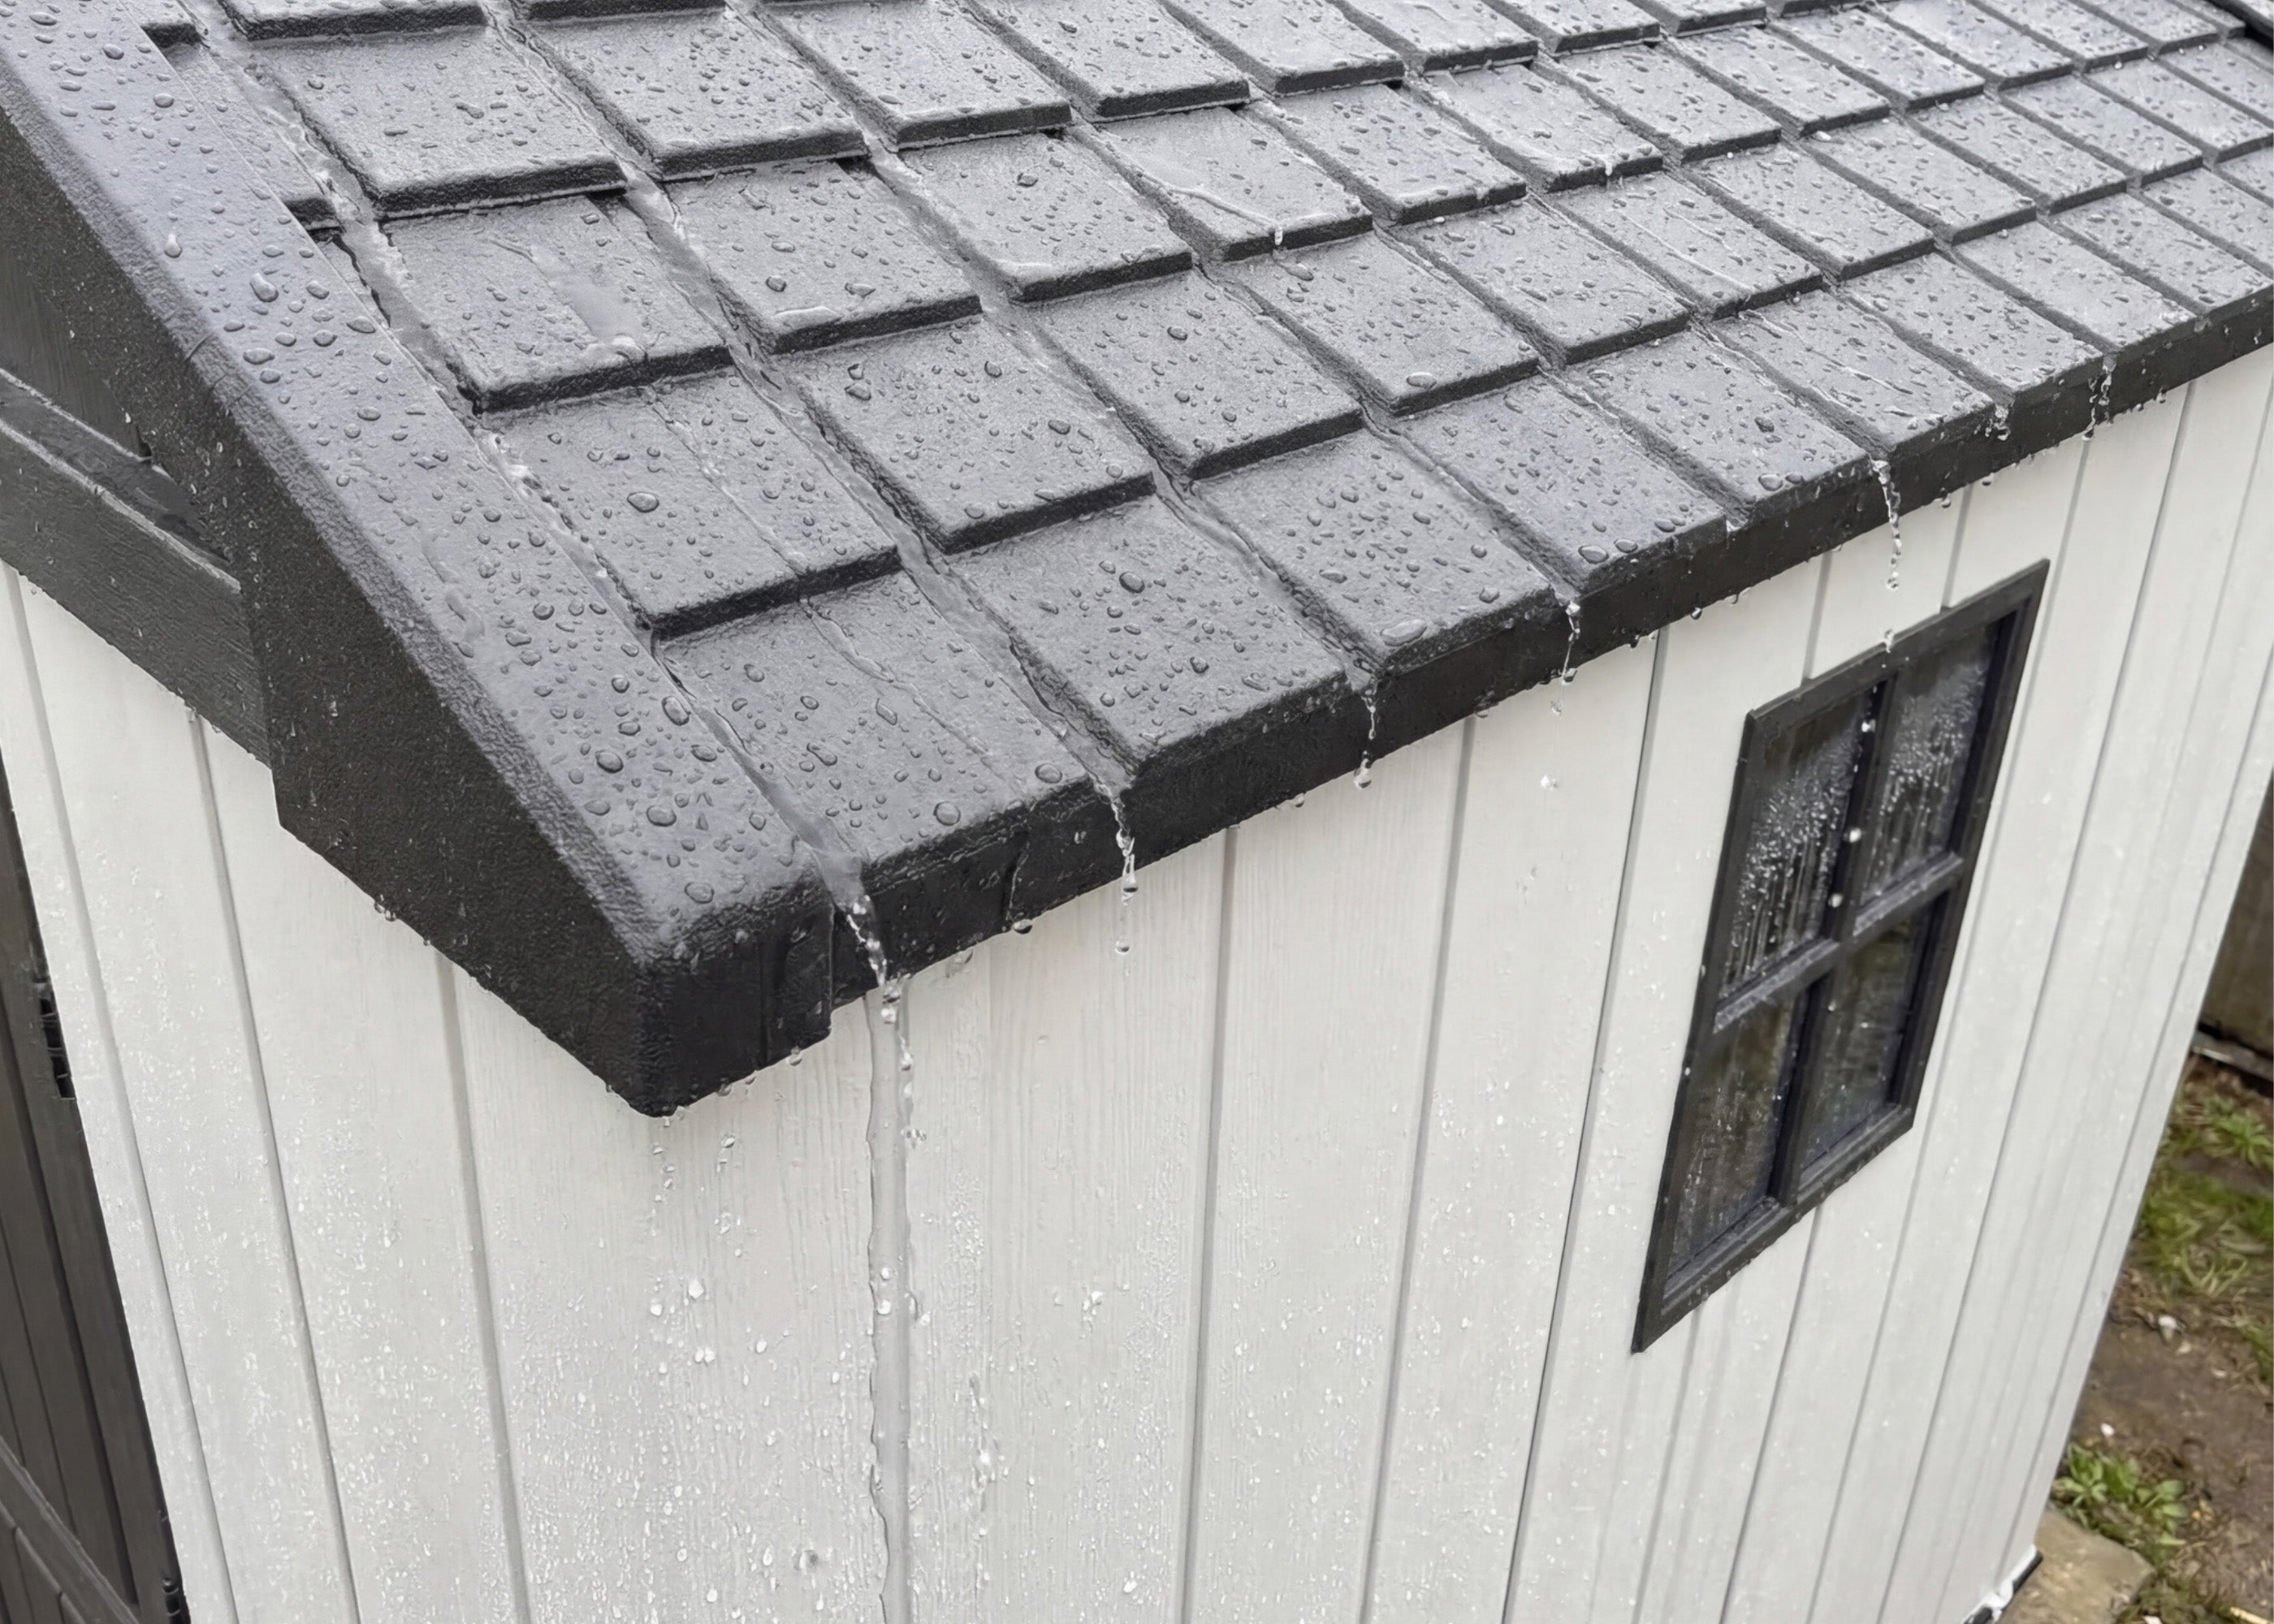
Ensure roofs and walls are waterproof and windproof while maintaining adequate ventilation. In extreme weather conditions, additional insulation layers may be added as needed, but the surface of insulation materials must be covered to prevent chickens from pecking or accidentally ingesting the material.
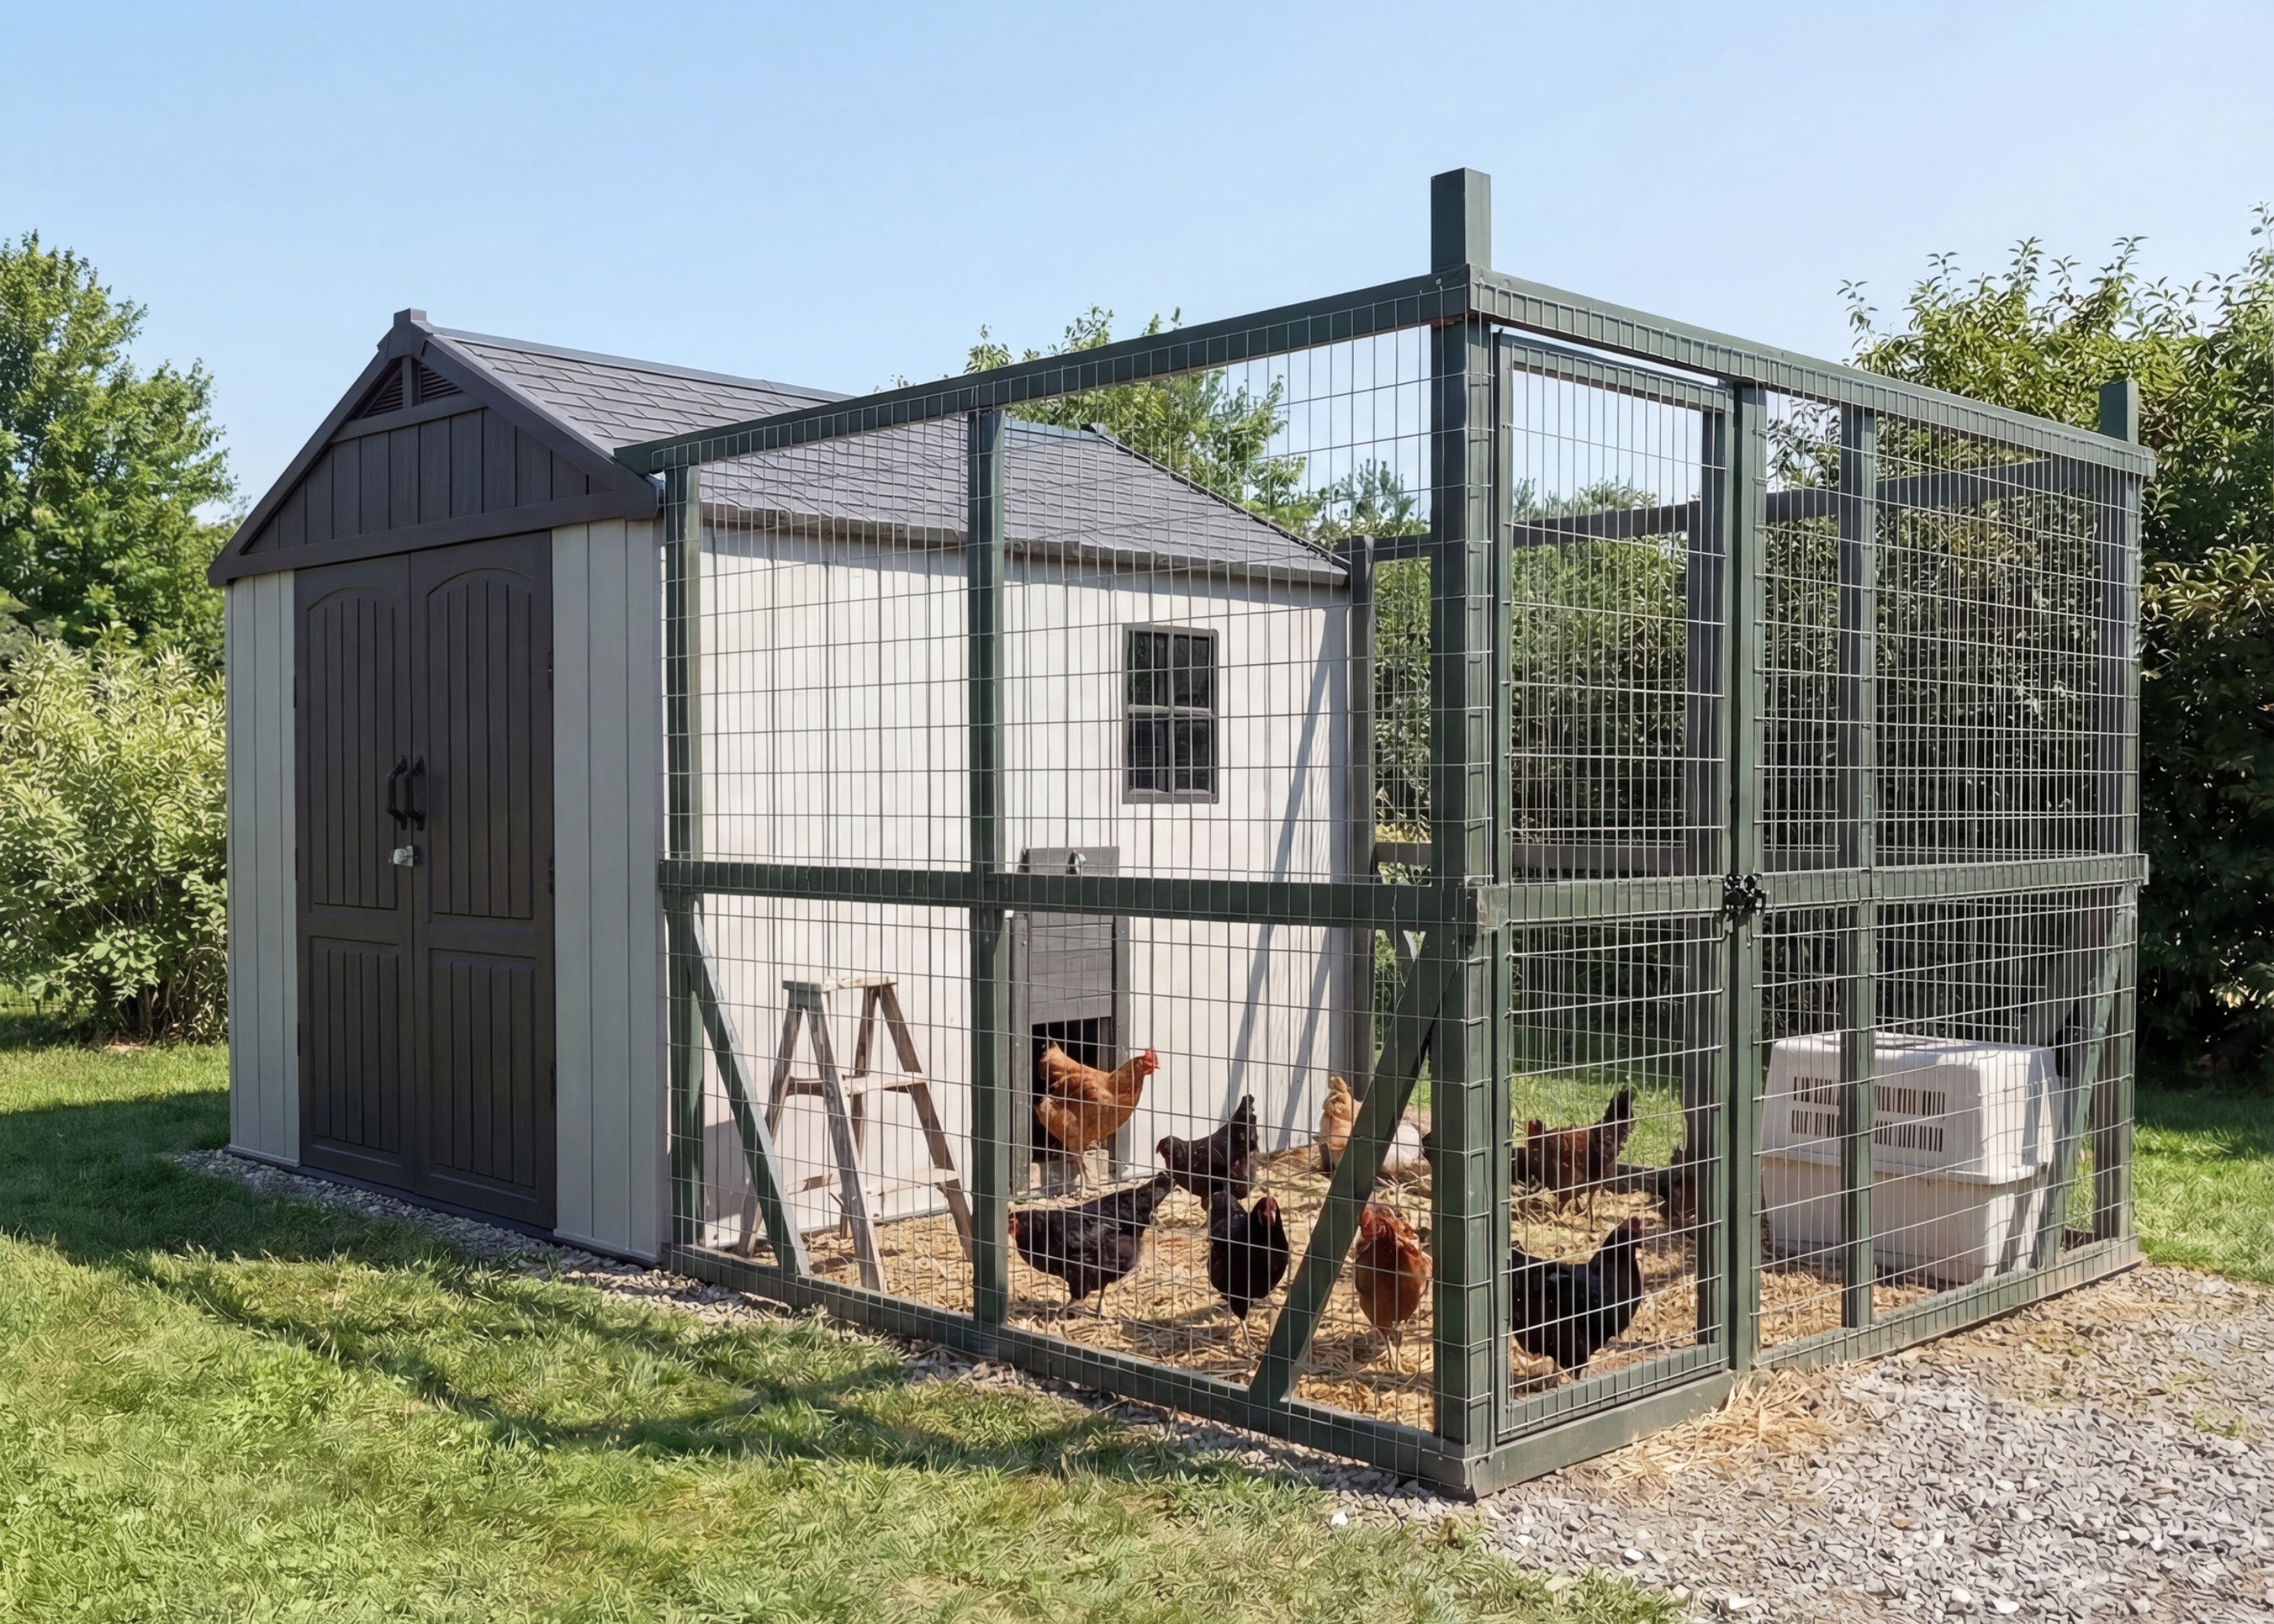
Chickens require a secure outdoor exercise area—connected to or adjacent to the coop: Enclose the space with welded wire mesh, burying the mesh edges to prevent digging. A covered enclosure helps deter aerial predators.
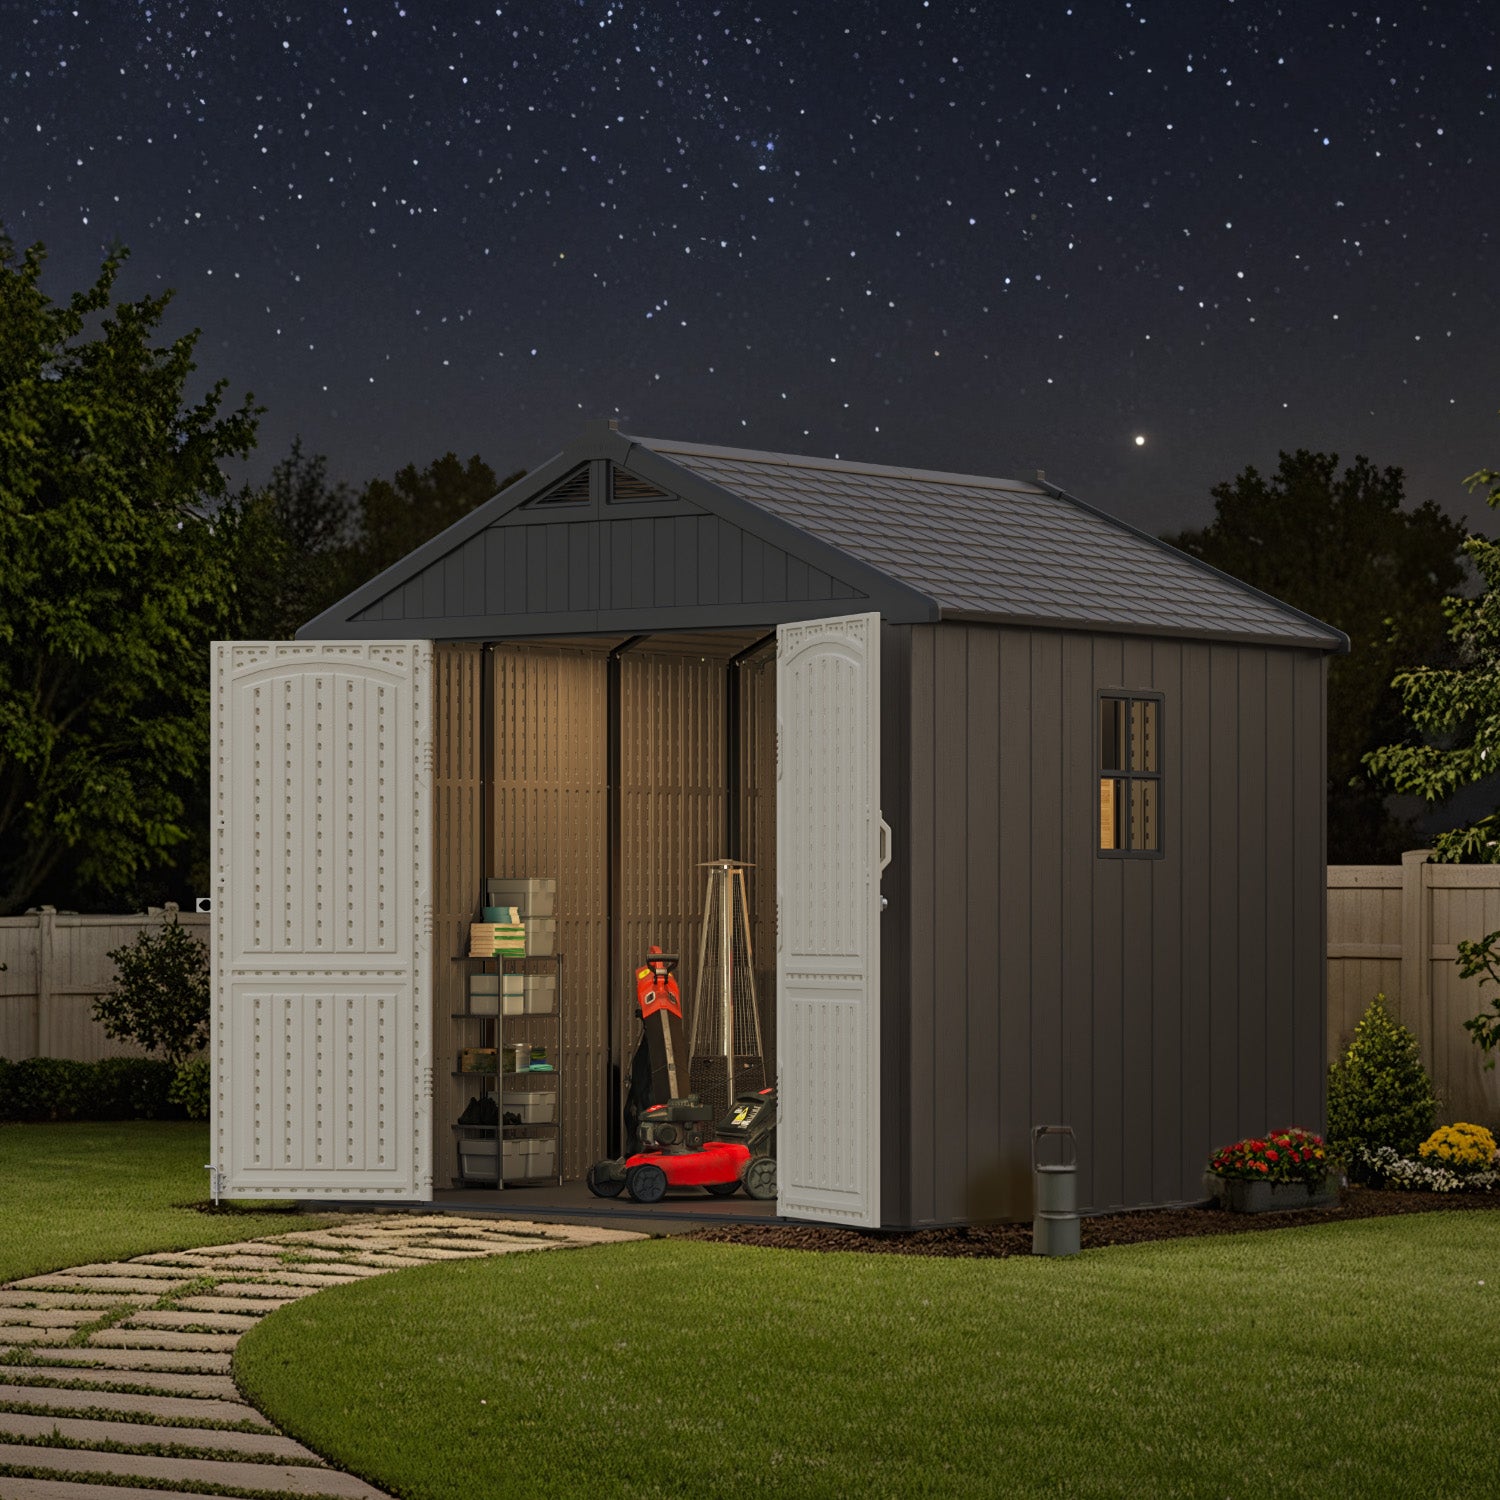
Declutter your house and build the excitement! Your shed is the ultimate Christmas Command Center for storing gifts and decorations.
✔ Advantages:
· Easy to cut, suitable for vents, doors, and windows.
· Corrosion-resistant; low moisture absorption.
· Provides good base insulation compared to thin metals.
× Disadvantages:
· Walls are typically thin (Kick-it series is relatively thicker).
· May experience slight deformation under intense sunlight or unsupported heavy loads.
· Often has poor ventilation, requiring significant modifications.
- Key Considerations:
· Install framing around cut openings (doors/vents).
· Install rigid roof vents and protective screens.
· Apply light-colored exterior paint to walls facing direct sunlight (to reduce heat absorption).
✔ Advantages:
· Sturdy structural foundation, suitable for constructing interior decorative elements.
· Non-combustible metal surface that is easy to clean.
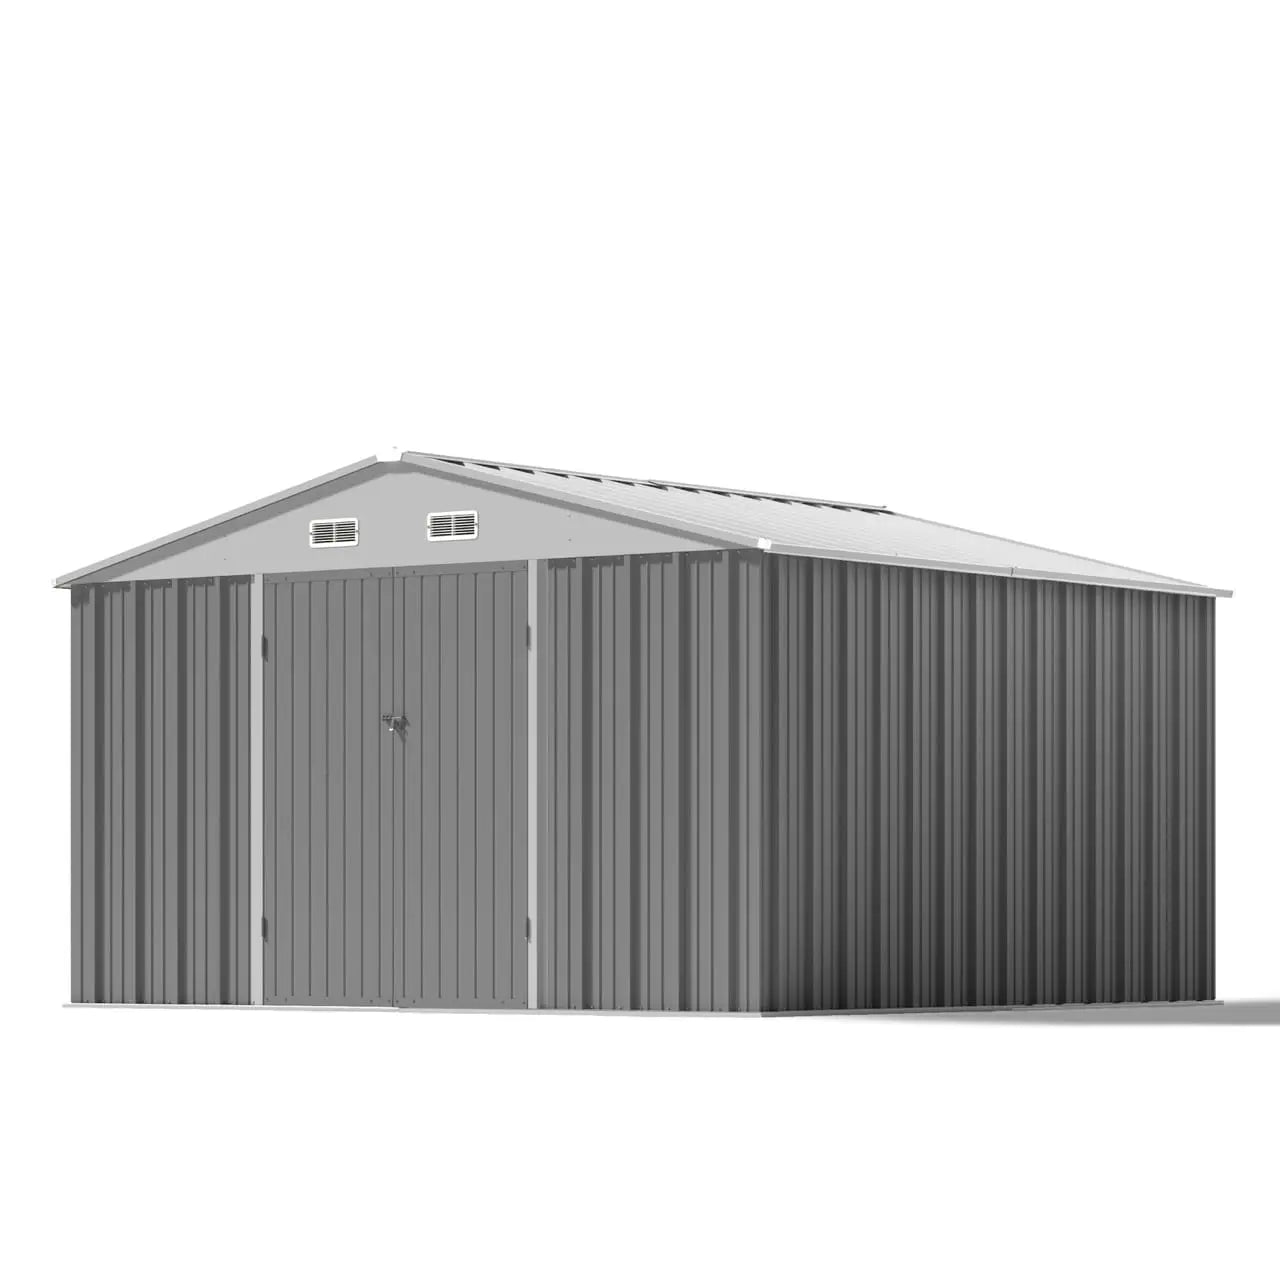
× Disadvantages:
· Conducts heat and cold—without ventilation/insulation measures, interiors may overheat in summer and become excessively cold in winter.
· Cutting metal requires specialized tools and safety precautions.
- Key Considerations:
· Install sealed insulation liners to prevent animal gnawing/ingestion.
· Add mesh vents near the roof to enhance air circulation.
· Use wooden subfloors or insulating pads to mitigate cold transfer from metal flooring.
✔ Well-ventilated with no drafts
✔ Predator-proofing measures in outdoor and activity areas
✔ Equipped with safe flooring and drainage systems
✔ Ample perches and nesting boxes provided
✔ Easy to clean and collect eggs
Converting a garden shed into a chicken coop can save money and free up space, but ventilation and predator protection are crucial for the flock's health. If the shed is too small, too cold/hot, or lacks adequate facilities, consider combining it with a dedicated coop or building a new one.