

A plastic shed is a low-maintenance, affordable storage solution—but with a few upgrades, it can be stronger and more weather-resistant. Here's how to reinforce your plastic shed the smart way.
Table of Contents:[hide]
Why Reinforce a Plastic Shed?

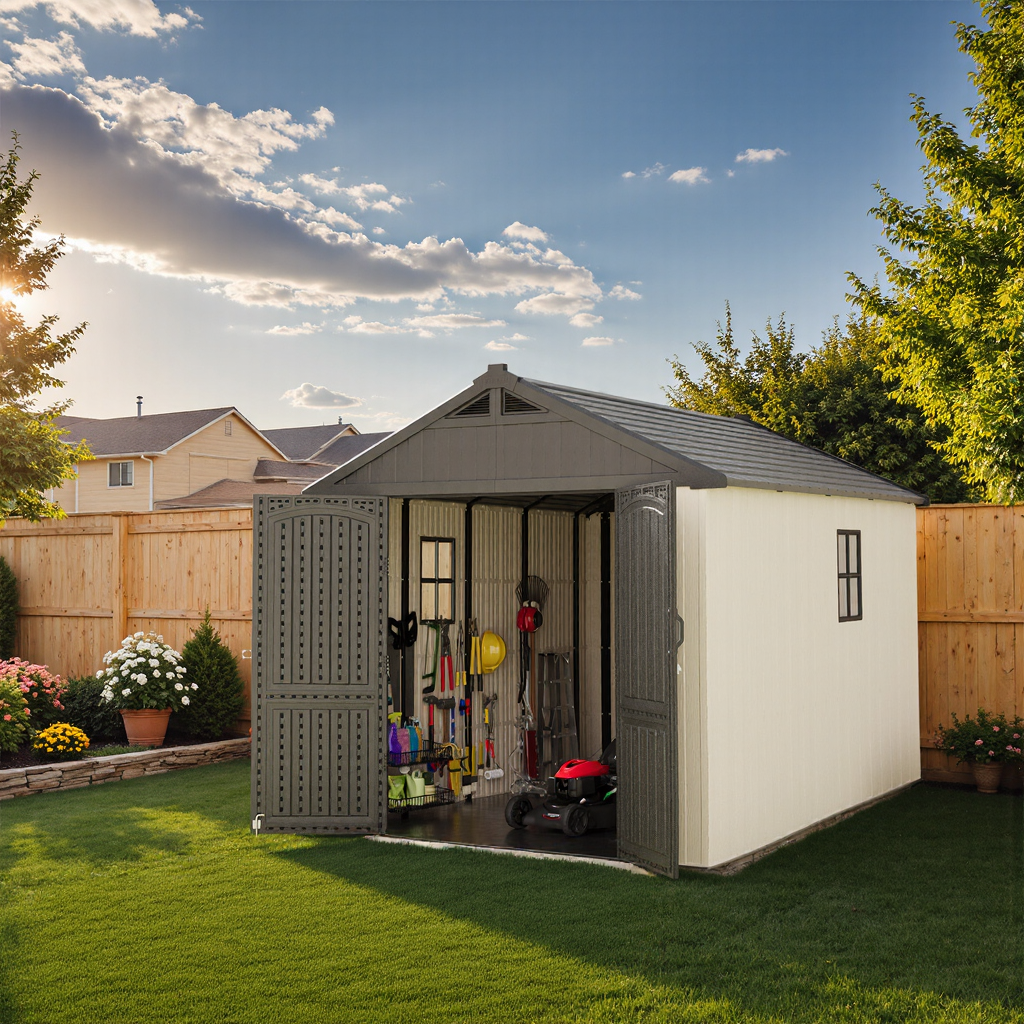
While plastic sheds are durable and weather-resistant, they can benefit from reinforcement—especially in areas with high winds, heavy snowfall, or uneven ground. Reinforcing the structure boosts stability, increases lifespan, and helps protect your tools, garden gear, and valuables from damage. It also minimizes the risk of warping, sagging, or shifting over time.
Before You Begin: Check Your Shed Brand and Model
Not all plastic sheds are created equal. Start by reviewing your shed’s manual or product specs. Patiowell plastic sheds, for instance, come with pre-drilled anchor points on the base and wall sections, which makes reinforcement easier and safer. Knowing your shed’s structural layout will help you determine where reinforcements are most effective and how much modification is safe without voiding your warranty.
Tools and Materials You May Need
To reinforce your shed properly, gather these supplies:
- Pressure-treated plywood or composite panels (for flooring support)
- Steel corner braces or L-brackets
- Anchoring kits or concrete bolts
- Weatherproof silicone caulk or sealant
- Drill with appropriate bits
- Level and measuring tape
- Screwdriver and utility knife
- Shelf brackets (if installing internal shelving)
Step-by-Step: How to Reinforce a Plastic Shed
Here’s a clear, step-by-step guide on how to reinforce a plastic shed to make it more durable and weather-resistant:
1. Reinforce the Base or Floor
Start with the foundation. A strong, level base is key to overall stability. If your shed is placed directly on grass or soil, consider upgrading to a compacted gravel pad, pressure-treated wood frame, or concrete slab. Inside the shed, you can lay down a sheet of plywood over the floor panels to better distribute weight and prevent sagging when storing heavy items like lawnmowers or tool chests.
2. Anchor the Shed Properly
Anchoring is critical to keep your shed secure during high winds. Many plastic sheds, including Patiowell plastic sheds, feature pre-drilled anchor points in the floor panel. Use ground anchors, concrete bolts, or screw anchors—depending on your base—to fasten the shed to the foundation. Tighten all anchor bolts and double-check for level alignment before moving on.
3. Strengthen the Walls
Plastic panels can flex over time, especially under heavy loads or pressure. Use steel L-brackets or aluminum cross supports inside the shed at each corner or where panels meet. For extra support, install vertical wooden studs along the walls to create an internal frame. These can also serve as secure anchor points for shelving or tool hooks.
4. Reinforce the Roof
Snow load or debris buildup can stress plastic shed roofs. Reinforce from the inside with metal brackets, tension rods, or crossbeams that run between side walls under the roofline. If your shed has a pitched roof, reinforce the center ridge with additional bracing to prevent sagging over time.
5. Weatherproof the Shed
Seal any visible gaps or seams using outdoor-grade silicone caulk. Apply around windows, door frames, roof joints, and panel seams. Add foam insulation strips or weather seals around the door to improve wind and moisture resistance. This step also helps regulate internal temperature and keep pests out.
By following these steps, you can significantly improve your shed’s strength and stability, making it better equipped to handle years of use in all types of weather.
Maintenance Tips After Reinforcement
Once your plastic shed is reinforced, keep it in top shape with regular checks. Inspect for loose fasteners, cracked panels, or worn seals every 6 months—especially after storms. Reapply sealant when needed and avoid overloading any shelves or hanging brackets you’ve added.
Reinforcement isn’t a one-time task—it’s part of long-term shed care. Clean the shed exterior with mild soap and water to prevent dirt buildup and UV degradation. Clear debris around the base to avoid moisture accumulation, and ensure the interior remains dry and well-ventilated to prevent condensation. With these simple habits, your reinforced plastic shed can stay strong and functional for years to come.
FAQs
Can I add shelves to a plastic shed?
Yes, you can. Use lightweight shelf brackets and avoid overloading. For Patiowell sheds, check for designated shelf-mount areas or use a freestanding shelving unit.
Will drilling into the walls void my warranty?
It depends on the brand. Patiowell allows internal customization in most models, but always check your product guide before modifying the structure.
How do I keep a plastic shed from blowing away?
Proper anchoring to a solid base—like concrete or treated wood—is the best way. Avoid placing your shed on bare ground in windy areas.
What is the best base for a plastic shed?
Concrete slabs offer the best stability, followed by pressure-treated wood platforms or compacted gravel framed with timbers. A solid, level base prevents shifting and supports reinforcement.
Conclusion
Reinforcing your plastic shed is a smart move to boost stability, extend its lifespan, and protect your belongings. With a few basic tools and some thoughtful upgrades, your Patiowell plastic shed can handle wind, wear, and whatever the seasons throw at it.
Diana Mason
Hi there! I’m Diana Mason, the chief editor of Patiowell brand. With over 15 years of diving deep into the world of outdoor furniture, I’ve developed a keen eye for what makes outdoor spaces truly special. I love sharing tips and inspiration to help you create your perfect backyard retreat. Our blog is a reflection of my passion and expertise, featuring only the best pieces that I personally vouch for. Thanks for stopping by—I can't wait to help you transform your outdoor living space!
Leave a comment
All comments are moderated before being published.
This site is protected by hCaptcha and the hCaptcha Privacy Policy and Terms of Service apply.