
Got a plastic shed and thinking about hanging stuff inside? A tool rack, shelves, or some garden gear? But then you wonder, can you screw into a plastic shed without damaging it? The answer isn’t a simple yes or no. Some spots are safe, and some aren’t.
Table of Contents:[hide]
Screwing into plastic isn’t like drilling into wood or metal. You need the right tools, the right screws, and the right spots. Do it wrong, and you might crack the panel or mess up your shed. This guide will discuss everything you need to know to do it right and keep your shed in tip-top shape. Read on to learn more.
Understanding the Structure of a Plastic Shed
Plastic sheds, like those made from resin or polyethylene, are strong and weather-resistant. But their walls aren’t like wood or metal, they’re thinner and more flexible. That means not every screw or tool will work well.
You’ll usually find:
- Thin wall panels
- Hollow core sections with internal ribs for support
- Limited thick spots for mounting anything heavy
So, while these sheds are sturdy, they’re not made for drilling just anywhere. You’ve got to be smart about it.
Is It Safe to Screw Into a Plastic Shed?
Here’s the short answer: Yes, you can, but you’ve got to be careful. Unlike wood, plastic can crack if you use the wrong tools or drill too hard. That’s why choosing the right screws for plastic and using proper methods is super important.
When done right, you can hang:
- Lightweight shelves
- Garden tools
- Hooks or baskets
- Small bins or organizers
But don’t force it or hammer it. One wrong move can cause the plastic to split or weaken the shed's structure.
Tools and Fasteners You’ll Need
Let’s talk gear. You don’t need a pro tool kit, just the right parts for the job. Here’s what you’ll need:
1. Self Tapping Screws for Plastic:
These screws are made to dig into plastic without splitting it. They have a sharp tip and form threads as they go in.
- No pre-drilling needed
- Best for medium-duty tasks
- Choose rust-resistant ones for outdoor use
2. Plastic Thread Forming Screws:
These are the best screws for plastic if you want a tight fit without cracking the surface.
- Designed for soft or brittle plastics
- Perfect when you want strong grip
- Often used for long-term attachments
3. Plastic Anchors:
Need to hang something heavy? Plastic anchors help your screw grip plastic better, so things stay in place. Just drill a hole, insert the anchor, and screw in. However, ensure that your shed wall is thick enough; thin panels won’t hold anchors well. When done right, they’re great for shelves, hooks, and racks.
4. Cordless Drill + Drill Bits:
Use a low-speed setting and start small. Don't rush! Some plastics melt if the bit spins too fast.
- Start with a pilot hole (⅛ or less)
- Use standard drill bits for resin or poly
What Can You Mount or Attach?
Now that you’ve got your tools, let’s talk about what’s safe to add. Not everything belongs on your plastic walls.
Safe to Mount:
- Light hooks for garden gloves or hoses
- Tool racks for brooms, rakes, or shovels
- Floating shelves with lightweight bins
- Battery holders for power tools
Use With Caution:
- Heavy shelves filled with cans or soil
- Power tool mounts that vibrate or shake
- Cabinets or bulky units
If it’s over 10-15 pounds, reinforce it with a backboard or go with an alternative method described below.
Best Practices for Screwing Into Plastic Sheds
Got your tools? Great! But before you start poking holes, let’s walk through the right way to screw plastic without cracking panels or losing grip. These tips will help you do the job safely, neatly, and like a pro.
1. Pick the Right Spot
Not all parts of your shed are built the same. Look for thicker spots like support ribs or frame areas, that can hold weight. Screwing into thin panels? That can create trouble. Your screw might just wiggle loose or break through. So always aim for the strongest part of the shed wall or roof.
2. Pre-Drill Small Pilot Holes
Even if you're using self tapping screws for plastic, drilling a small starter hole first makes things easier. It helps guide the screw in straight and reduces stress on the material. Think of it like giving your screw a head start, it’s safer and smoother, especially in colder temperatures where plastic can get brittle.
3. Use Washers
Don’t skip this tiny tool! Washers help spread out the pressure around the screw head. Without them, screws can sink in too deep, cracking or warping the surface. A small washer can save your wall and your weekend project.
4. Drill at a Low Speed
This one’s big. High-speed drilling creates heat, and plastic melts fast. That’s a mess you don’t want. Always use a slow, steady speed with light pressure. Let the tool do the work, no need to push hard.
5. Add Backing Boards If Needed
Planning to hang something heavy, like a shelf or tool rack? Don’t rely on one screw alone. Take a thin piece of wood, place it behind the panel (or screw across two ribs), and use that as your base. It spreads out the load and gives your plastic screw a stronger grip. It’s a simple trick, but it makes a big difference.
What to Avoid
Just because you can screw into plastic, doesn’t mean anything goes. Here’s what NOT to do:
- No drywall screws (they split plastic!)
- Don’t screw too close to edges
- Avoid hammering, it creates cracks
- Skip power tools set to high torque
- Never drill into roof panels unless designed for it
Always test a small section before going big.
Alternative Solutions
Worried about making holes? No problem. Here are smart ways to hang stuff without drilling:
1. Adhesive Hooks or Strips:
These sticky wonders are great for hanging lightweight items like gloves, hand tools, cords, or even a broom. Just wipe the wall down first. Clean and dry plastic helps the adhesive stick better and last longer. Most peel right off without leaving marks. It’s the fastest fix in the book!
2. Freestanding Shelving Units:
Why drill when you can go freestanding? These units sit snugly against the wall or in a corner and are great for storing pots, paint cans, or bags of soil. Look for shelves made from plastic or rust-resistant metal so they can handle outdoor weather.
3. Magnetic Strips (for Metal Tools)
Have a lot of screwdrivers, wrenches, or pruning shears? Stick a magnetic tool strip to a wooden board, then lean or mount the board against the shed’s inner wall no screws, no mess. Your tools will snap on and off like magic, and your shed stays intact.
4. Pegboard with Standoffs:
Need a bit more customization? Install a pegboard using clips or brackets that attach to the shed’s internal ribs. The standoffs give the board breathing room behind it, and you get tons of hanging space for tools or small bins. No drilling, and it keeps everything within easy reach.
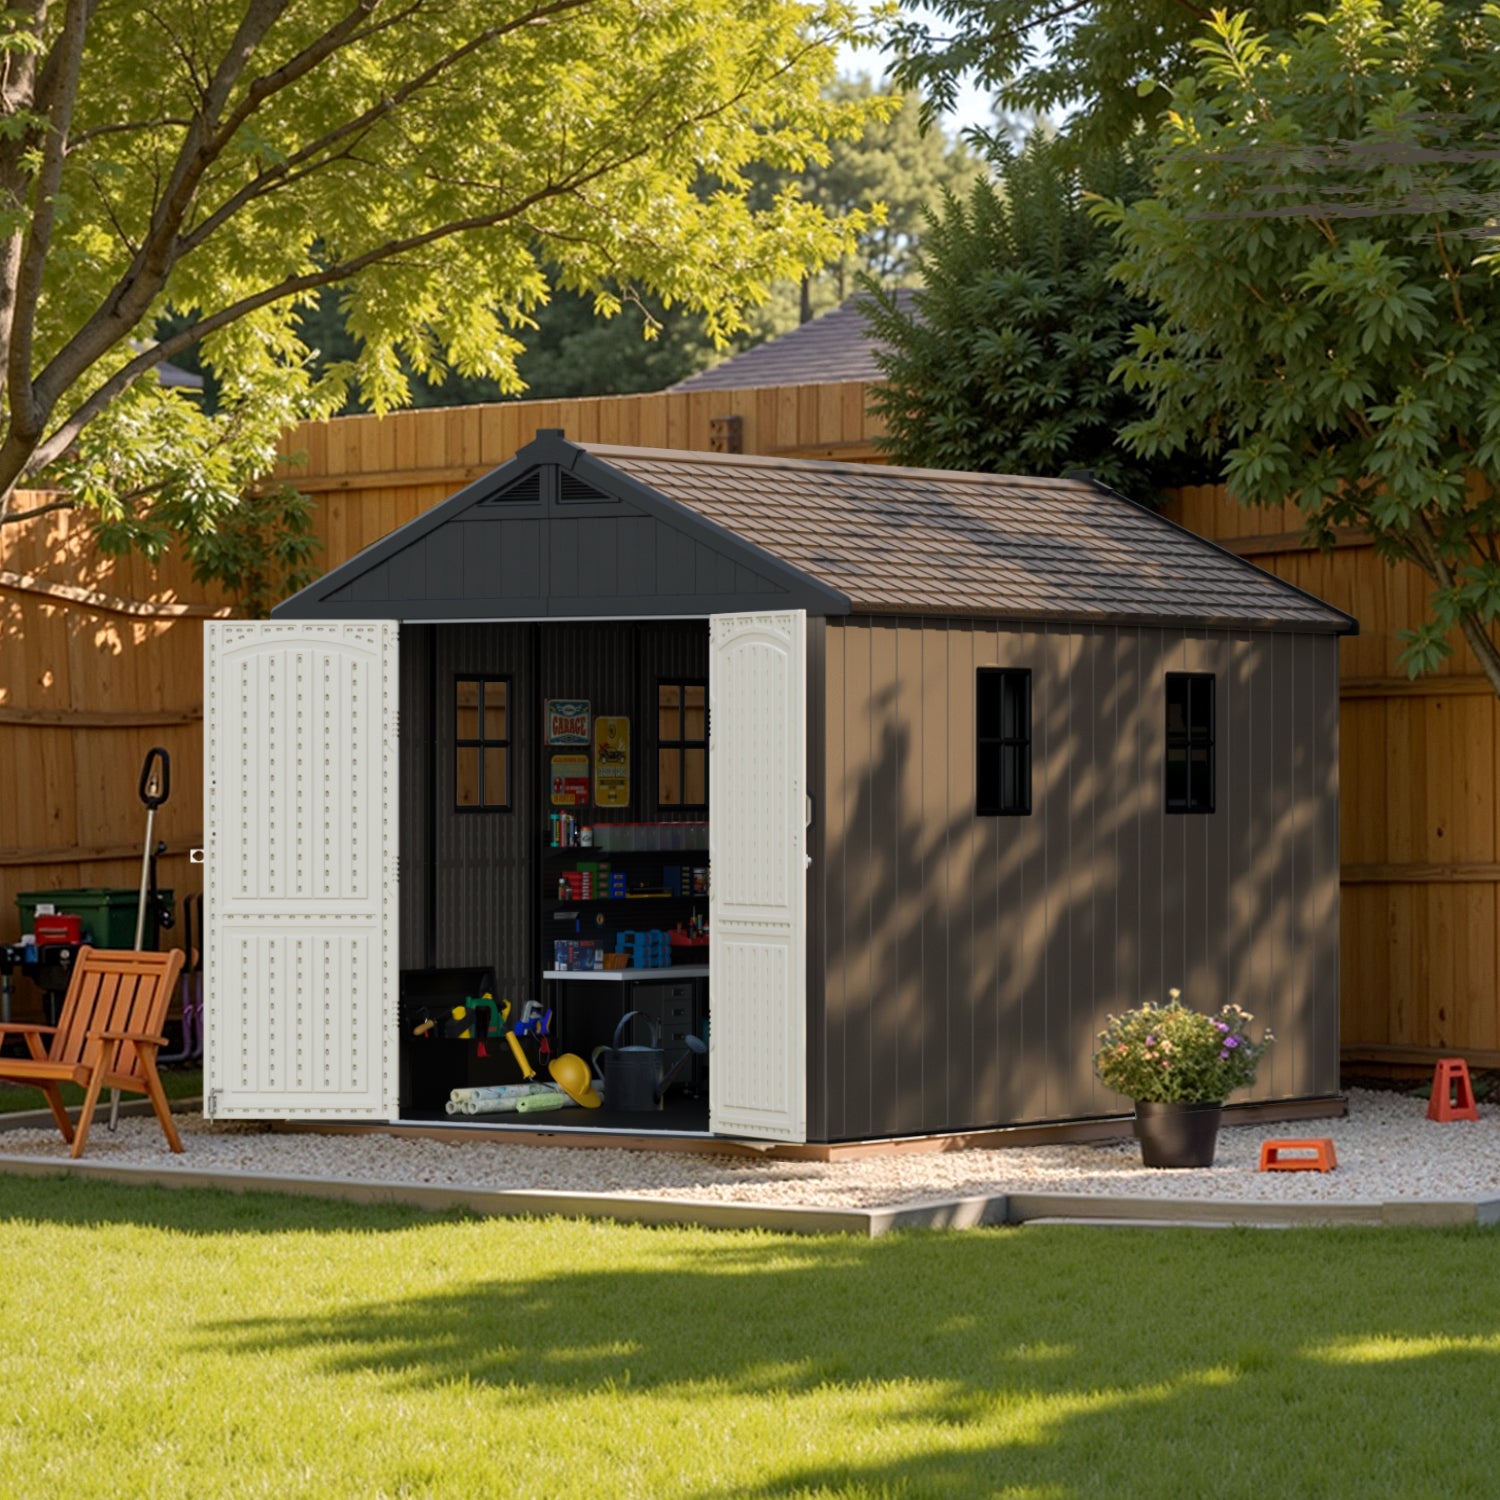
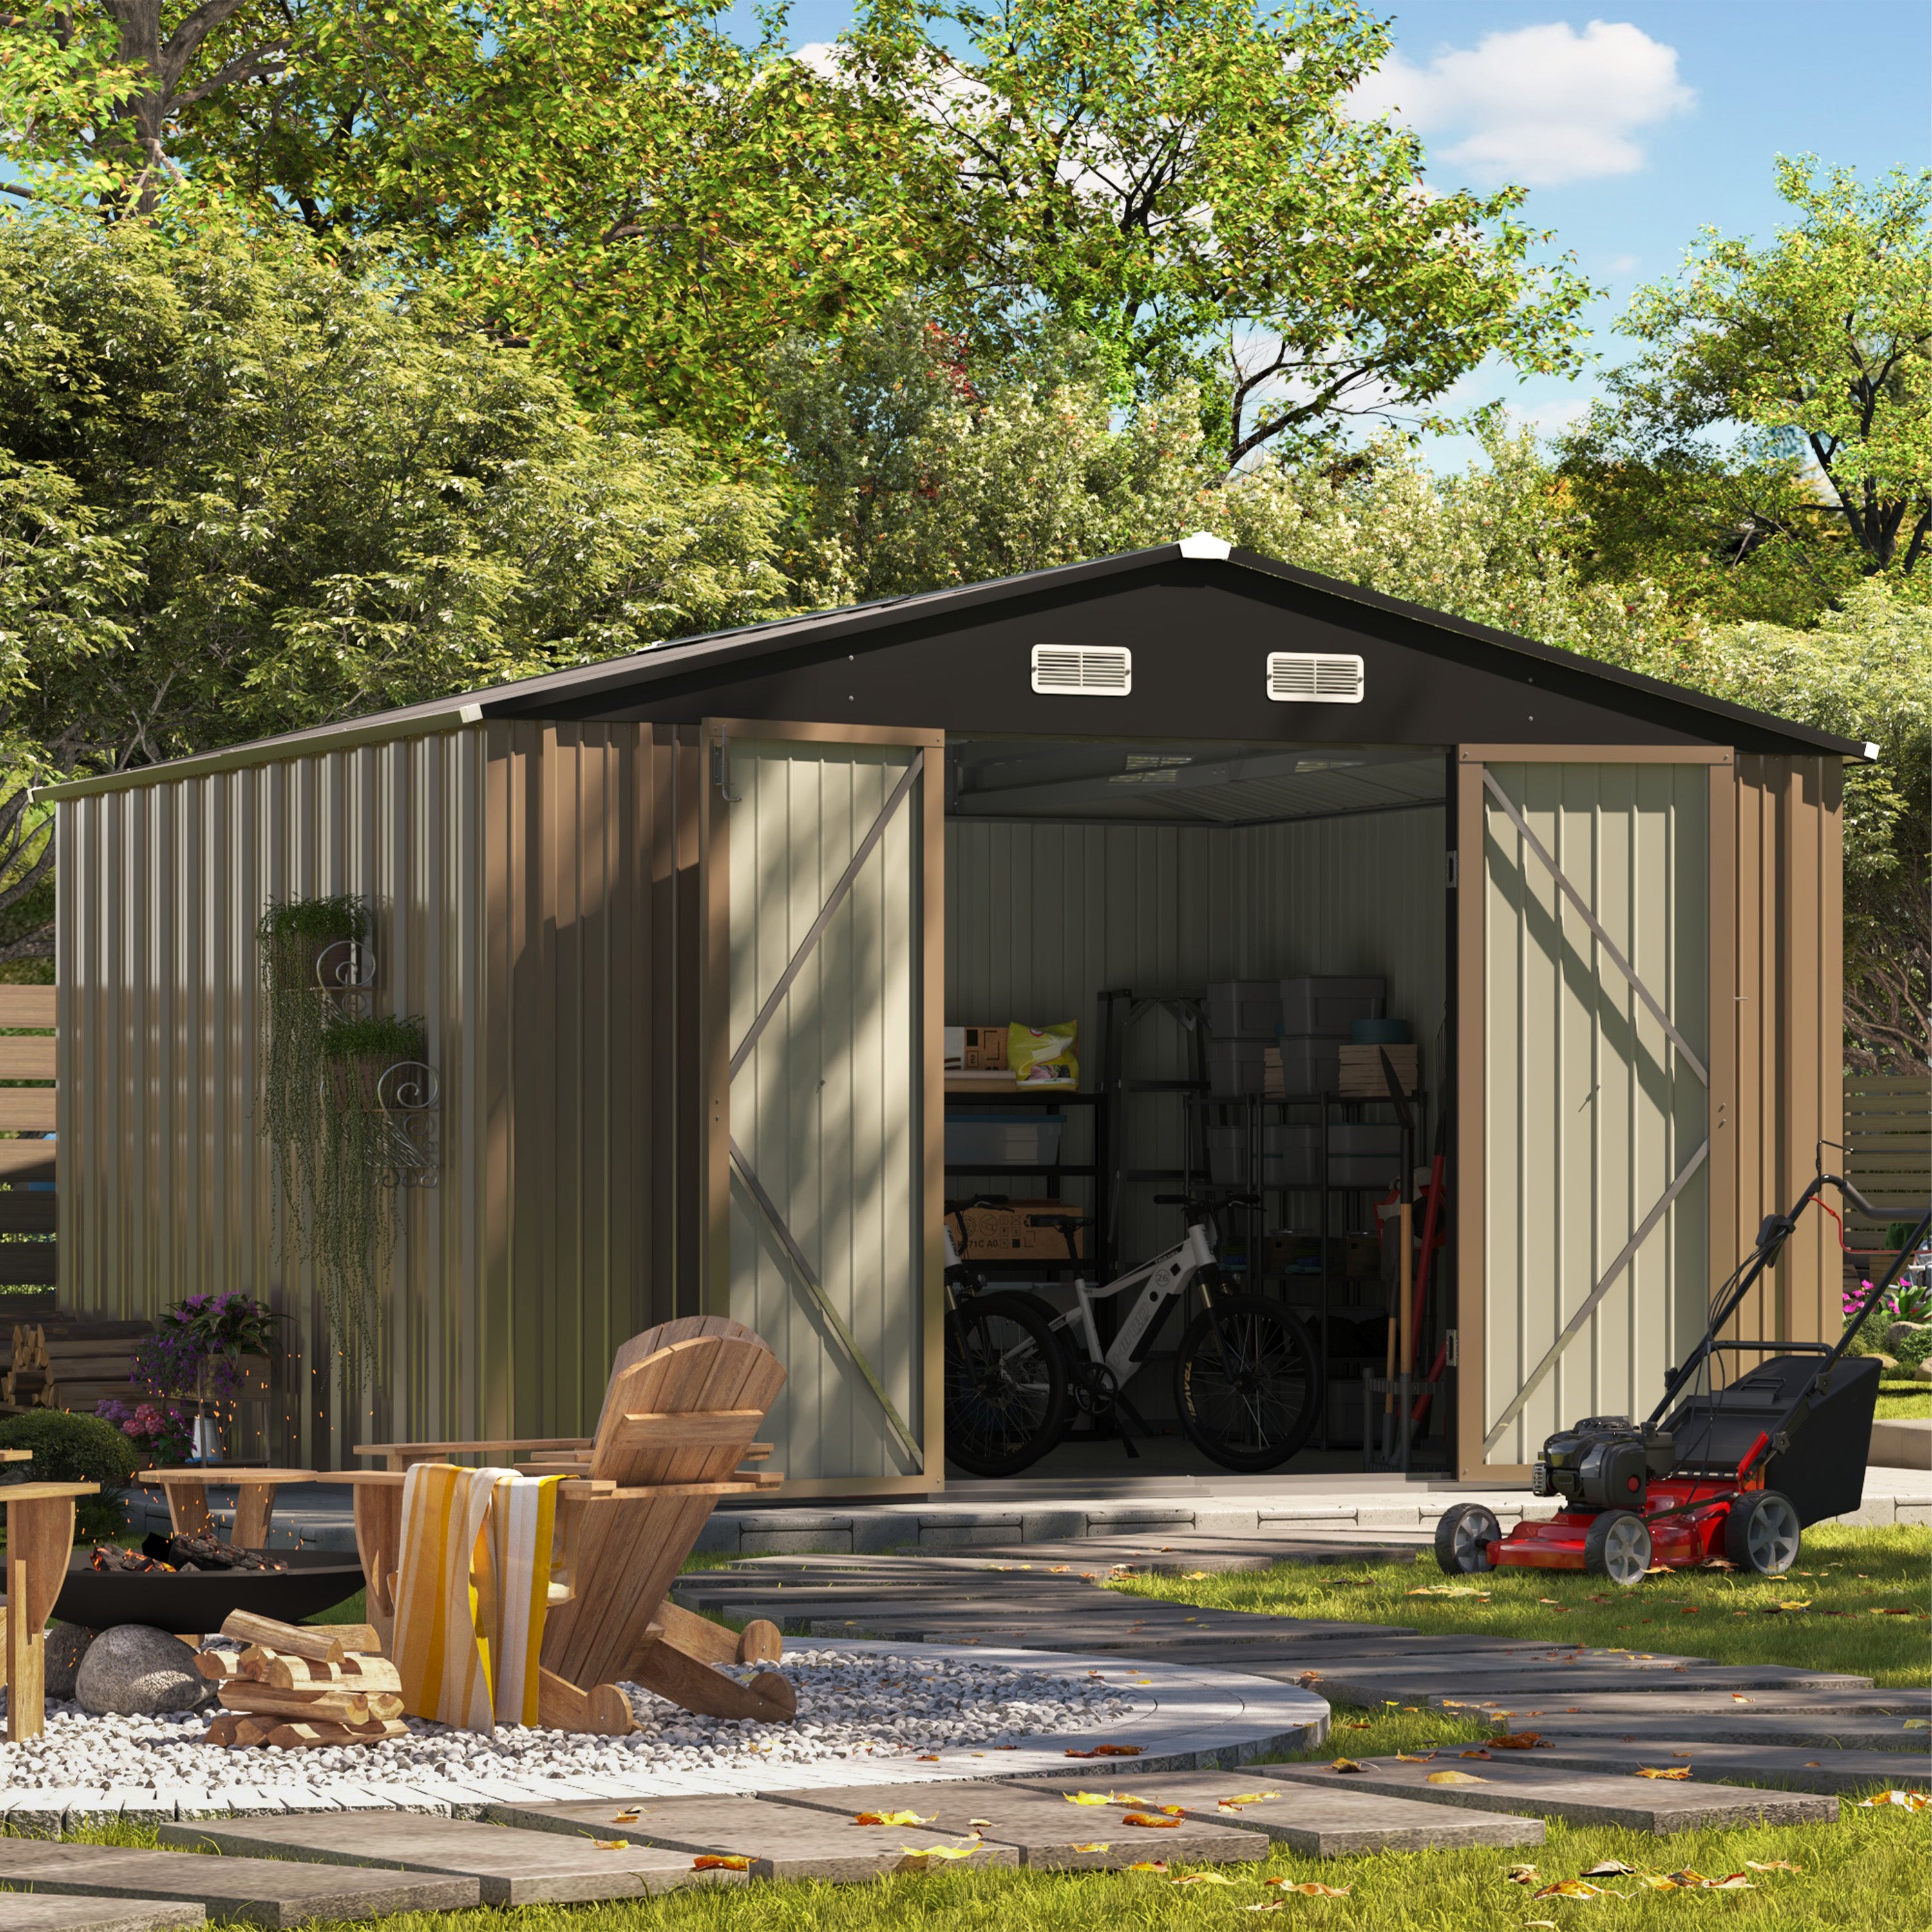
Patiowell Plastic Sheds: Easy Customization
Patiowellmakes sheds with homeowners in mind. Want to hang tools, shelves, or baskets? Our designs make it easier!
1. Fit-It Series:
 |
 |

|
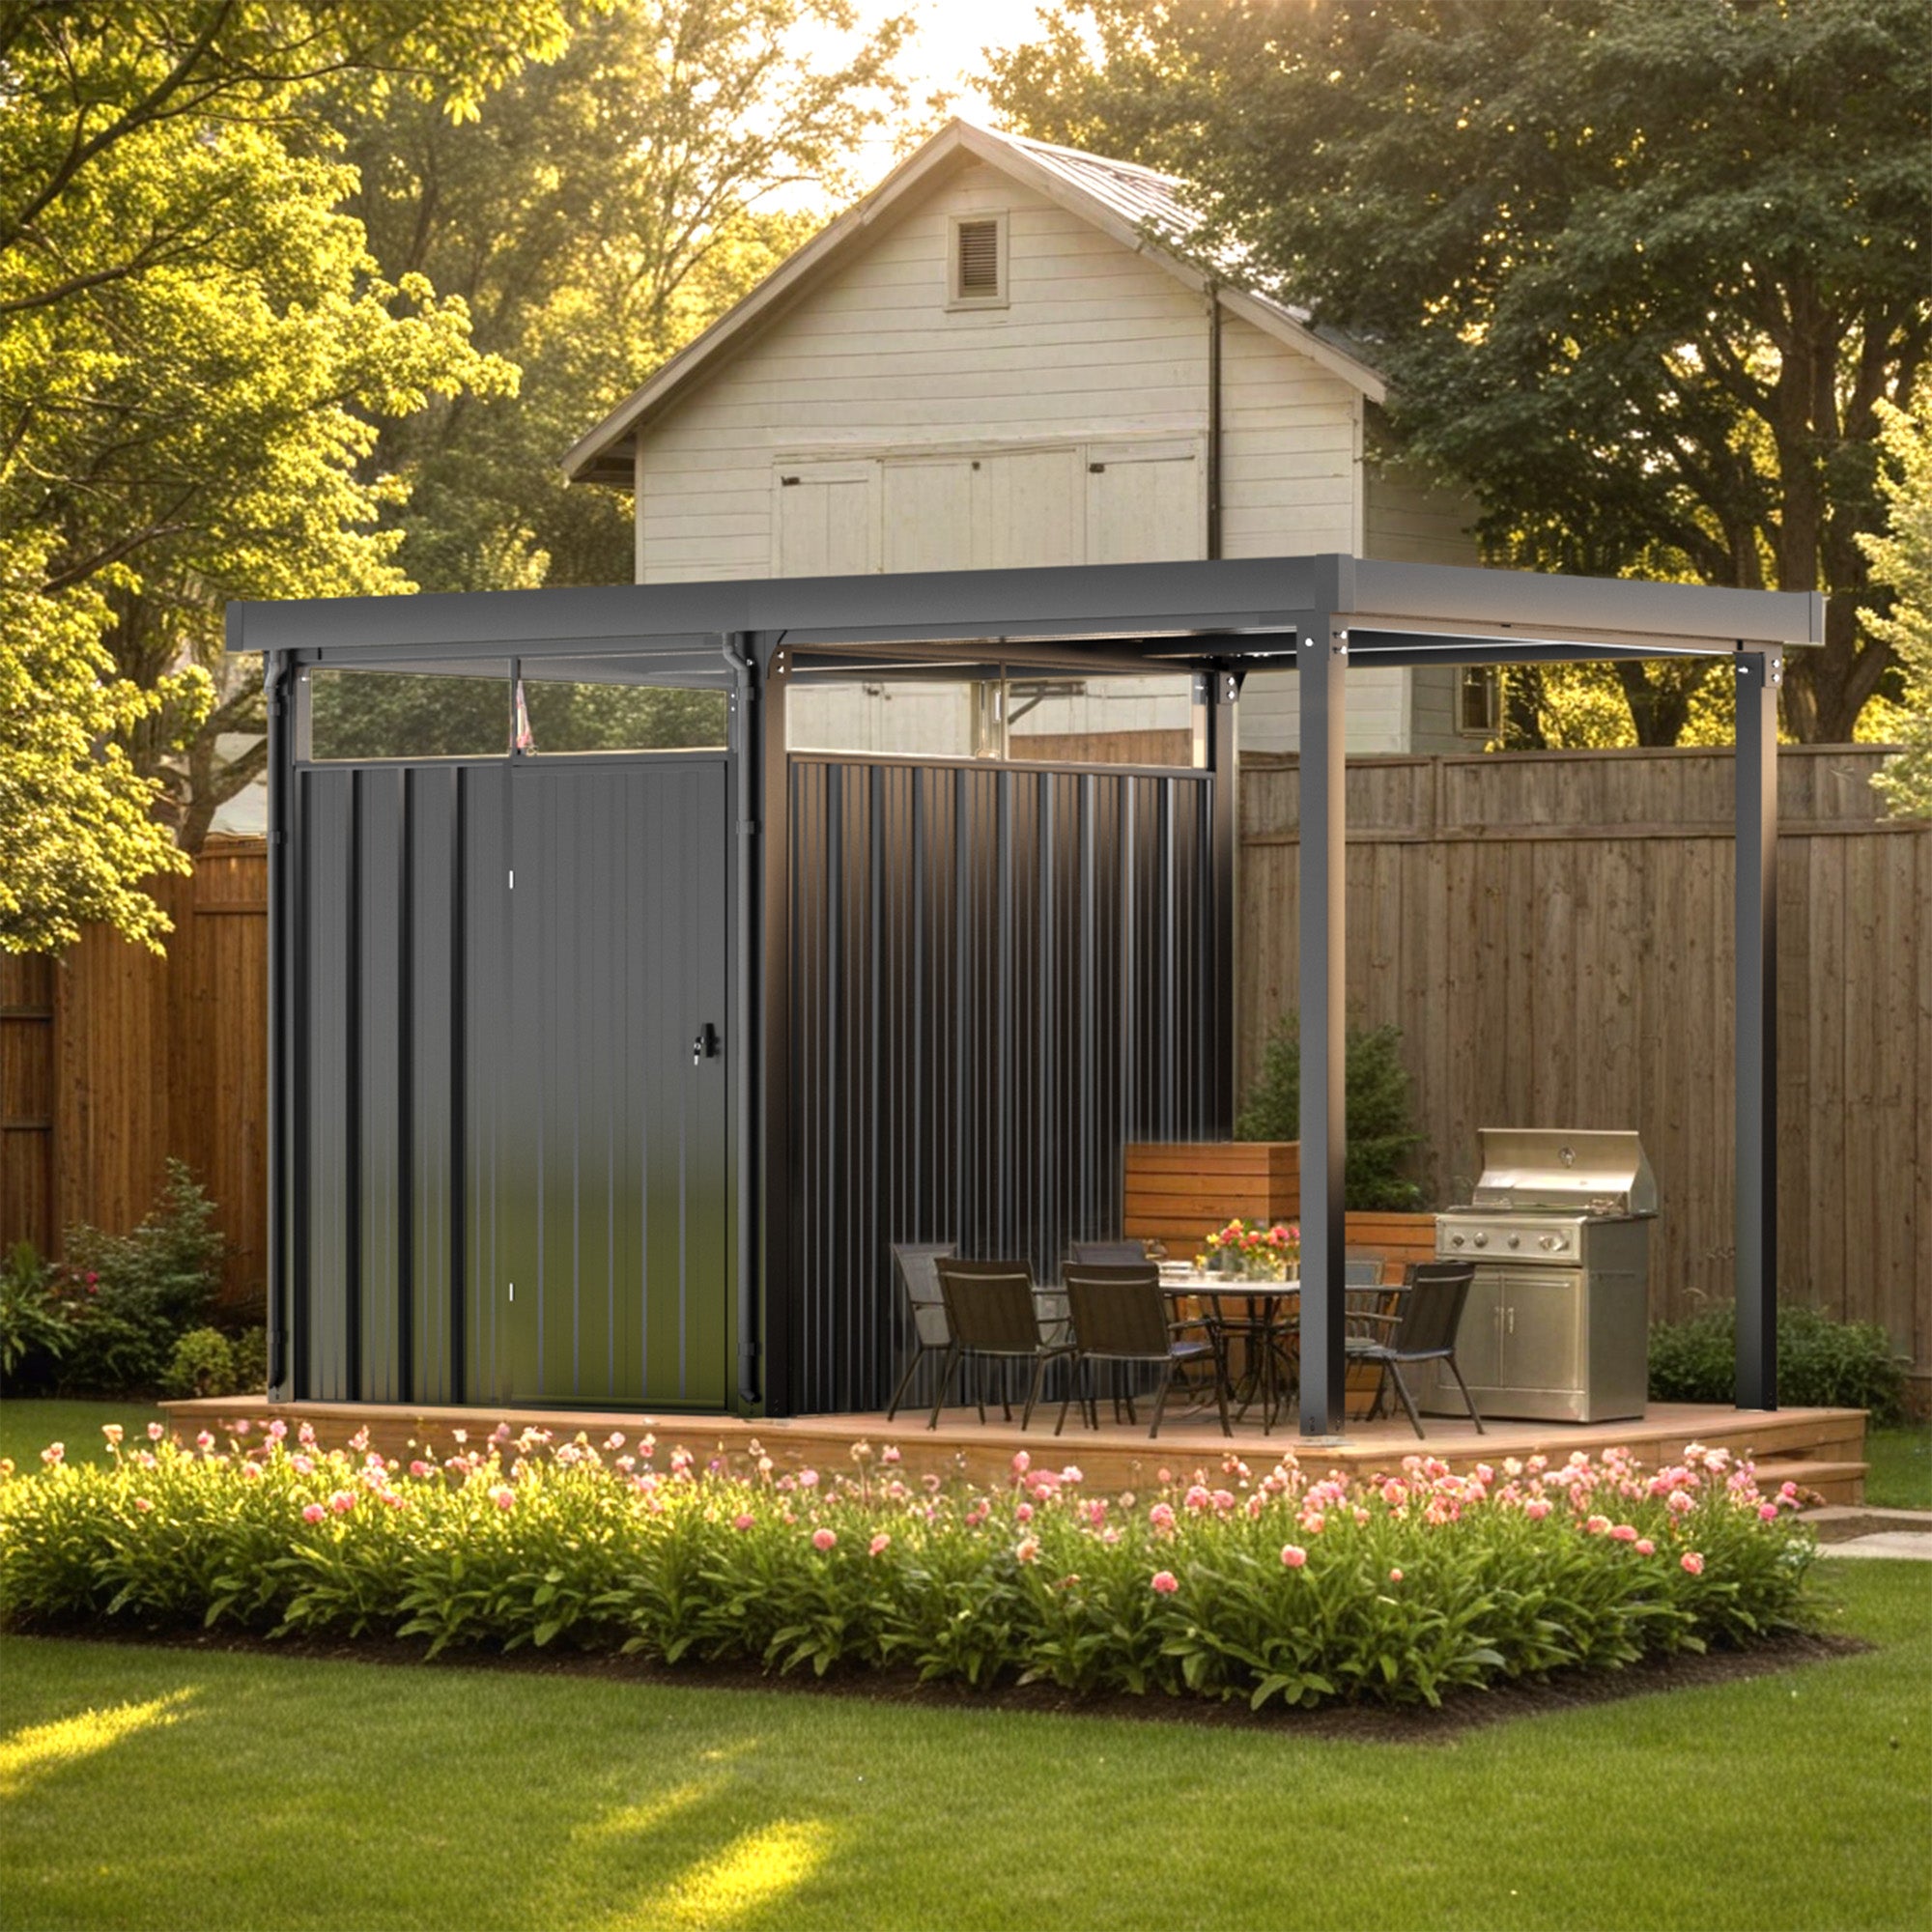
2. Kick-It Series:
- Bigger builds like 8×6 or 8×10
- Reinforced panels and double walls
- Ideal for more serious hanging jobs with thread forming screws for plastic
 |
 |

|
Customize Like a Pro with Patiowell Sheds:
All Patiowell plastic sheds are built for easy customization. Made with durable resin that resists cracking, they’re tough enough to handle everyday use and flexible enough to support hooks, shelving, and other add-ons.
Whether you’re using plastic screws, adhesive options, or clip-on panels, Patiowell sheds give you the freedom to make the space your own. Plus, with a solid warranty backing you up, you can personalize your shed with total peace of mind.
FAQs
1. Can I screw into the roof of a plastic shed?
It’s not recommended. Roof panels are thinner and can leak if punctured. Use clips or adhesive hooks instead.
2. What kind of drill bit should I use?
Use a small, sharp standard bit for resin. Start with a pilot hole, especially for small screws for plastic.
3. Will it void my shed’s warranty?
Some brands say yes, others no. Check your manual. With Patiowell, light customizations are usually fine.
4. How do I hang things without damaging the shed?
Use non-invasive methods like pegboards, adhesive strips, or freestanding units. These protect the structure while still providing storage options.
Conclusion:
So, can you screw into a plastic shed? Yes, but only if you do it the right way. With the right tools, screws, and careful drilling, you can turn your shed into a storage superhero. Skip the guesswork and use self tapping screws for plastic, mount things where it’s safe, and consider alternatives when needed.
If you’re picking a shed, go with one built to handle real-life needs, like the ones from Patiowell. Now that you know what works, it’s time to grab your drill and make that shed work for you, no cracks, no mess, just solid storage!
Diana Mason
Hi there! I’m Diana Mason, the chief editor of Patiowell brand. With over 15 years of diving deep into the world of outdoor furniture, I’ve developed a keen eye for what makes outdoor spaces truly special. I love sharing tips and inspiration to help you create your perfect backyard retreat. Our blog is a reflection of my passion and expertise, featuring only the best pieces that I personally vouch for. Thanks for stopping by—I can't wait to help you transform your outdoor living space!
Leave a comment
All comments are moderated before being published.
This site is protected by hCaptcha and the hCaptcha Privacy Policy and Terms of Service apply.